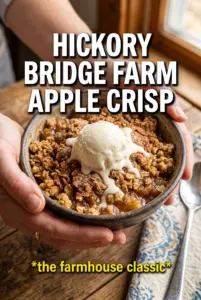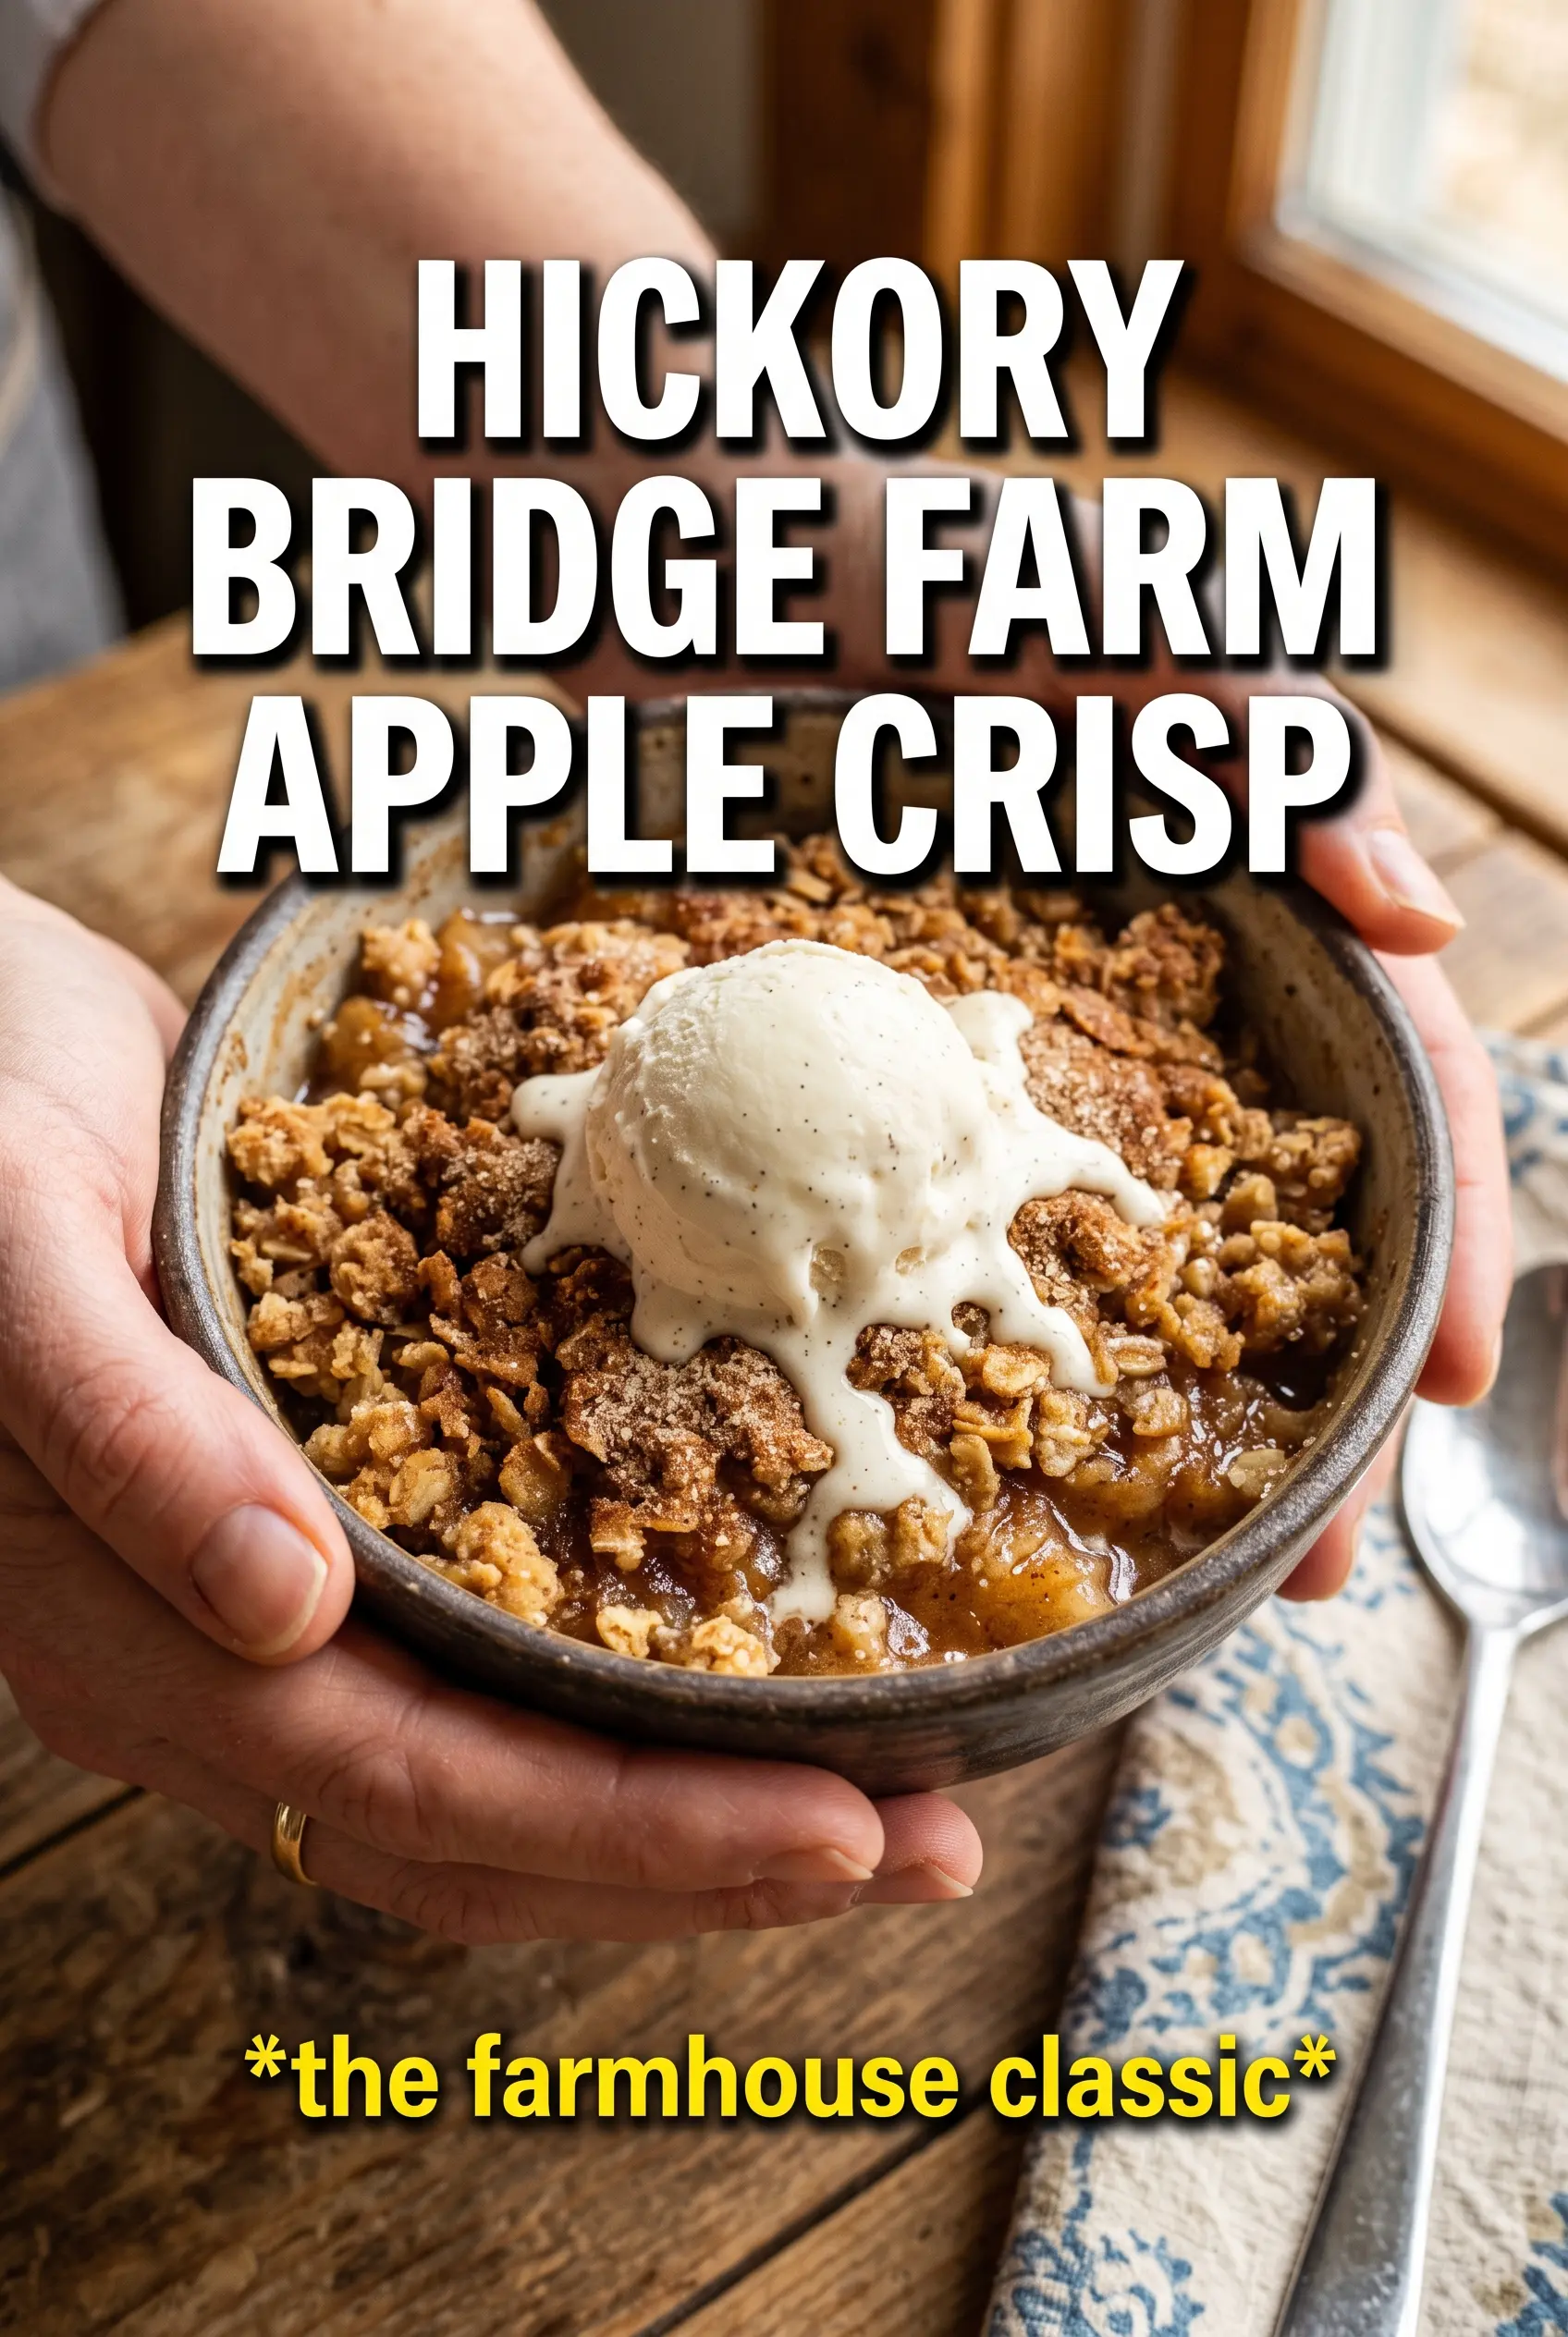
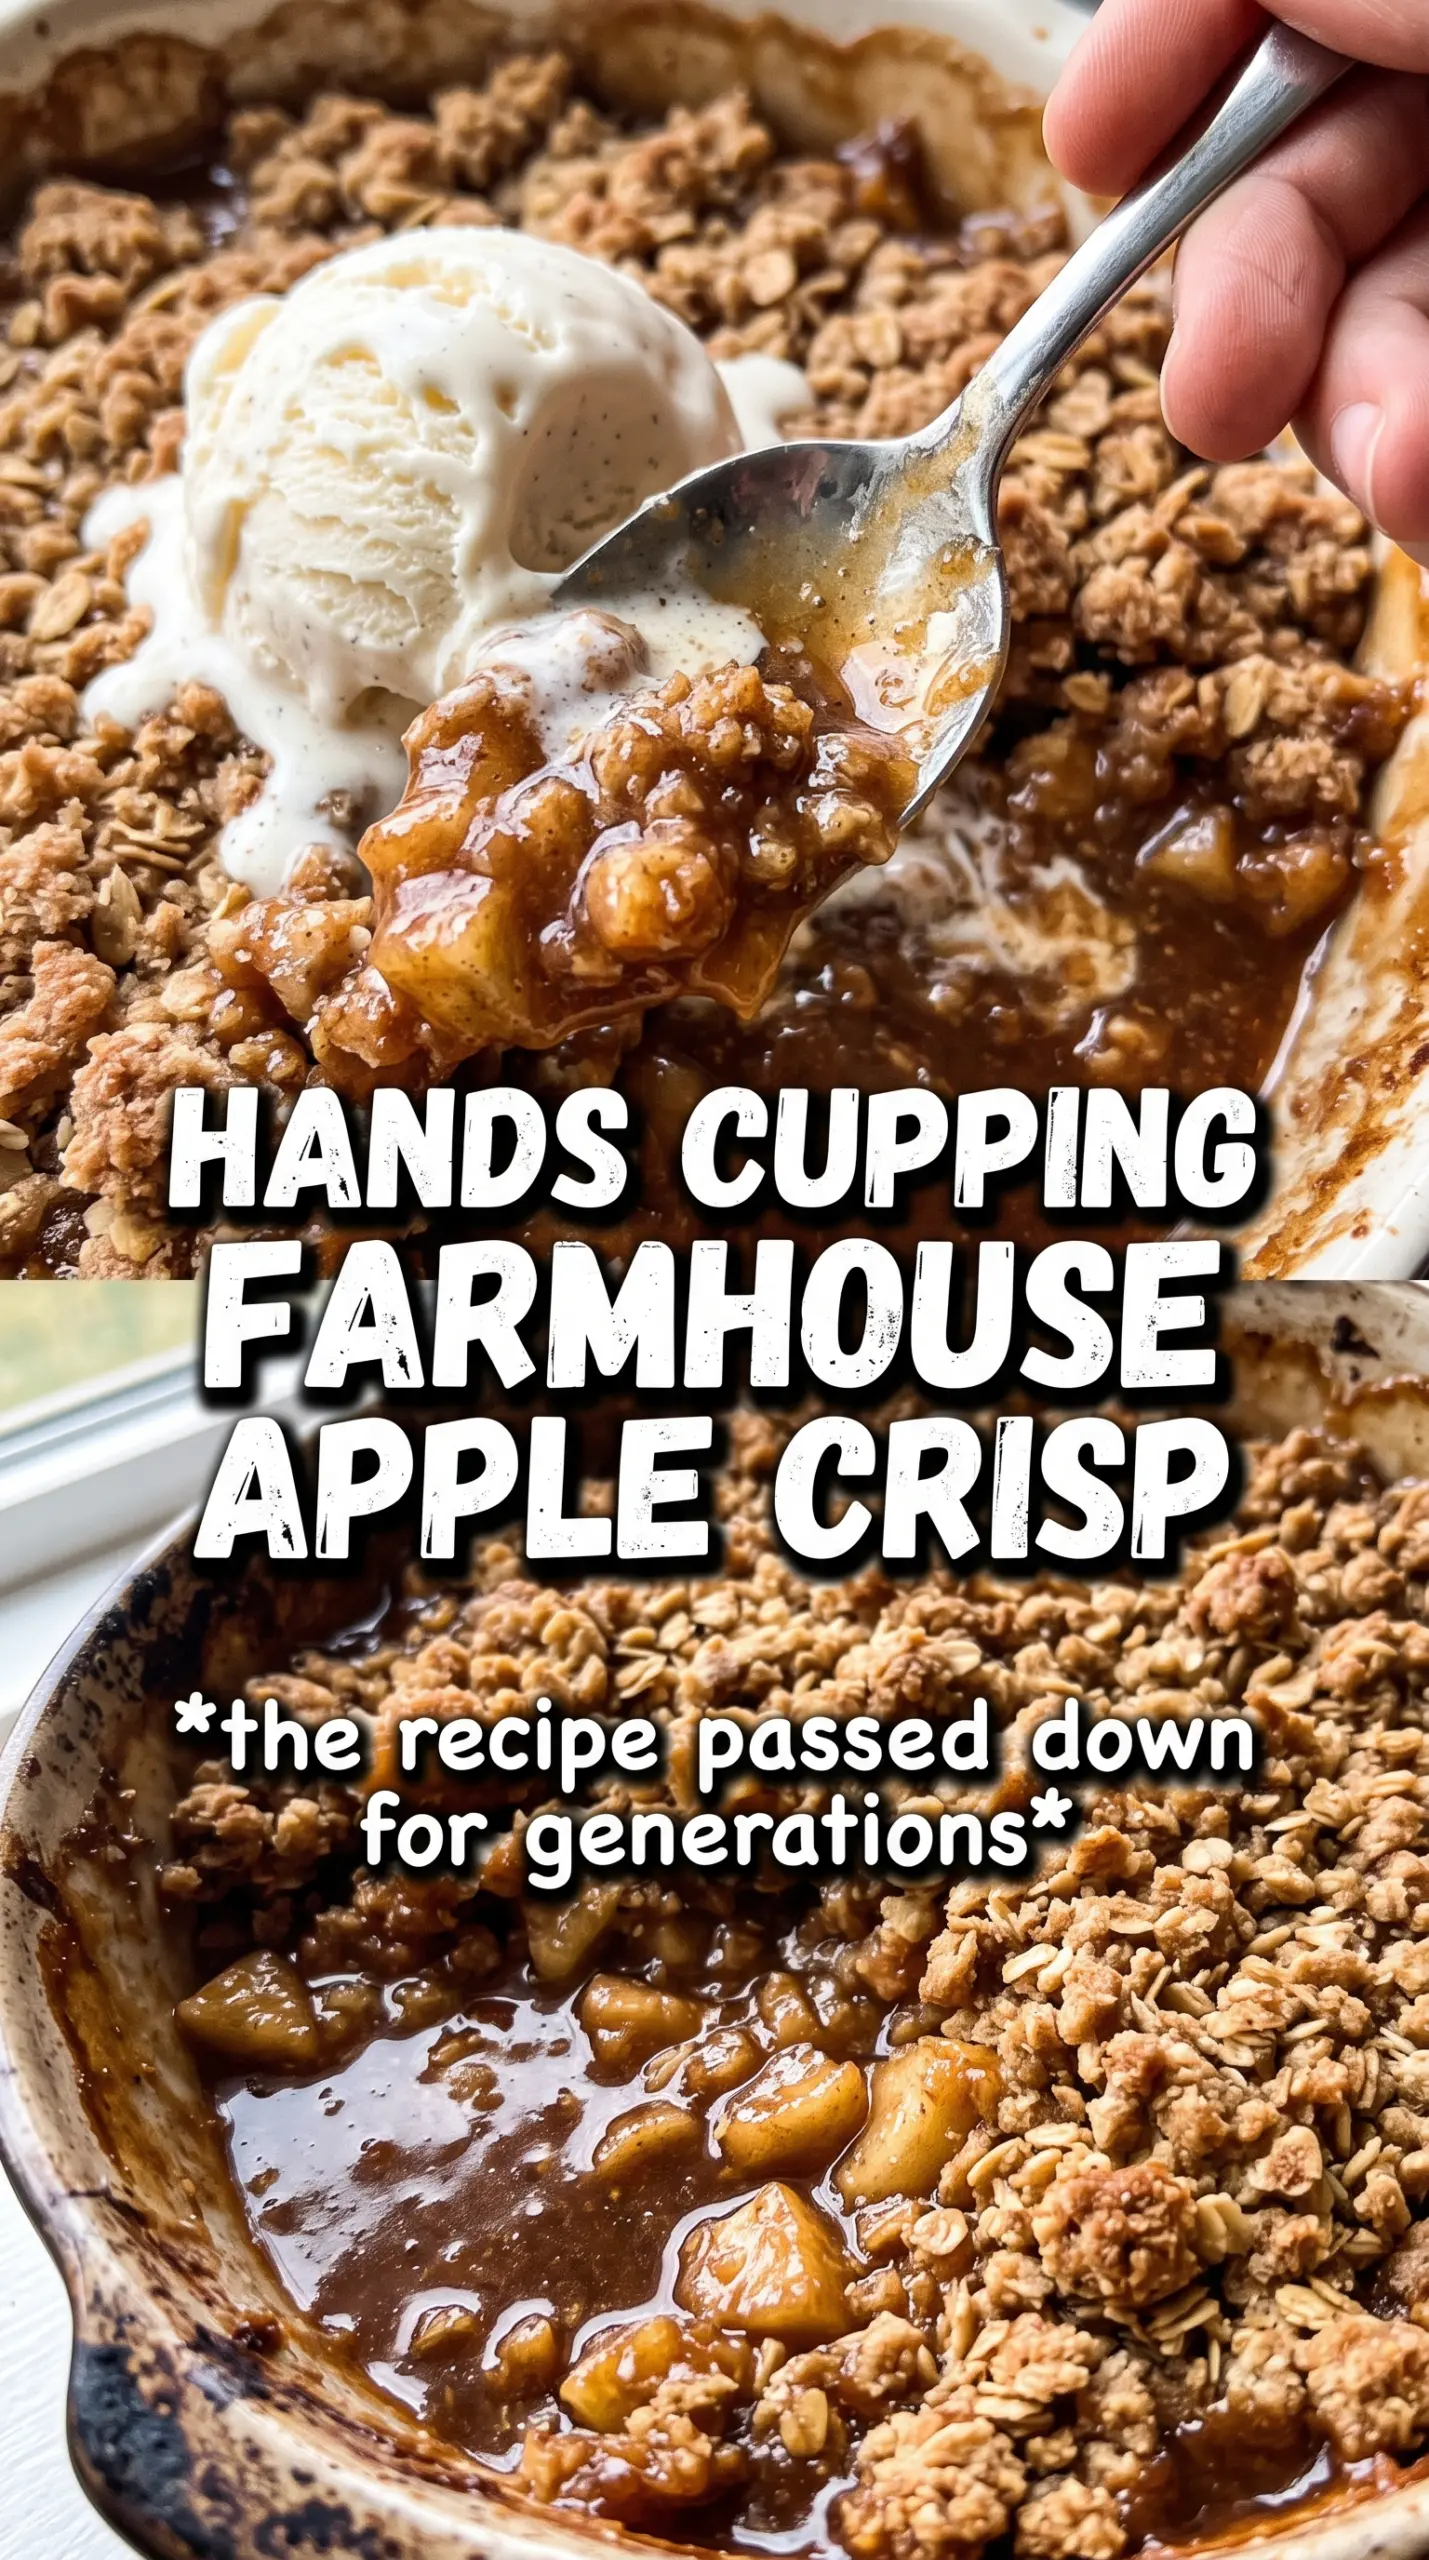
Hickory Bridge Farm Apple Crisp lands with the kind of contrast that keeps people coming back for a second spoonful: tender spiced apples underneath, a thick buttery oat crumble on top, and those caramelized edges where the filling bubbles up and meets the topping. The topping bakes into big, craggy clumps instead of a sandy layer, so you get crunch, chew, and a little toasted sweetness in every bite.
What makes this version work is the balance between the fruit and the crumble. The apples are tossed with enough sugar and cornstarch to turn juicy without turning soupy, and the lemon juice keeps the flavor bright so the filling tastes like apples first, not just spice. On the topping side, cold butter matters. Warm butter blends in too smoothly and bakes up flat; cold butter rubbed in by hand leaves those streaks and clumps that turn into the best part of the dish.
Below, I’m walking through the little details that keep the filling thick and the topping sturdy, plus a few smart swaps if you need them. This is the kind of dessert that holds up well for a crowd, and it’s even better when you know how to keep the crumble from sinking into the apples.
The topping baked up thick and crunchy instead of soggy, and the filling set just enough after resting. I served it warm with vanilla ice cream and everyone asked for the recipe.
Save this Hickory Bridge Farm Apple Crisp for the nights when you want a deep golden crumble and a thick, spoonable apple filling.
The Reason the Crumble Stays Thick Instead of Sinking
The topping is built to sit in big clumps, not melt into the apples. That starts with cold butter and ends with how you spread it. If the butter gets too soft before the pan goes into the oven, the crumble loses structure and turns into a dense lid instead of a crisp topping.
The other mistake is packing the apples too tightly or leaving gaps in the topping. The filling needs room to bubble so the cornstarch can thicken the juices. If nothing bubbles around the edges, the crisp can taste dry on top and watery underneath. The goal is a bubbling edge and a surface that looks deeply golden with a few darker toasted spots.
What Each Ingredient Is Actually Doing in This Dish
- Apples — A mix of firm, baking-friendly apples gives the best result because they soften without disappearing. If you use very soft apples, the filling turns mushy before the topping is done. Granny Smith, Honeycrisp, Braeburn, or a blend all work well.
- Cornstarch — This is what turns the apple juices into a glossy filling that scoops cleanly. Flour can thicken too, but it makes the filling cloudier and less silky. If you reduce the sugar, keep the cornstarch the same or the juices will stay loose.
- Brown sugar — Brown sugar in both the filling and topping brings a deeper caramel note that white sugar can’t match. In the crumble, it also helps the topping bake into those crisp, sandy-clumpy bits. Packed brown sugar matters here because the topping needs enough moisture to hold together.
- Rolled oats — Old-fashioned oats give the crumble its chew and structure. Quick oats can work in a pinch, but the topping will be finer and less textured. Steel-cut oats won’t soften properly, so don’t use them.
- Cold unsalted butter — This is the difference between a crumbly topping and a greasy one. Unsalted butter gives you control over the salt level, and keeping it cold lets the topping bake into distinct clumps instead of disappearing into the flour.
The 55 Minutes That Matter Most
Building the Apple Layer
Toss the sliced apples with the sugars, spices, cornstarch, and lemon juice until every slice looks lightly coated and glossy. The cornstarch needs to cling to the fruit before it goes into the pan, not pool at the bottom. Spread the apples in an even, thick layer so they bake at the same rate; a loose pile leaves some slices underdone while others collapse.
Making Big, Butter-Streaked Crumbles
Combine the oats, flour, brown sugar, cinnamon, and salt, then work in the cold butter with your hands until the mixture forms chunky clumps. Stop when you still see streaks of butter. If you mix until it looks uniform, the topping bakes up tighter and loses that farmhouse-style crunch. The texture should feel like damp gravel with some larger pieces holding together when squeezed.
Baking Until the Filling Bubbles
Spread the crumble generously over the apples and pile it on thick. Bake until the topping is deep golden and you can see the filling bubbling around the edges of the dish. Those bubbles are the signal that the cornstarch has activated and the apples have released enough juice. If the top browns too quickly before the filling bubbles, lay a piece of foil loosely over the dish and keep baking.
Letting It Rest Before Serving
Give the crisp at least 15 minutes after it comes out of the oven. The filling thickens as it cools, and scooping too early leaves you with a loose, runny pan. That short rest also helps the topping settle, so it stays crisp instead of sliding off the apples the second you serve it.
Three Ways to Make This Apple Crisp Fit Your Table
Gluten-Free Version
Swap the all-purpose flour with a good 1:1 gluten-free baking blend. The topping will still clump and crisp, though it may bake a touch more tender than the original. Keep the oats certified gluten-free if cross-contact matters.
Dairy-Free Crisp
Use a plant-based butter that behaves like stick butter, not a soft tub spread. You need something firm enough to hold chunks in the crumble. The texture will stay close to the original, but the flavor will be a little less rich.
More Tart, Less Sweet
Use mostly Granny Smith apples and cut the granulated sugar in the filling by a few tablespoons. The crisp will taste brighter and more apple-forward, with a sharper edge that works well with vanilla ice cream.
Storage and Reheating
- Refrigerator: Store covered for up to 4 days. The topping softens a bit as it sits, but the flavor stays good.
- Freezer: It freezes well after baking. Cool completely, wrap tightly, and freeze for up to 2 months. Thaw overnight in the refrigerator before reheating.
- Reheating: Warm individual portions in the oven at 325F until heated through, or use a microwave if you don’t mind a softer topping. The oven gives the best texture because it brings some of the crumble back to life.