Melting chocolate under a blanket of toasted marshmallows turns a simple campfire moment into a dessert people hover around the skillet for. The edges go gooey first, the top gets bronzed and sticky, and every graham cracker swipe catches both layers at once. It’s the kind of treat that disappears fast because it tastes like a full campfire s’more without the juggling act.
The part that makes this work is the cast iron skillet. It holds steady heat, so the chocolate melts evenly instead of scorching on the bottom while the marshmallows still look pale on top. A medium heat over the coals gives you the best control here. Too hot, and the marshmallows will blacken before the chocolate underneath turns soft. Keep the layer of chocolate chips even, and the marshmallows in one snug layer so the top toasts at the same pace.
Below, I’m sharing the exact timing that keeps the marshmallows golden instead of burned, plus a few easy swaps if you want to change up the chocolate or serve this for a bigger crowd.
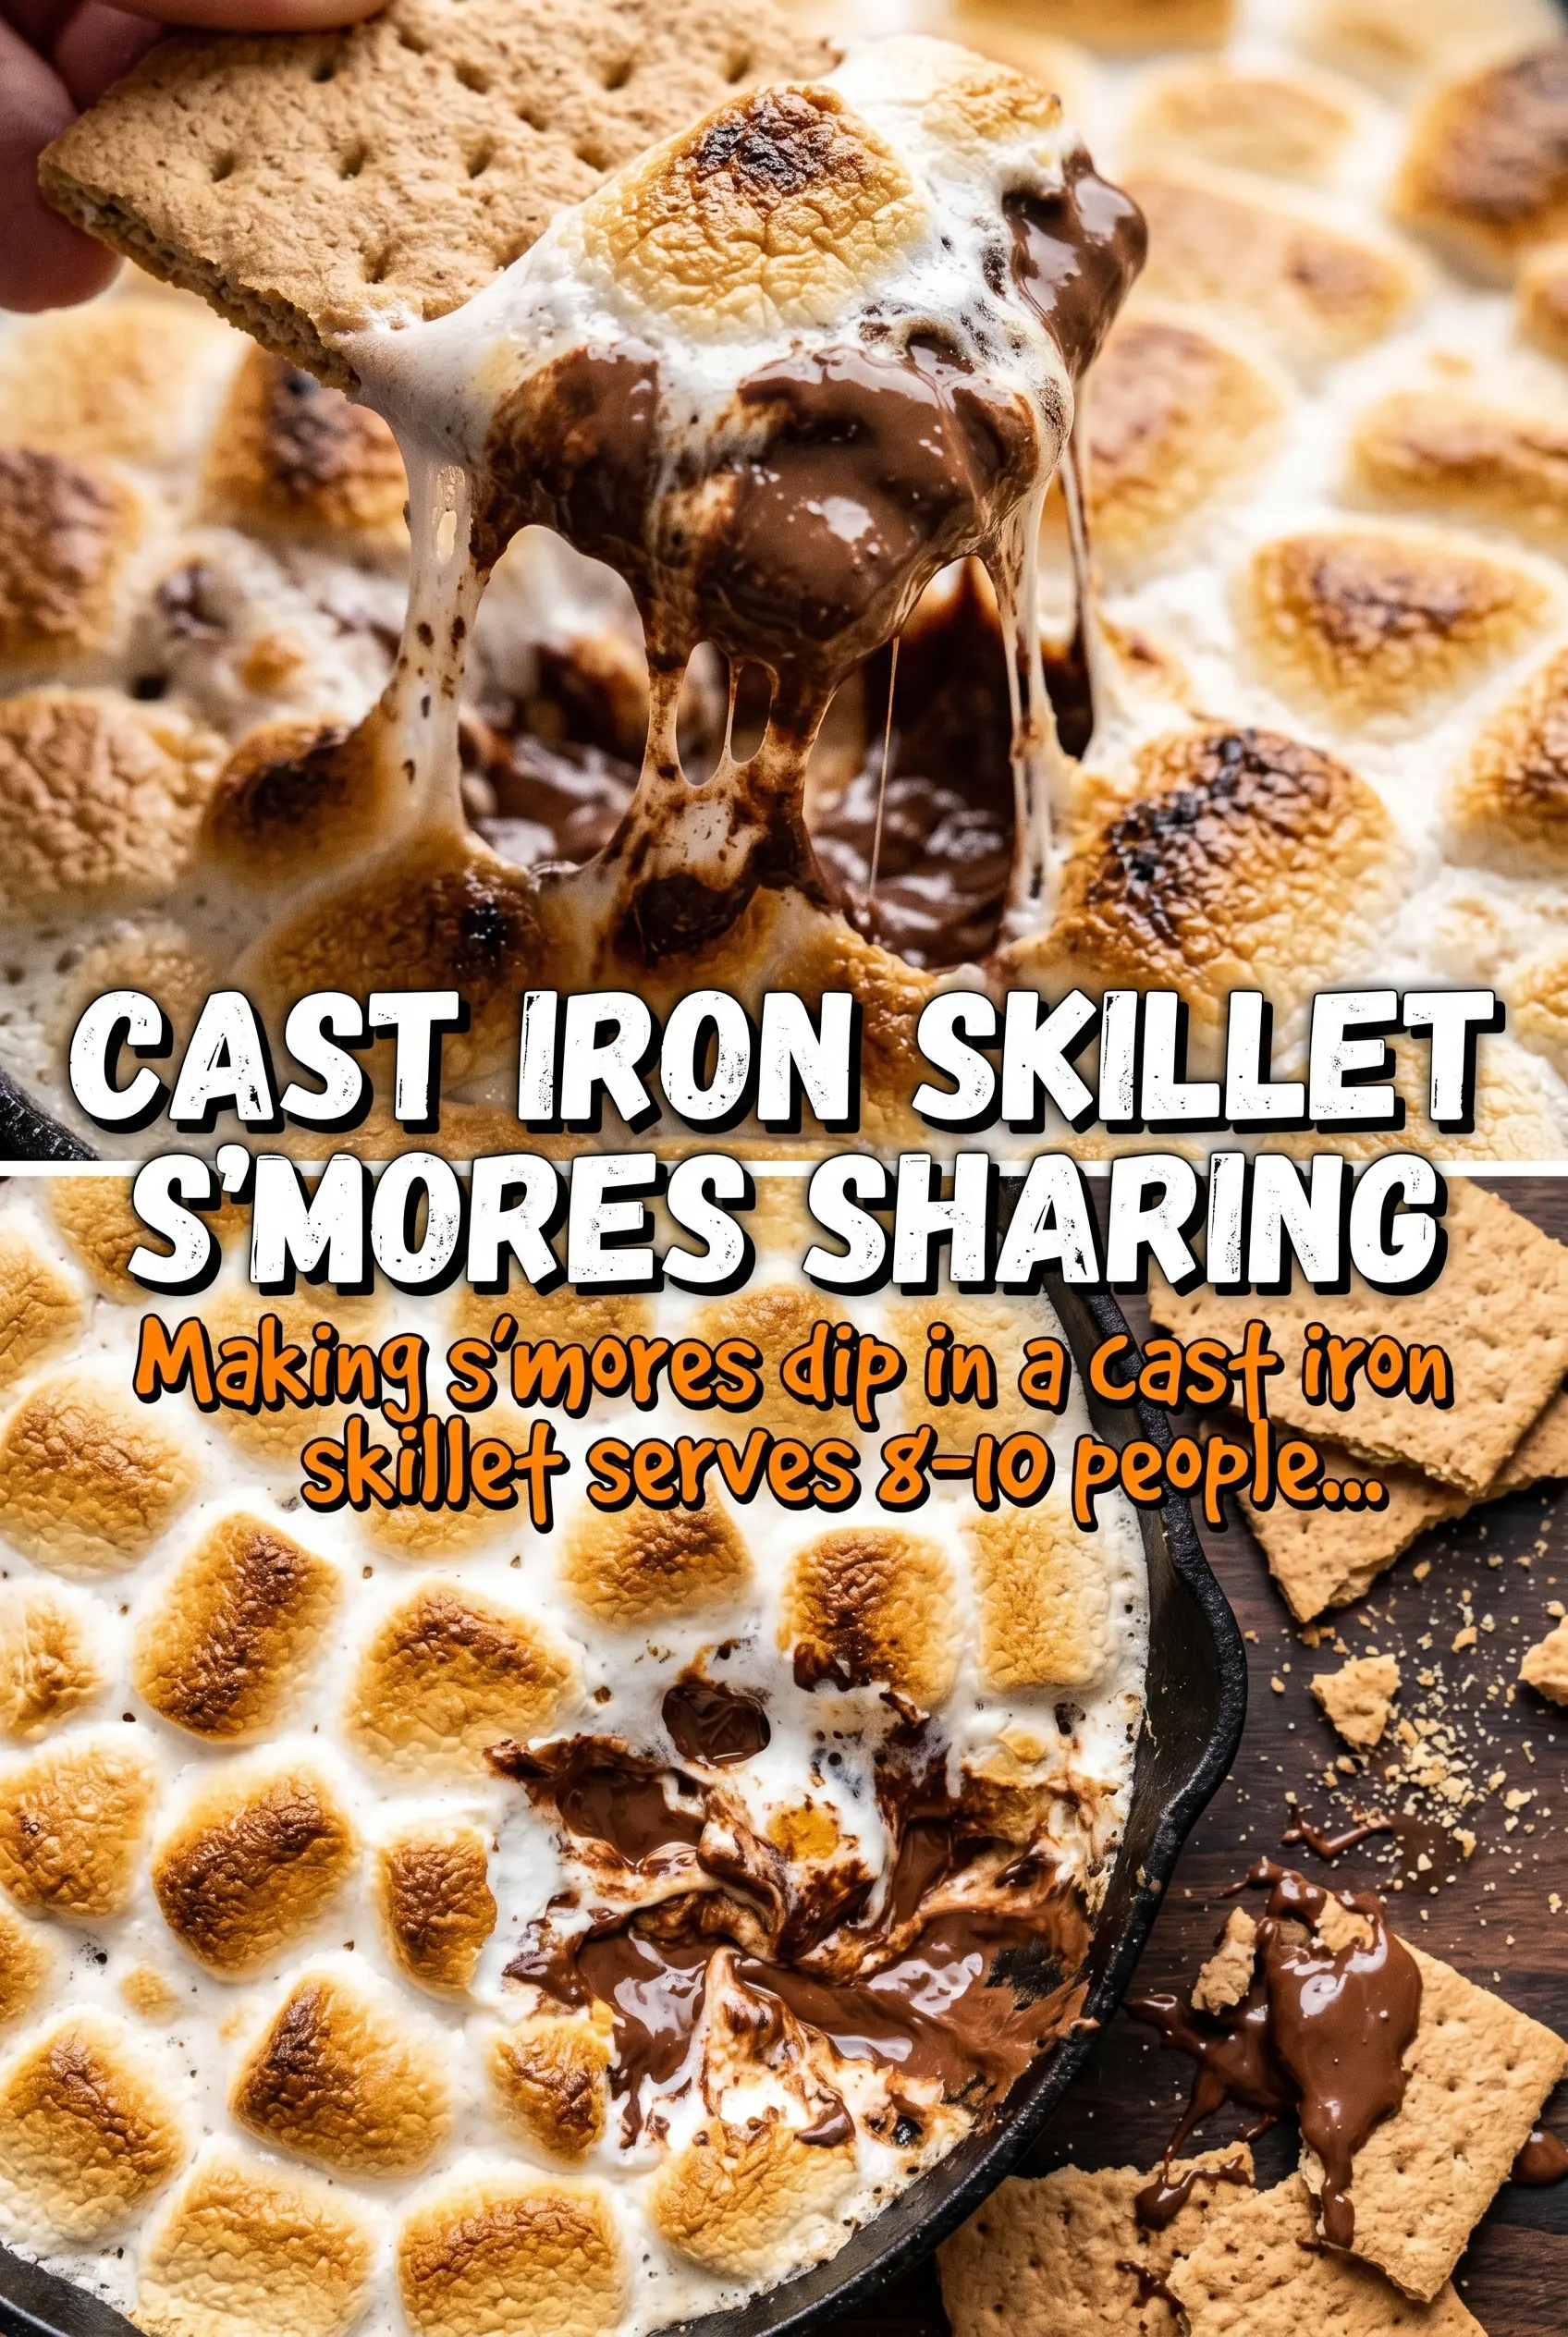
The marshmallows turned that perfect toasted gold and the chocolate melted all the way through without burning. I set it on the grate for about 9 minutes and everyone kept dipping until the skillet was clean.
Save this cast iron Campfire S’mores Dip for the nights when you want toasted marshmallow, melted chocolate, and graham crackers in one skillet.
The Heat Is What Makes or Breaks This Skillet
This dessert looks simple, but the timing only works if the skillet heat stays controlled. The chocolate chips need enough heat to soften all the way through, while the marshmallows need enough direct warmth to toast on top without collapsing into a burned layer before the center goes gooey. That’s why a medium spot over the coals works better than a roaring hot fire. The chocolate melts from the stored heat in the cast iron, and the marshmallows finish with that browned, sticky top people expect from a proper s’more.
If the fire is running hot, pull the skillet to the cooler edge of the grate and give it a minute. The marshmallows can go from golden to burnt faster than most people think, and once they darken too much, the flavor turns bitter instead of caramelized. You’re looking for puffed marshmallows with bronzed peaks and chocolate that gives way when you dip a cracker through the center.
What Each Ingredient Is Actually Doing in This Dip

- Chocolate chips — These form the molten base, and chips are convenient because they melt into a thick, scoopable layer. Semisweet gives the best balance because it keeps the dessert from becoming overly sweet once the marshmallows and graham crackers come in. Milk chocolate works if you want a softer, sweeter finish, but it can taste a little flat next to the toasted top.
- Mini marshmallows — Minis melt and brown more evenly than full-size marshmallows because they cover the surface in a tight layer. That coverage matters; gaps let the chocolate overheat in spots while the top stays pale. If you only have large marshmallows, cut them in half and press them close together.
- Graham crackers — Use sturdy crackers so they hold up against the warm dip without snapping apart on contact. Honey grahams are classic, but chocolate grahams or cinnamon grahams both work if you want a little extra flavor. Thin wafer-style cookies soften too quickly and don’t give you the same crunch.
Building the Skillet So the Chocolate Melts Under a Toasted Top
Start With an Even Chocolate Layer
Spread the chocolate chips in a level layer across the bottom of the cast iron skillet. An even base helps the chocolate melt at the same rate, which keeps the dip smooth instead of partially soft in one section and stubborn in another. If the chips are piled too thick in the center, the edges can overheat before the middle loosens. The pan should look fully covered, with no bare iron showing through.
Cover the Surface Without Gaps
Scatter the mini marshmallows over the chocolate in a tight, even layer. The goal is full coverage, because those marshmallows protect the chocolate underneath while they toast on top. If there are open spaces, the chocolate there can dry out or scorch before the marshmallows finish. Press them gently into place if they roll around.
Watch for the Right Color, Not the Clock Alone
Set the skillet over medium heat on the campfire grate or over the coals and let it cook for 8 to 10 minutes. The marshmallows should turn golden with a few deeper brown spots, and the chocolate underneath should look glossy and soft when you nudge the topping apart with a cracker. If the top is browning too quickly, move the skillet farther from the hottest part of the fire. When the marshmallows are done, serve immediately because the dip thickens fast as it cools.
How to Adapt This for a Crowd, a Different Sweet Tooth, or No Campfire
Make it darker and less sweet
Swap the semisweet chips for bittersweet chocolate. The dip will taste deeper and less candy-like, which works well if you like your s’mores with a stronger chocolate edge. The marshmallows still provide plenty of sweetness, so you won’t miss the extra sugar.
Use dairy-free chocolate for a gluten-free dessert base
Choose dairy-free chocolate chips and pair them with certified gluten-free graham crackers if you need the whole dessert to fit a gluten-free or dairy-free table. The texture stays the same, and the toasted marshmallow topping carries the same campfire feel. Just check the label on the crackers, since that’s usually where the gluten hides.
Add peanut butter or caramel for a richer version
Drizzle a few spoonfuls of peanut butter or caramel over the chocolate before the marshmallows go on. Peanut butter adds salt and a nutty edge, while caramel makes the dip taste almost like a campfire candy bar. Keep the layer thin so the skillet doesn’t turn greasy or overly sweet.
Bake it in the oven when you’re not outdoors
Set the skillet in a 400°F oven and bake just until the marshmallows turn golden and the chocolate underneath melts. The top won’t have the smoky campfire note, but you’ll get the same melty center and toasted finish. This is the version I’d use when I want the dessert to land at the table all at once.
Storage and Reheating
- Refrigerator: Best eaten right away, but leftovers keep for 1 day covered in the fridge. The marshmallows lose their toasted top and the chocolate firms up.
- Freezer: I don’t recommend freezing this dip. The marshmallows turn spongy after thawing, and the texture stops being worth saving.
- Reheating: Warm leftovers in a low oven or briefly over very gentle heat until the chocolate softens again. High heat is the mistake here; it scorches the marshmallows before the center loosens.
Answers to the Questions Worth Asking
Campfire S'mores Dip
Ingredients
Equipment
Method
- Spread the chocolate chips in the bottom of a cast iron skillet in an even layer so they melt uniformly.
- Top the chocolate chips evenly with the mini marshmallows so the surface is fully covered.
- Place the skillet on a campfire grate over medium heat or suspend it over coals, keeping the top in view as the marshmallows puff.
- Cook for 8-10 minutes until the chocolate melts completely and the marshmallows are golden and toasted, with bubbles and browning visible at the edges.
- Remove from heat and serve immediately with graham crackers for dipping while the dip is still molten.