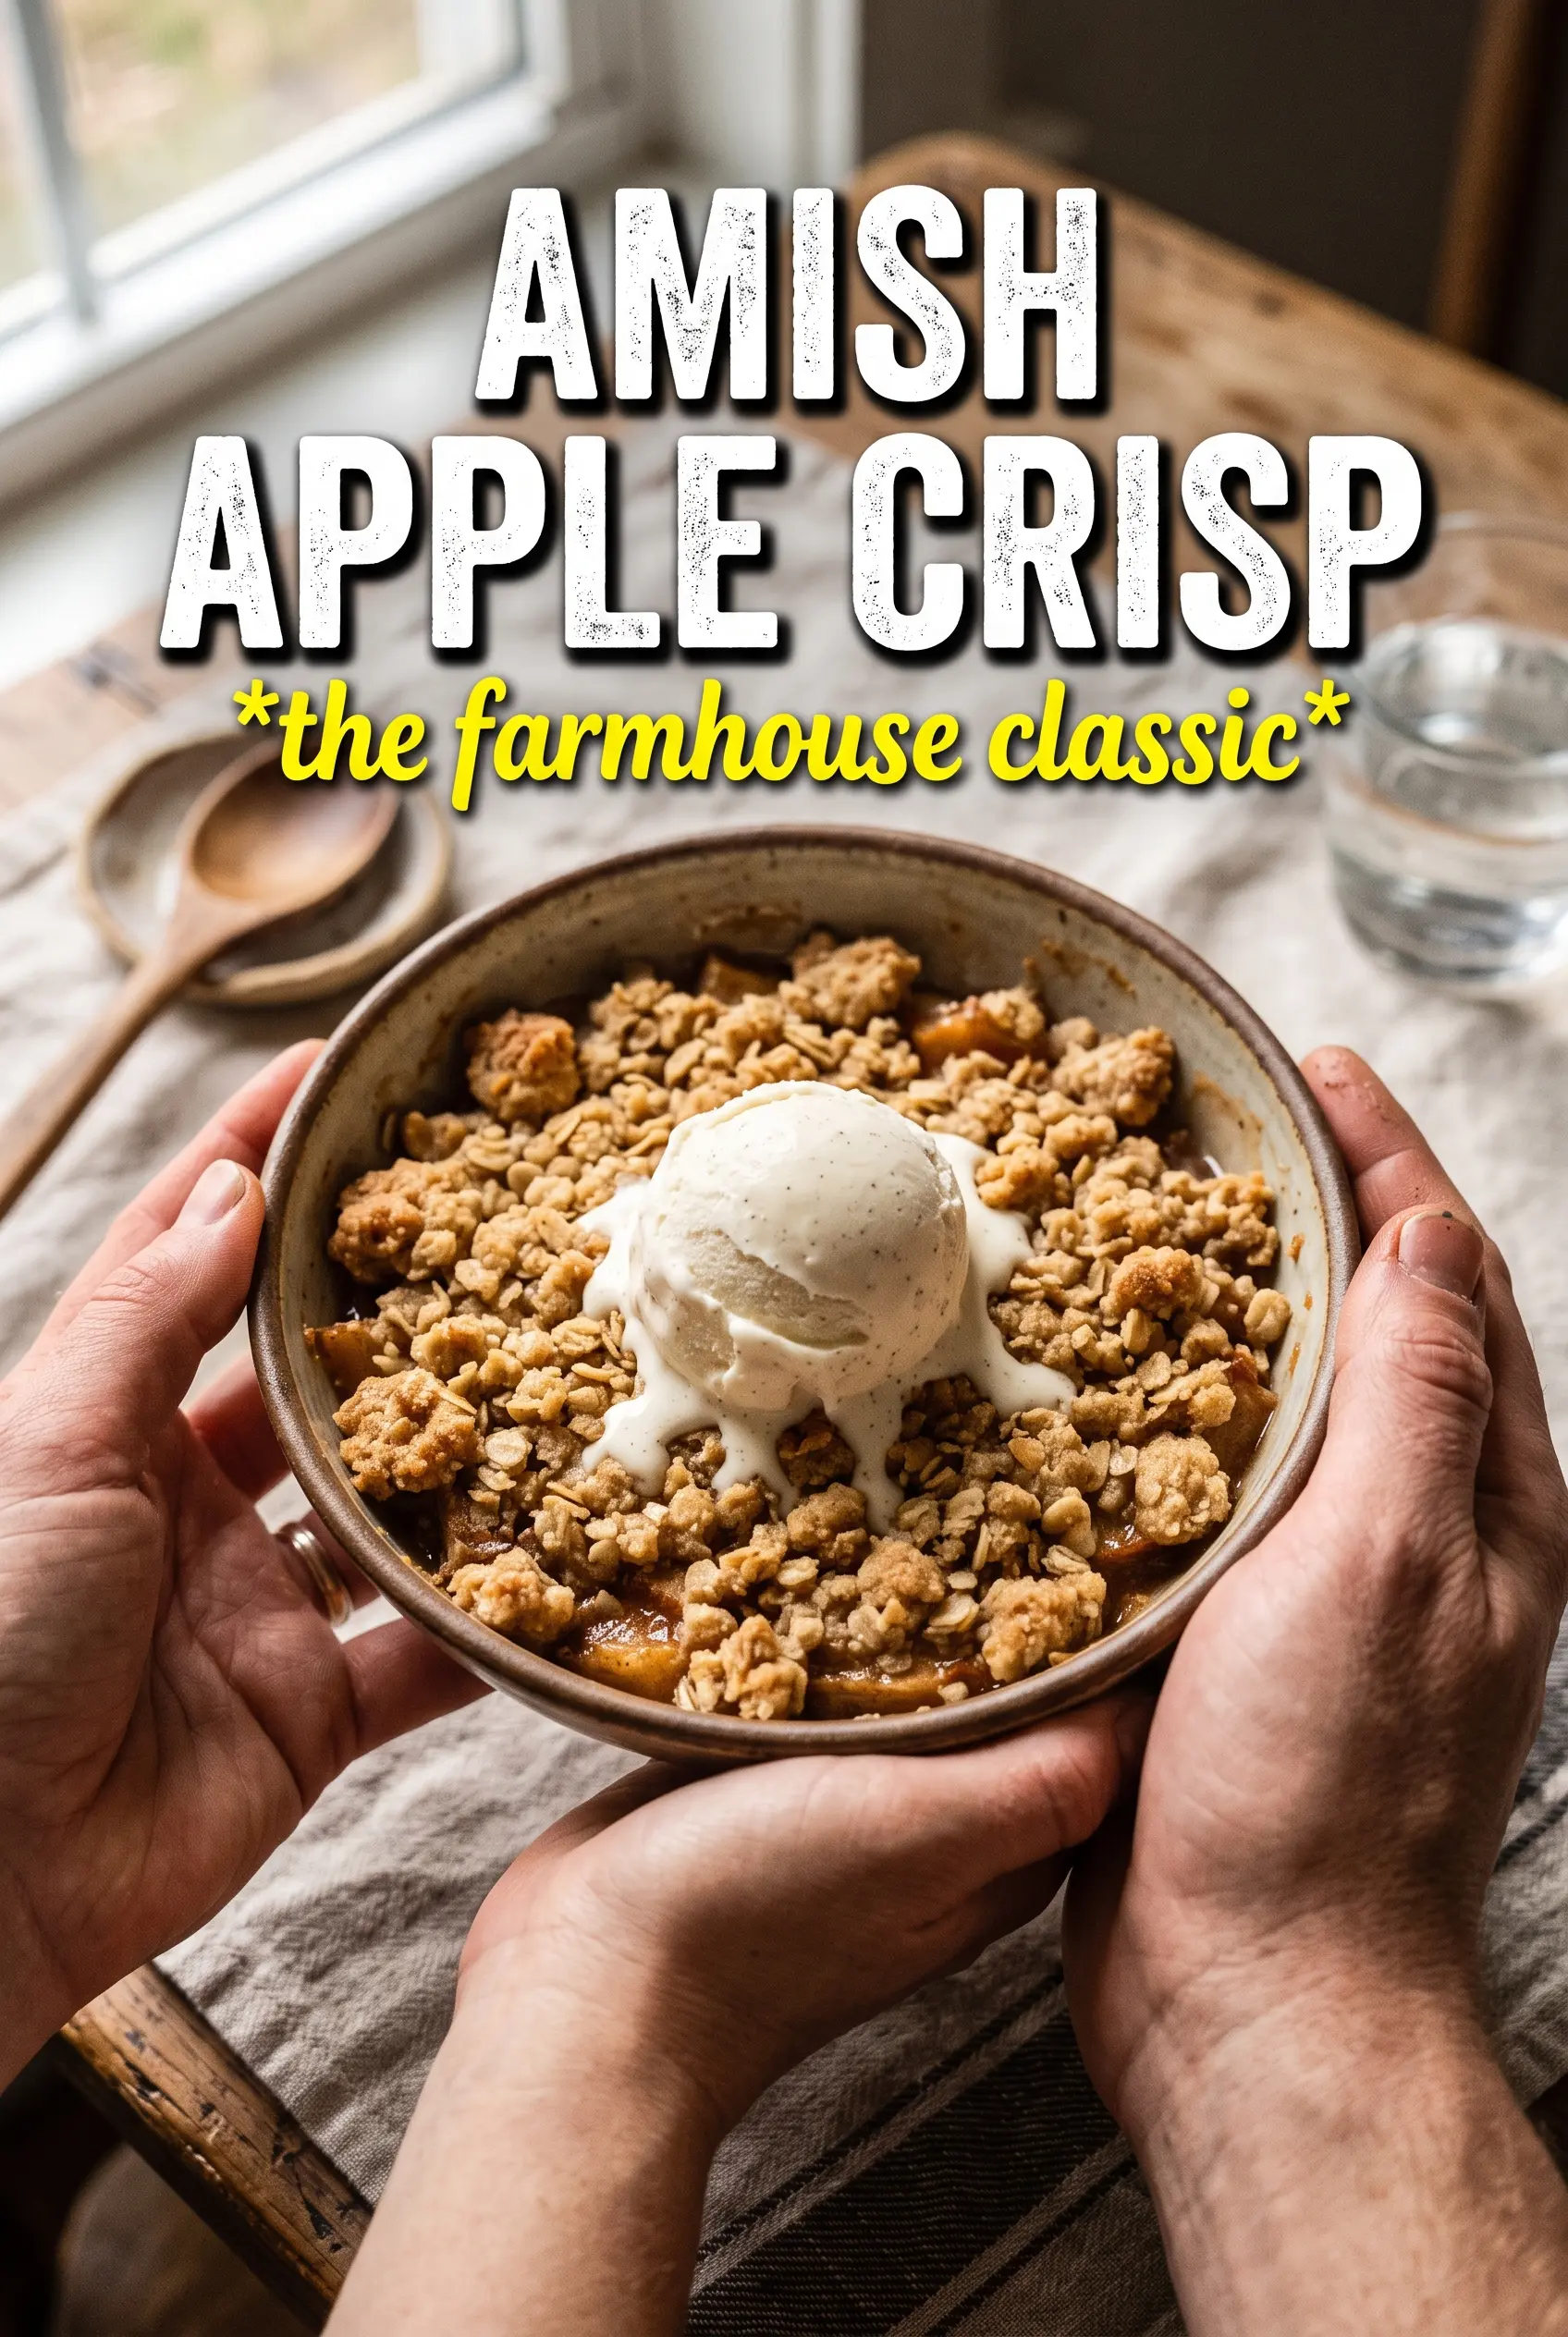
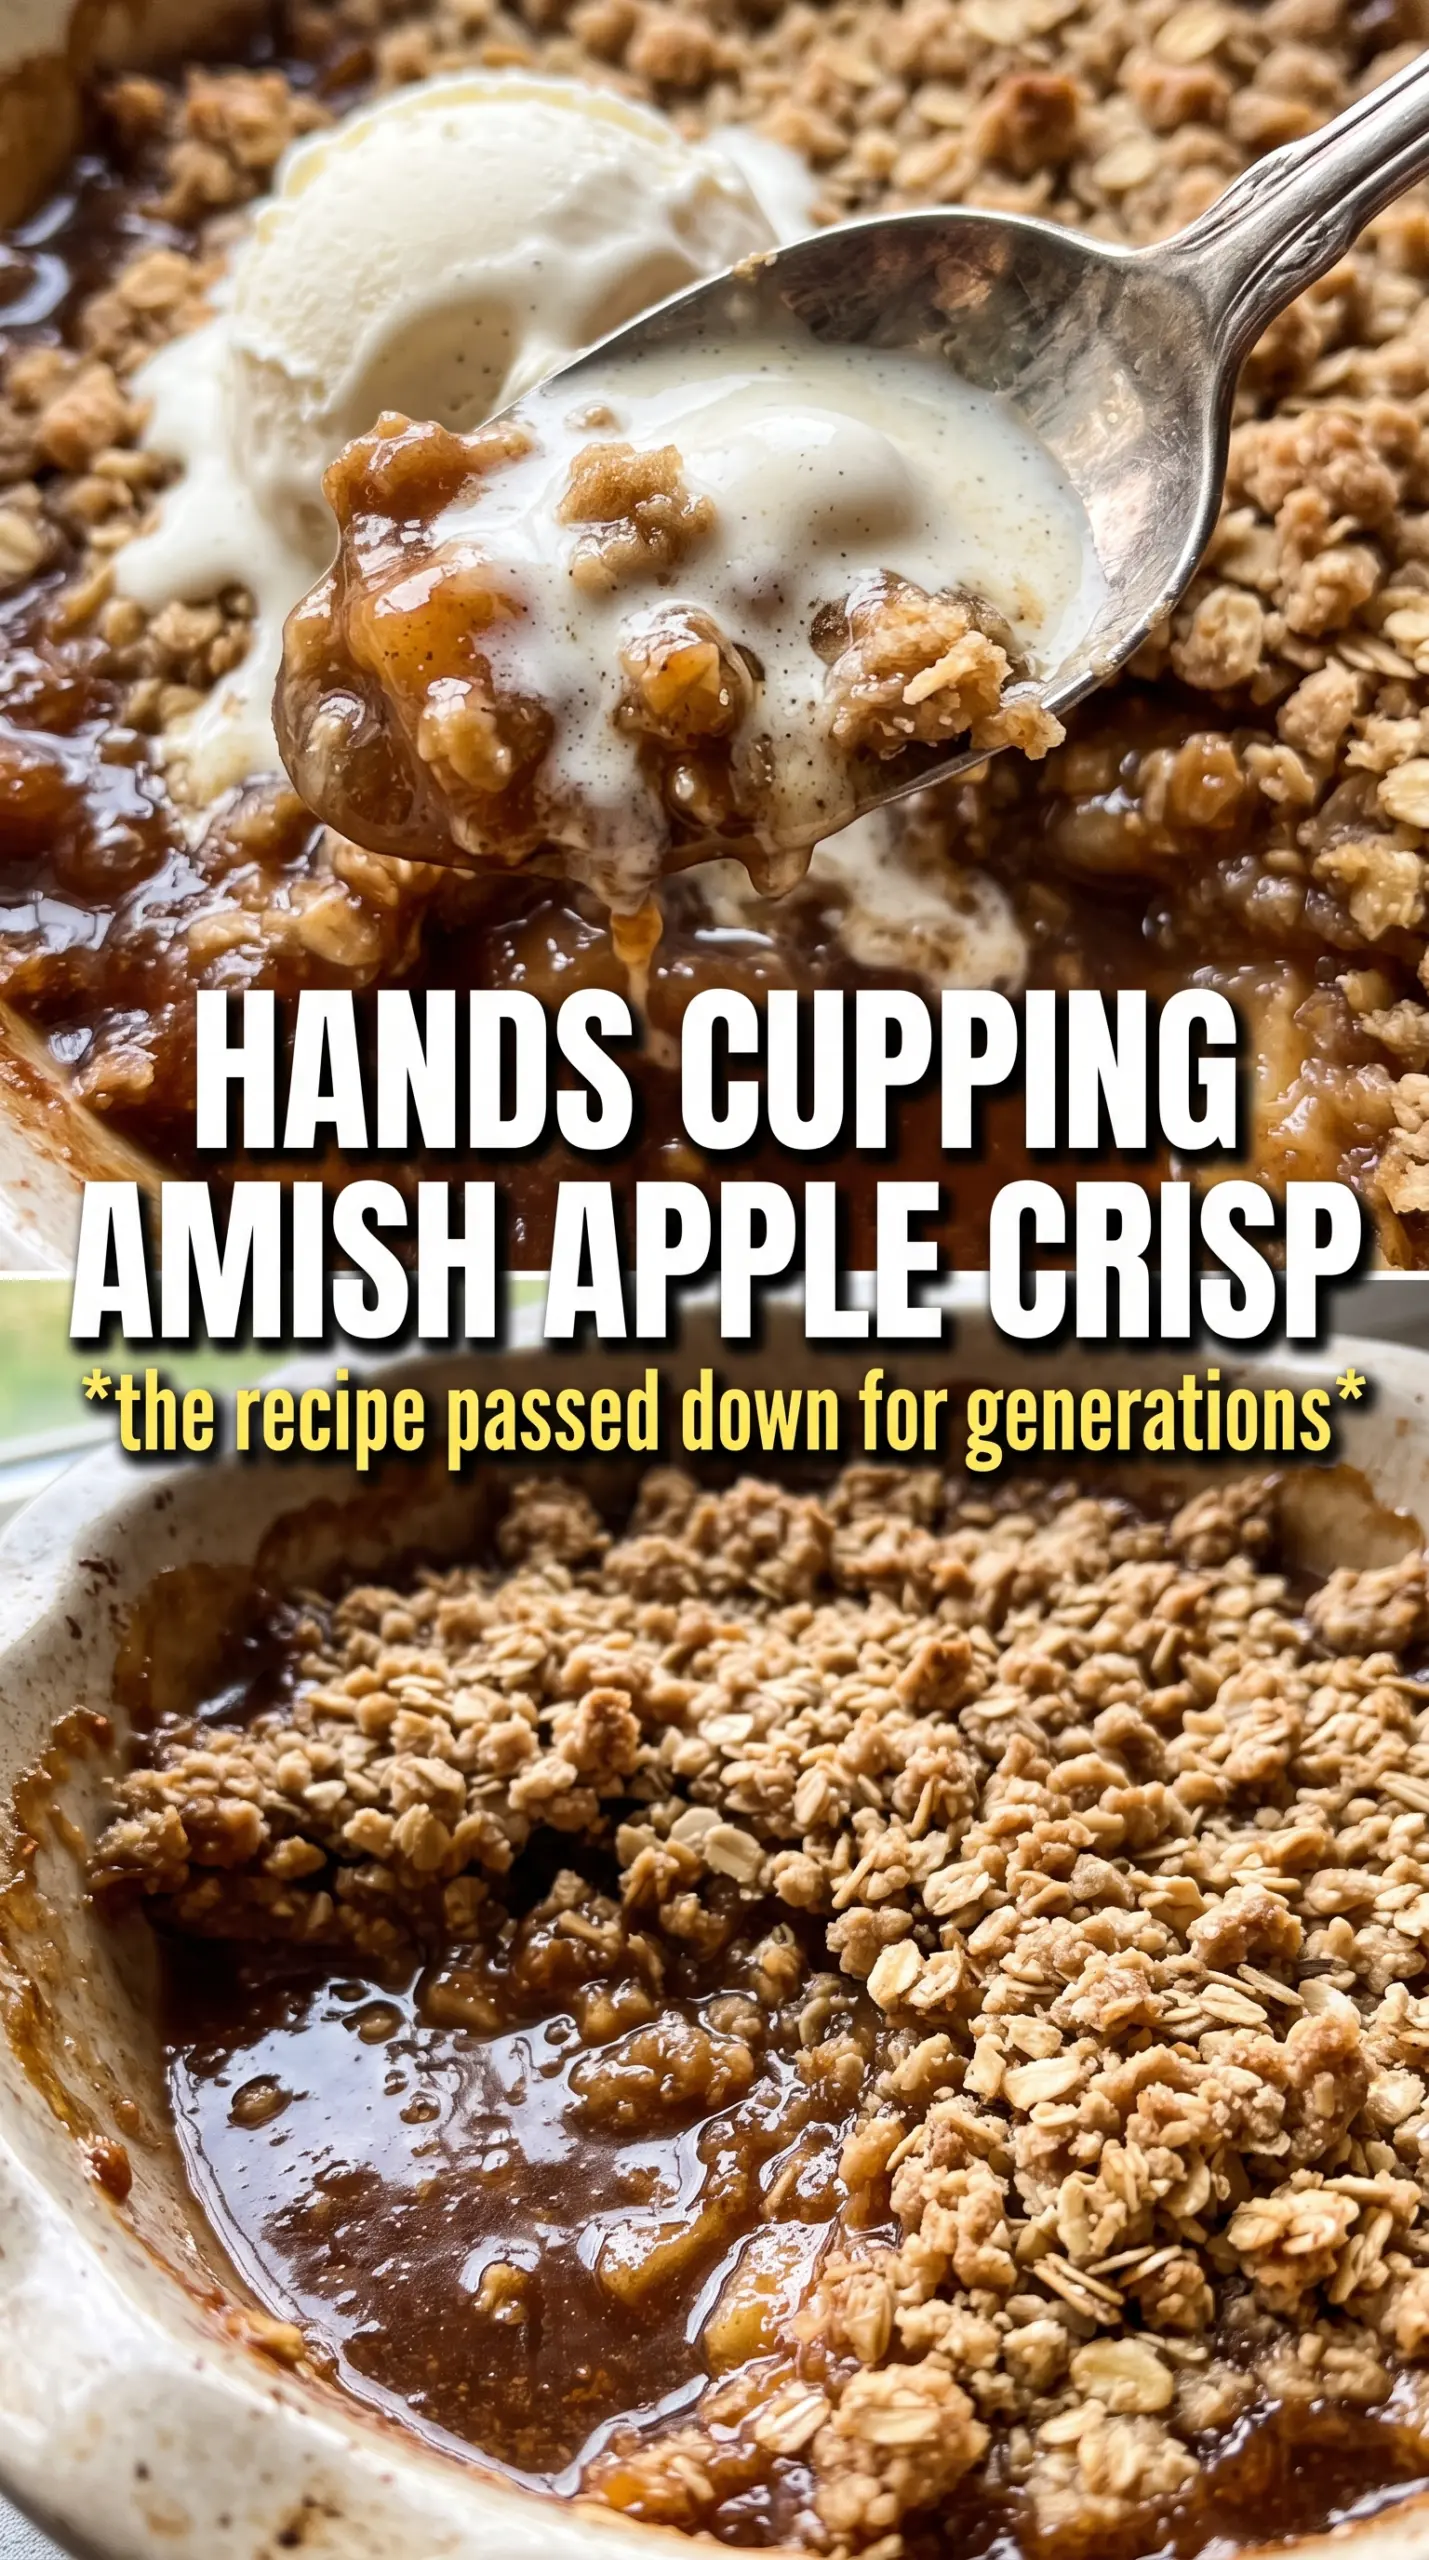
Amish apple crisp lands in that sweet spot between rustic and downright irresistible: tender spiced apples underneath a thick, golden crumble that bakes into crunchy little clusters at the edges and stays just crumbly enough in the center. The best versions don’t bury the fruit under a dry topping or turn the filling watery. They give you bubbling juices, soft apples that still hold their shape, and a topping with enough fat to bake into real texture.
What makes this one work is the balance. A mix of granulated and brown sugar in the filling gives the apples enough sweetness without turning them syrupy, while flour helps the juices thicken as the crisp bakes. The topping uses both oats and flour for structure, and cold butter is nonnegotiable if you want those big craggy crumbs instead of a sandy layer. The little bit of lard, if you use it, gives the crumble an old-fashioned richness and an especially good, nubby texture.
Below, I’ll walk through the parts that matter most: how to keep the topping crisp, how to know when the apples are baked through, and what to change if you want to serve this the classic Amish-style way with cream.
The topping baked up thick and crunchy instead of turning dusty, and the apples were soft but not mushy. I used the lard like you suggested and it gave the crisp a richer, more old-fashioned taste.
Like this old-fashioned Amish apple crisp? Save it to Pinterest for the nights when you want caramelized apples, a thick oat crumble, and vanilla ice cream in one pan.
The Thick Crumble Needs More Than Just Oats and Butter
The mistake most apple crisps make is treating the topping like a sprinkle instead of a cap. A thin layer melts into the fruit and disappears. This version uses enough dry ingredients to build an actual crust of crumbs, and that matters because the apples release a lot of juice as they bake. If the topping is too light, the whole dessert turns soggy before the apples even finish softening.
Cold butter is the other piece people rush through. Soft butter blends in too evenly and gives you a fine, sandy layer instead of those bigger, craggy bits that brown at different speeds. The lard, if you’re using it, adds a slightly more tender richness and helps the topping hold those farmhouse-style clusters. Pressing the crumble very gently onto the apples helps it stay put without compacting it into a dense lid.
What Each Ingredient Is Actually Doing in This Dish
- Apples — Use a mix if you can. Tart apples keep the filling from tasting flat, while sweeter apples soften into a more jammy base. If you only have one kind, choose one that holds its shape in the oven instead of turning to applesauce.
- Brown sugar and granulated sugar — Brown sugar brings molasses depth, while granulated sugar keeps the sweetness clean. The combination gives the filling a rounded taste without making it taste heavy.
- Flour in the filling — This is what turns the apple juices into a light syrup instead of a puddle. Skip it and you’ll get runny filling that leaks all over the pan.
- Oats and flour in the crumble — Oats give the topping chew and structure; flour helps bind it into bigger crumbs. Using only oats makes the texture loose, while only flour makes it too pastry-like.
- Cold butter and lard — Butter gives flavor, and lard adds a deeper, old-fashioned crumble that bakes up extra crisp. If you don’t have lard, use all butter and keep it cold until the last second.
- Cinnamon, nutmeg, and allspice — Cinnamon leads, but the smaller spices are what make the filling taste layered instead of one-note. The nutmeg and allspice should stay in the background; too much and the apples disappear.
How to Build the Crumble So It Stays Crisp
Season the Apples First
Mix the sliced apples with the sugars, spices, flour, and lemon juice before they go into the pan. That lets the fruit start releasing juice right away, and the flour can catch those juices before they pool at the bottom. Spread the apples in a deep, even layer so they cook at the same pace. If the slices are piled too high in the center, the middle stays firm while the edges overcook.
Cut the Fat Into Big, Uneven Clumps
Work the cold butter and lard into the dry topping ingredients with your hands until the mixture forms rough crumbs and some larger clumps. You’re not aiming for a smooth dough. Those uneven bits are what bake into the crunchy, craggy top people love about a good crisp. If the mixture starts feeling greasy or paste-like, the butter got too warm, and the topping will bake up dense.
Bake Until the Edges Bubble Hard
The crisp is done when the topping is deep golden and the apple juices are bubbling all around the edges. Pale topping means the flour and oats haven’t fully toasted yet, and that leaves you with a floury taste. Let it rest for 15 minutes before serving so the filling thickens slightly. If you scoop it too soon, the juices run everywhere instead of settling into that spoonable consistency.
How to Adapt This for Different Tables
Dairy-Free Version That Still Browns Properly
Use all butter-flavored plant butter in place of the dairy butter and skip the cream for serving, or use a dairy-free vanilla ice cream. The topping won’t taste quite as rich, but it will still bake into good crumbs if the substitute stays cold.
No Lard, All Butter
Use 1 1/2 cups total butter instead of the butter-and-lard combination. The crisp will still be excellent, just a little less old-fashioned in texture, with a more straightforward buttery finish.
Make It a Little Less Sweet
Cut the granulated sugar in the filling by 2 to 3 tablespoons if your apples are naturally sweet. Don’t reduce the flour with it, though — the flour is there for texture, not sweetness, and the filling still needs it to thicken.
Storage and Reheating
- Refrigerator: Keep covered for up to 4 days. The topping softens a little in the fridge, but the flavor stays good.
- Freezer: It freezes well after baking. Cool completely, wrap tightly, and freeze for up to 2 months. Thaw in the fridge overnight before reheating.
- Reheating: Warm uncovered in a 325F oven until the topping crisps back up and the filling is hot in the center. The biggest mistake is microwaving it for too long, which makes the crumble limp.