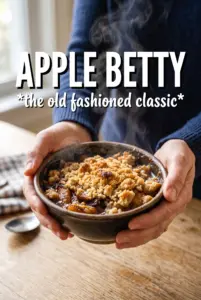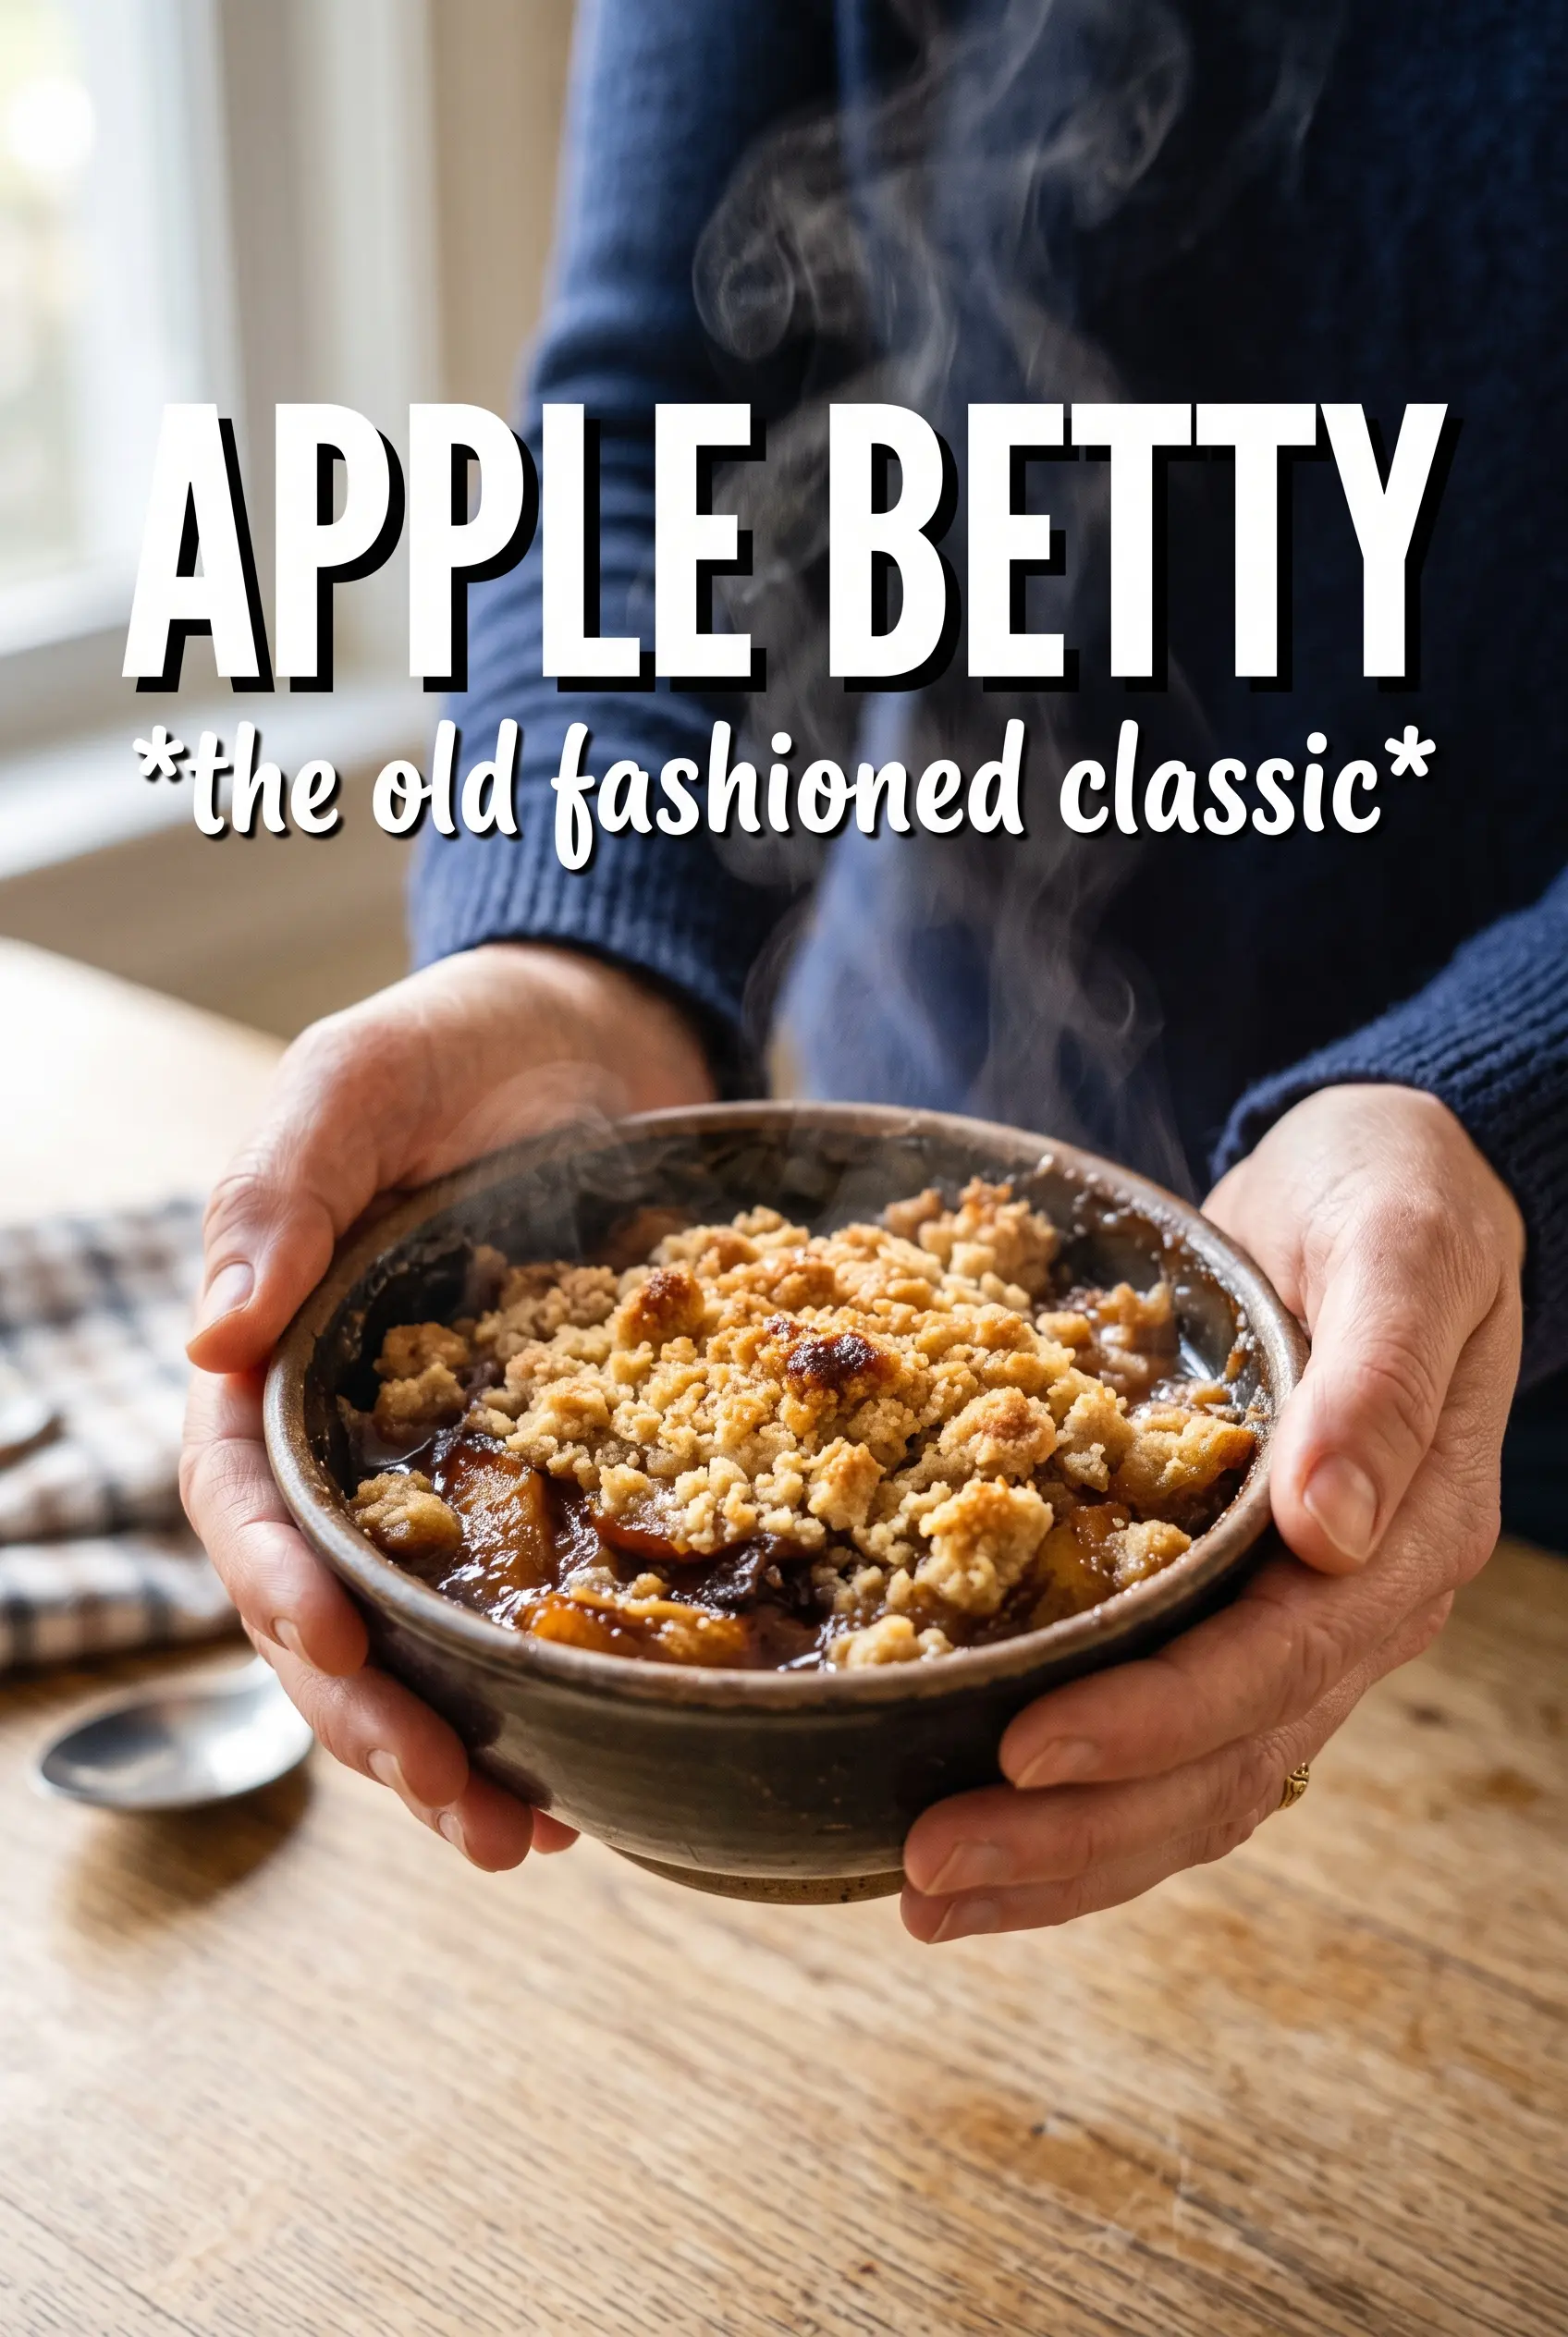
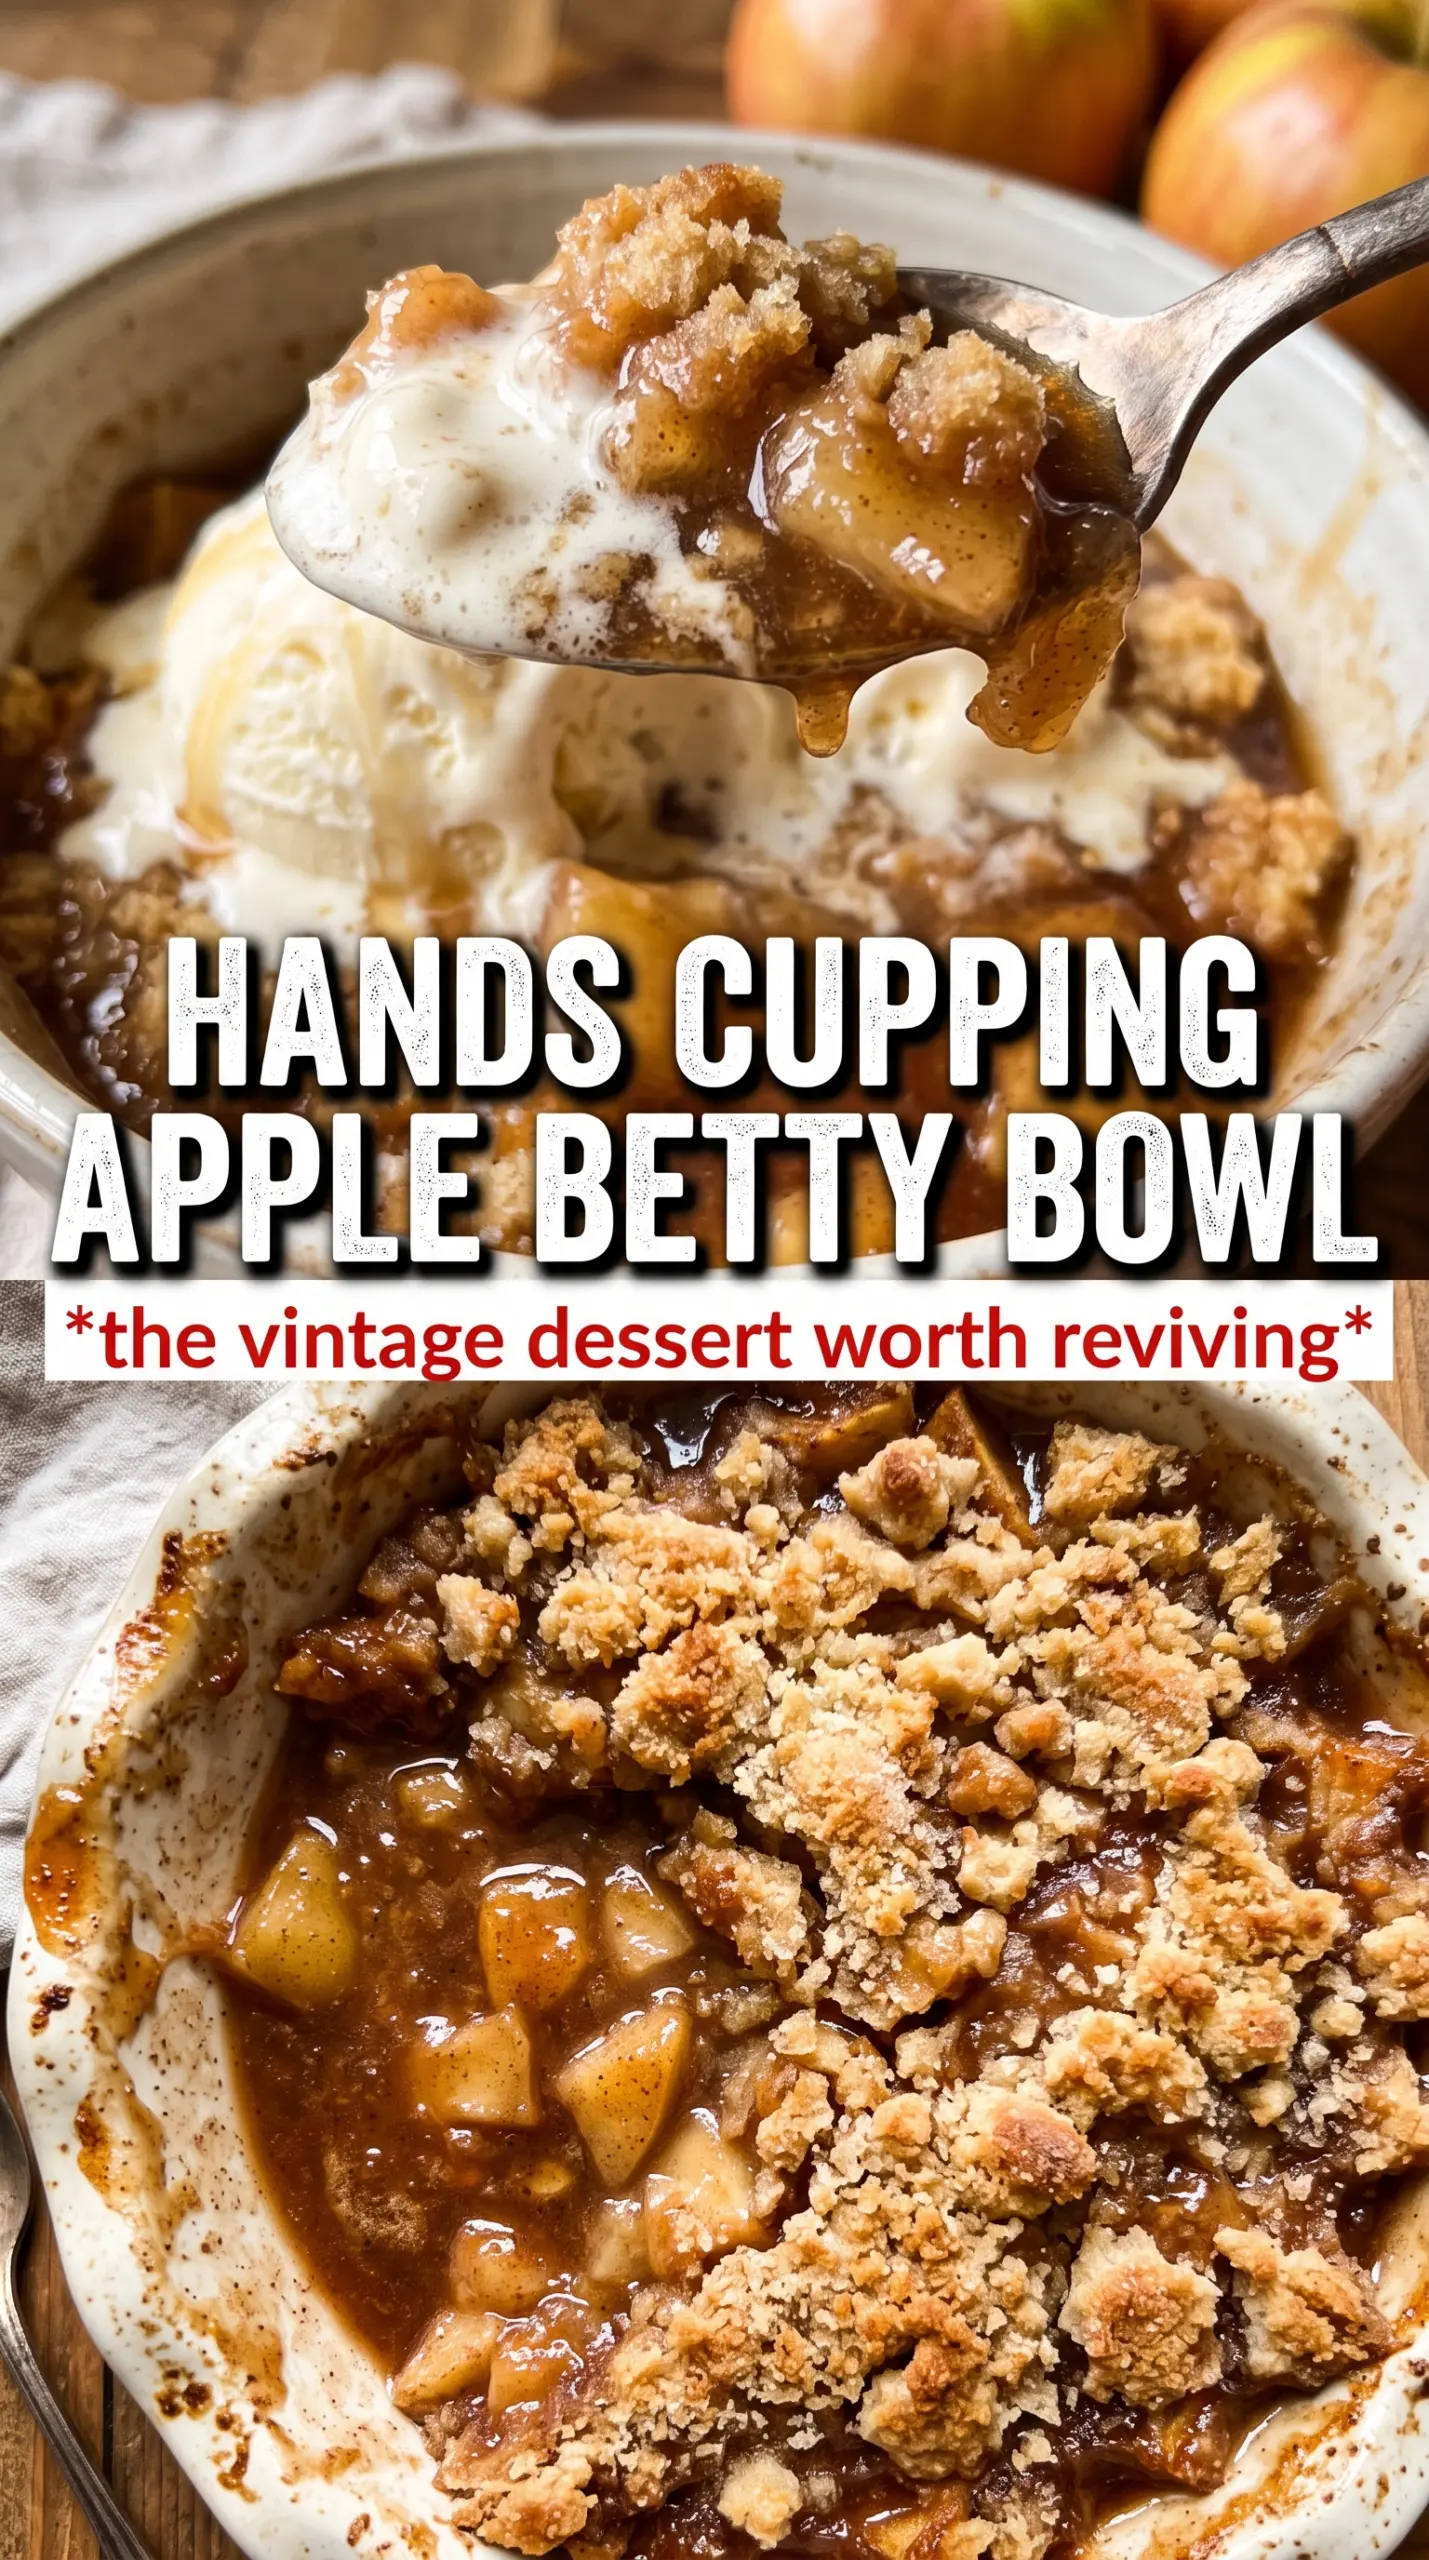
Warm apple Betty lands with the kind of contrast that keeps people going back for a second spoonful: tender spiced apples underneath, a buttery breadcrumb crust on top, and just enough syrupy moisture in the middle to bind everything together. It’s the sort of dessert that feels old-fashioned in the best way, with simple ingredients doing surprisingly good work once they’re layered the right way.
The trick is keeping the topping crisp while the apples soften beneath it. Day-old bread makes better crumbs than fresh, because it dries out enough to toast instead of turning pasty, and the melted butter needs to coat every bit so the top bakes into a proper crust. The lemon juice and zest keep the filling bright, which matters when you’re working with sweet apples and brown sugar.
Below, I’ve broken down the layering order that keeps the dessert from turning soggy, plus a few substitutions if your bread or apples aren’t exactly what you planned on using.
The breadcrumb topping baked up crisp instead of soggy, and the apples stayed tender without turning to mush. I served it with vanilla ice cream and my husband asked if there was any left for breakfast.
Save this Apple Betty for the kind of dessert that bakes up with a crackly golden top and soft cinnamon apples underneath.
The Crisp Topping Is the Whole Point — Don’t Let It Steam
Apple Betty lives or dies on the top layer. If the breadcrumbs are packed down too tightly, or if the fruit is sitting too close to the surface, the dessert steams instead of baking into that buttery, toasted crust everyone wants. The layering order in this recipe keeps the bread in contact with the hot pan and the apples tucked beneath it, so the top can dry out and brown while the filling softens below.
That’s why the butter goes on the crumbs before they hit the dish. Dry crumbs won’t brown evenly on their own, and tossing them with melted butter gives you little toasted bits instead of pale, dusty crumbs. The apple mixture also needs enough sugar and spice to release juices, but not so much liquid that it floods the pan. A shallow drizzle of cider helps everything steam just enough to soften, without drowning the crust.
What Each Ingredient Is Actually Doing in This Dish
- Day-old breadcrumbs — These give Apple Betty its signature texture. Fresh bread holds too much moisture and turns gummy, while stale bread dries out enough to toast into a crisp, craggy topping. If all you have is fresh bread, cube it and dry it in a low oven for a few minutes before crushing it.
- Unsalted butter — Butter coats the crumbs and helps them bake into a rich, golden crust. Salted butter will work in a pinch, but unsalted gives you better control over the final flavor, especially since the filling is already sweet.
- Apples — Use a firm baking apple that holds its shape as it cooks. Something like Granny Smith, Honeycrisp, or a mix of tart and sweet apples gives the best balance. Soft apples break down too fast and can make the dessert mushy.
- Brown sugar — This sweetens the filling and brings a little molasses depth that white sugar doesn’t give you. Packed brown sugar also helps draw juices from the apples so the layers bake together instead of staying separate.
- Lemon juice and zest — These keep the dessert from tasting flat. The juice sharpens the apples, and the zest adds a bright edge you’ll miss if you leave it out. If you don’t have a fresh lemon, skip the zest rather than using bottled juice alone and expecting the same lift.
The Layering Order That Keeps the Bottom from Going Soft
Coating the Breadcrumbs First
Stir the melted butter into the breadcrumbs until every bit looks evenly moistened. Dry patches will stay pale in the oven and taste dusty instead of toasted, so take a minute here. The mixture should look like damp sand and hold together briefly when squeezed, then fall apart again.
Seasoning the Apples
Toss the sliced apples with the brown sugar, cinnamon, nutmeg, allspice, lemon juice, and lemon zest until the fruit looks glossy. You want the spice mixture to cling to the slices, not sit in a bowl at the bottom. If the apples are sliced too thick, they’ll stay too firm; too thin, and they can collapse before the topping has time to brown.
Building the Layers
Spread a third of the crumbs in the dish first, then add half the apples and a drizzle of cider. Repeat with another layer of crumbs, the rest of the apples, the remaining cider, and finish with the last layer of crumbs. That top layer should sit loose and uneven so it can catch the heat and turn crisp instead of compacting into a lid.
Baking to the Right Finish
Bake until the top is a deep golden brown and you can see the filling bubbling at the edges. The apples should be tender enough to yield to a knife without disintegrating. If the top is getting dark before the apples are done, lay a sheet of foil loosely over the dish for the last 10 minutes.
How to Adapt This for Different Apples, Dietary Needs, or a Smaller Pantry
Make It Gluten-Free with a Crispier Topping
Swap the breadcrumbs for gluten-free bread crumbs or finely crushed gluten-free bread cubes dried in the oven. The texture will still be crisp, but it may brown a little faster, so start checking a few minutes early.
Use a Tart-Sweet Apple Blend
Mix firm tart apples with sweeter ones instead of using a single variety. The tart fruit keeps the dessert from tasting flat, while the sweeter apples melt into the filling and give you that soft, spoonable texture.
Dairy-Free Version
Use a plant-based butter with a high fat content. The topping won’t taste exactly the same, but it will still bake into a crisp crust if the butter substitute melts evenly into the crumbs before layering.
Storage and Reheating
- Refrigerator: Store covered for up to 4 days. The topping softens as it sits, but the flavor stays excellent.
- Freezer: It freezes well after baking. Cool completely, wrap tightly, and freeze for up to 2 months. Thaw in the refrigerator before reheating.
- Reheating: Warm in a 325F oven until heated through. The oven brings the topping back to life better than the microwave, which turns the crumbs soft and steamy.