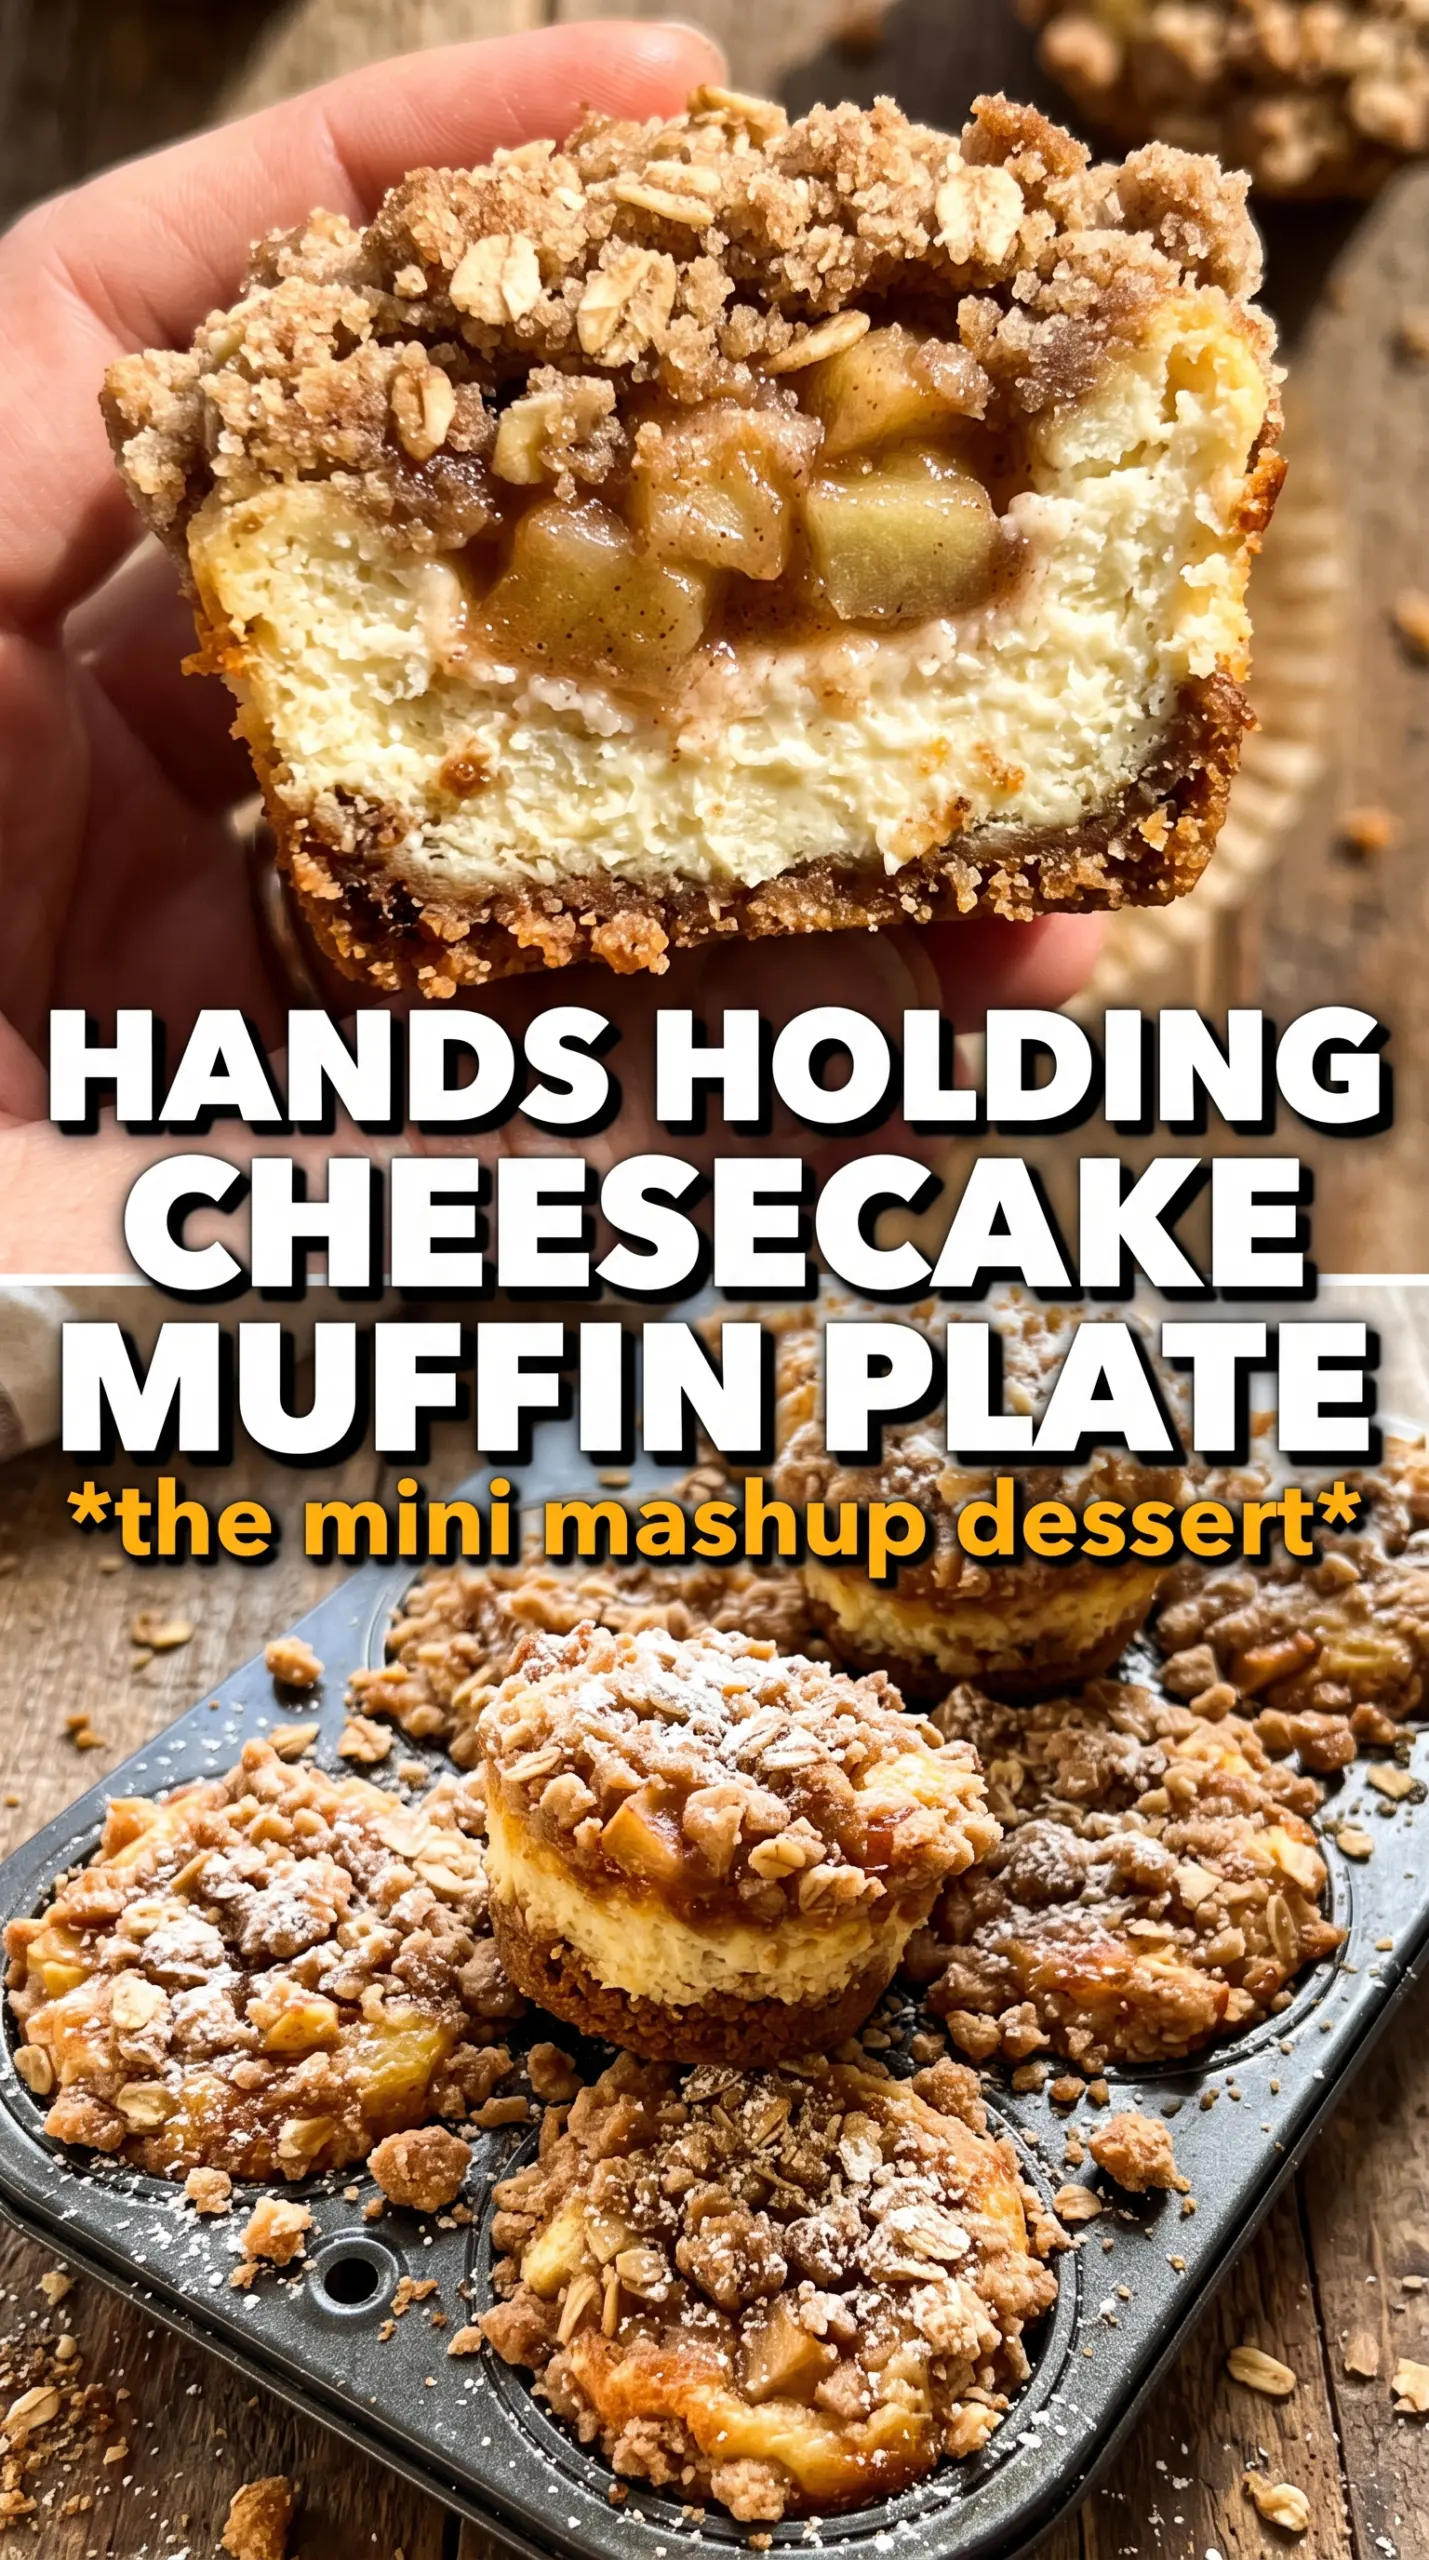
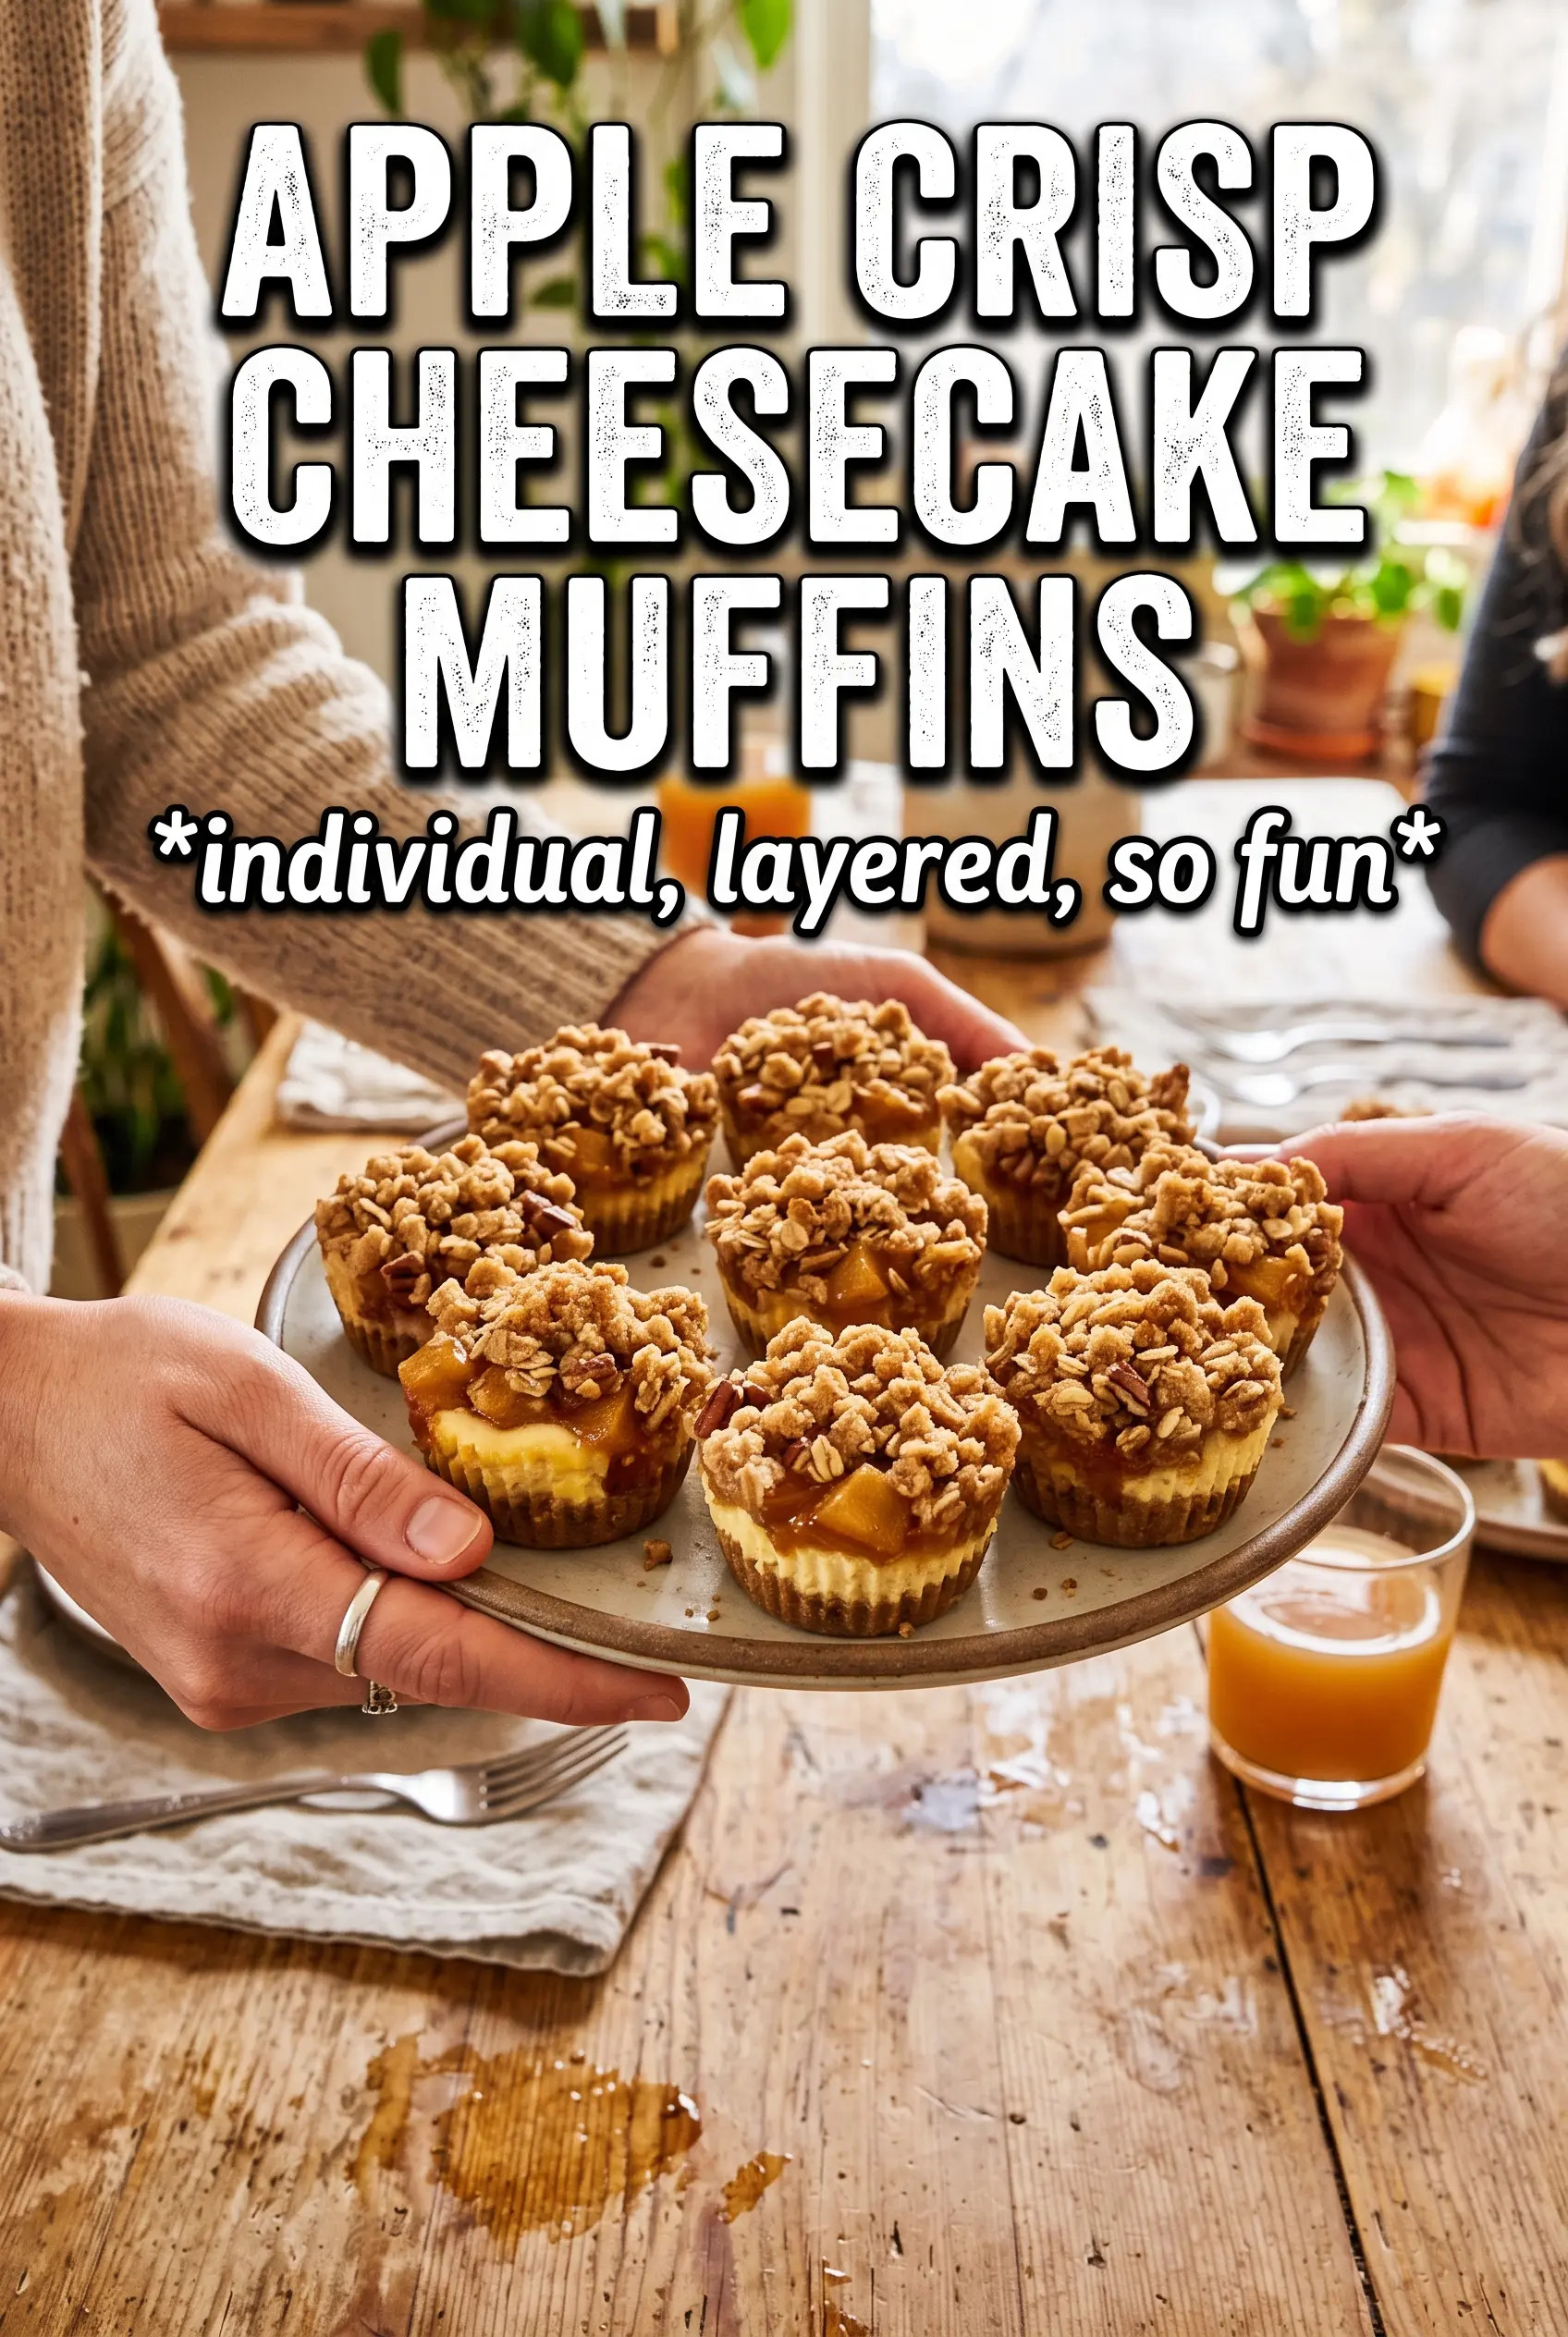
Apple crisp cheesecake muffins hit that sweet spot between breakfast and dessert without tasting like they’re trying too hard. The crumb stays soft and plush, the center bakes up with a cool tangy ribbon of cream cheese, and the oat topping turns crisp and sandy instead of melting into the batter. Each bite gives you a little apple, a little cinnamon, and that bakery-style finish that makes a muffin feel special enough to grab on the way out the door.
The trick is keeping the layers separate long enough for the oven to do the work. The cream cheese filling firms up in the fridge so it stays tucked in the middle instead of disappearing into the batter, and the crumble needs cold butter so it bakes into little golden bits instead of turning paste-like. The muffin batter itself leans on sour cream and melted butter for a tender, moist crumb that still lifts well around the apple pieces.
Below, I’ll walk through the small details that matter most: how to layer the filling so it stays centered, why the crumble should be chilled, and what to watch for so the muffins bake through without drying out.
The cream cheese center stayed put instead of sinking, and the oat topping came out crisp even the next day. I used tart apples and the cinnamon flavor came through beautifully without making the muffins taste too sweet.
These apple crisp cheesecake muffins keep the cream cheese filling centered and the oat crumble crunchy, which makes them perfect for a grab-and-go breakfast.
The Secret to Keeping the Cheesecake Center from Vanishing
The cream cheese filling is the part that makes these muffins memorable, but it’s also the easiest part to lose if you rush. When the filling is soft and warm, it spreads into the batter while it bakes and turns into a faint swirl instead of a true center. Chilling it first gives it enough body to stay in one place until the muffins set around it.
The other mistake is overfilling the cups. You want a layer of batter on the bottom, the cream cheese mixture tucked in the middle, and another layer of batter on top to seal it in. That top layer doesn’t need to be thick, but it does need to cover the filling so it bakes inside the muffin instead of leaking onto the crumble.
- The batter should be thick enough to hold its shape when spooned into the pan.
- The cream cheese mixture should look smooth and spreadable, not runny.
- If the filling starts warming up while you work, put it back in the fridge for 10 minutes.
- A teaspoon of filling in each muffin is enough; more than that makes the centers heavy and can slow the bake.
What Each Ingredient Is Doing in These Muffins
- All-purpose flour — This gives the muffins their structure without making them stiff. Bread flour would make them too chewy, and cake flour can make them too fragile around the filling.
- Brown sugar — This adds moisture and a deeper caramel note that works with the apples and cinnamon. Light or dark brown sugar both work; dark brown sugar gives a little more molasses flavor.
- Sour cream — This is what keeps the crumb tender and gives the muffin base a slight tang that plays nicely with the cheesecake filling. Plain full-fat yogurt works in a pinch, but the texture is a little less rich.
- Apples — Finely diced apples distribute evenly so you get fruit in every bite without weighing down the batter. Firmer apples hold their shape better; soft apples can disappear into the crumb.
- Cream cheese — Use the real thing here. Reduced-fat cream cheese can work, but it’s softer and the filling won’t set as cleanly.
- Old-fashioned oats — They give the topping that crisp, craggy texture that reads like apple crisp. Quick oats can work, but the crumble will be finer and less nubby.
- Cold butter for the crumble — This is what creates the little baked pockets of crunch. If the butter melts before the oven, the topping turns dense instead of crisp.
The Mixing Order That Keeps the Crumb Tender
Build the Filling and Crumble First
Start with the cream cheese filling and the oat crumble so both have time to chill while you mix the batter. That rest period matters because it firms up the filling and keeps the crumble from melting the moment it hits the oven. The crumble should look sandy with pea-size bits of butter still visible. If it starts to clump into a paste, the butter is too warm.
Whisk the Dry Ingredients Separately
Mix the flour, baking powder, baking soda, cinnamon, and salt in one bowl before they ever meet the wet ingredients. That keeps the leavening evenly distributed, which gives you a uniform rise instead of lopsided muffin tops. The cinnamon also blends in better this way, so you don’t end up with streaks of spice.
Bring the Batter Together Without Overworking It
Whisk the melted butter, brown sugar, eggs, sour cream, milk, and vanilla until smooth, then fold in the dry ingredients just until the flour disappears. The batter will be thick, and that’s what you want. Once the diced apples go in, stop stirring as soon as they’re evenly spread; too much mixing will make the muffins dense and a little rubbery.
Layer, Top, and Bake Until Set
Fill each muffin cup halfway, add the cream cheese filling, then cover it with the rest of the batter. Spoon the crumble over the top and bake until the tops are golden and the centers spring back lightly when touched. If a tester comes out with wet batter, give them a few more minutes; if it comes out with only a little cream cheese smudge, they’re done.
Three Smart Ways to Adapt These Muffins
Gluten-Free Version
Swap the all-purpose flour with a good 1:1 gluten-free baking blend in both the muffin batter and the crumble. The muffins will still rise well, but the crumb will be a touch more delicate, so let them cool before lifting them from the pan.
Dairy-Free Adjustment
Use a dairy-free butter substitute, unsweetened plain nondairy yogurt in place of the sour cream, and a plant-based cream cheese that bakes firmly. The texture will be a little less rich, but the muffins still keep that soft center and crisp topping.
Extra Crunchy Apple Crisp Top
If you want a stronger crisp topping, add an extra tablespoon of oats and reduce the flour in the crumble by one tablespoon. That gives you a more textured finish without making the topping dry or sandy.
Storage and Reheating
- Refrigerator: Store in an airtight container for up to 4 days. The crumble softens a little, but the muffins stay moist.
- Freezer: Freeze well for up to 2 months. Wrap individually so the topping doesn’t get crushed, then thaw overnight in the fridge.
- Reheating: Warm in a 300°F oven for about 8 minutes or microwave briefly at low power. High heat in the microwave can make the cream cheese center erupt and turn the crumb tough.
Answers to the Questions Worth Asking
Apple Crisp Cheesecake Muffins
Ingredients
Equipment
Method
- Preheat oven to 375F and line a 12-cup muffin tin.
- Beat cream cheese filling ingredients together until smooth, then refrigerate.
- Make oat crumble by combining oats, flour, brown sugar, cinnamon, and cutting in cold butter until crumbly, then refrigerate.
- Whisk flour, baking powder, baking soda, cinnamon, and salt in a bowl until evenly combined.
- Whisk melted butter, brown sugar, eggs, sour cream, milk, and vanilla until smooth.
- Fold in the flour mixture, then fold in diced apples until just combined.
- Fill muffin cups halfway with batter so the sides are coated but the center is open.
- Add a teaspoon of cream cheese filling to the center of each muffin, then cover with more batter.
- Top each muffin with oat crumble for a crunchy crown.
- Bake 22-25 minutes at 375F until the tops are golden and the crumb topping looks set.