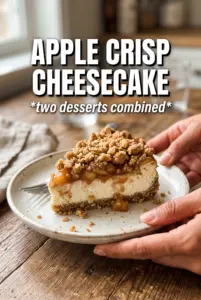
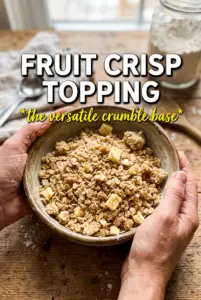
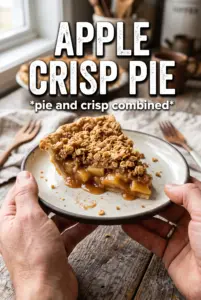
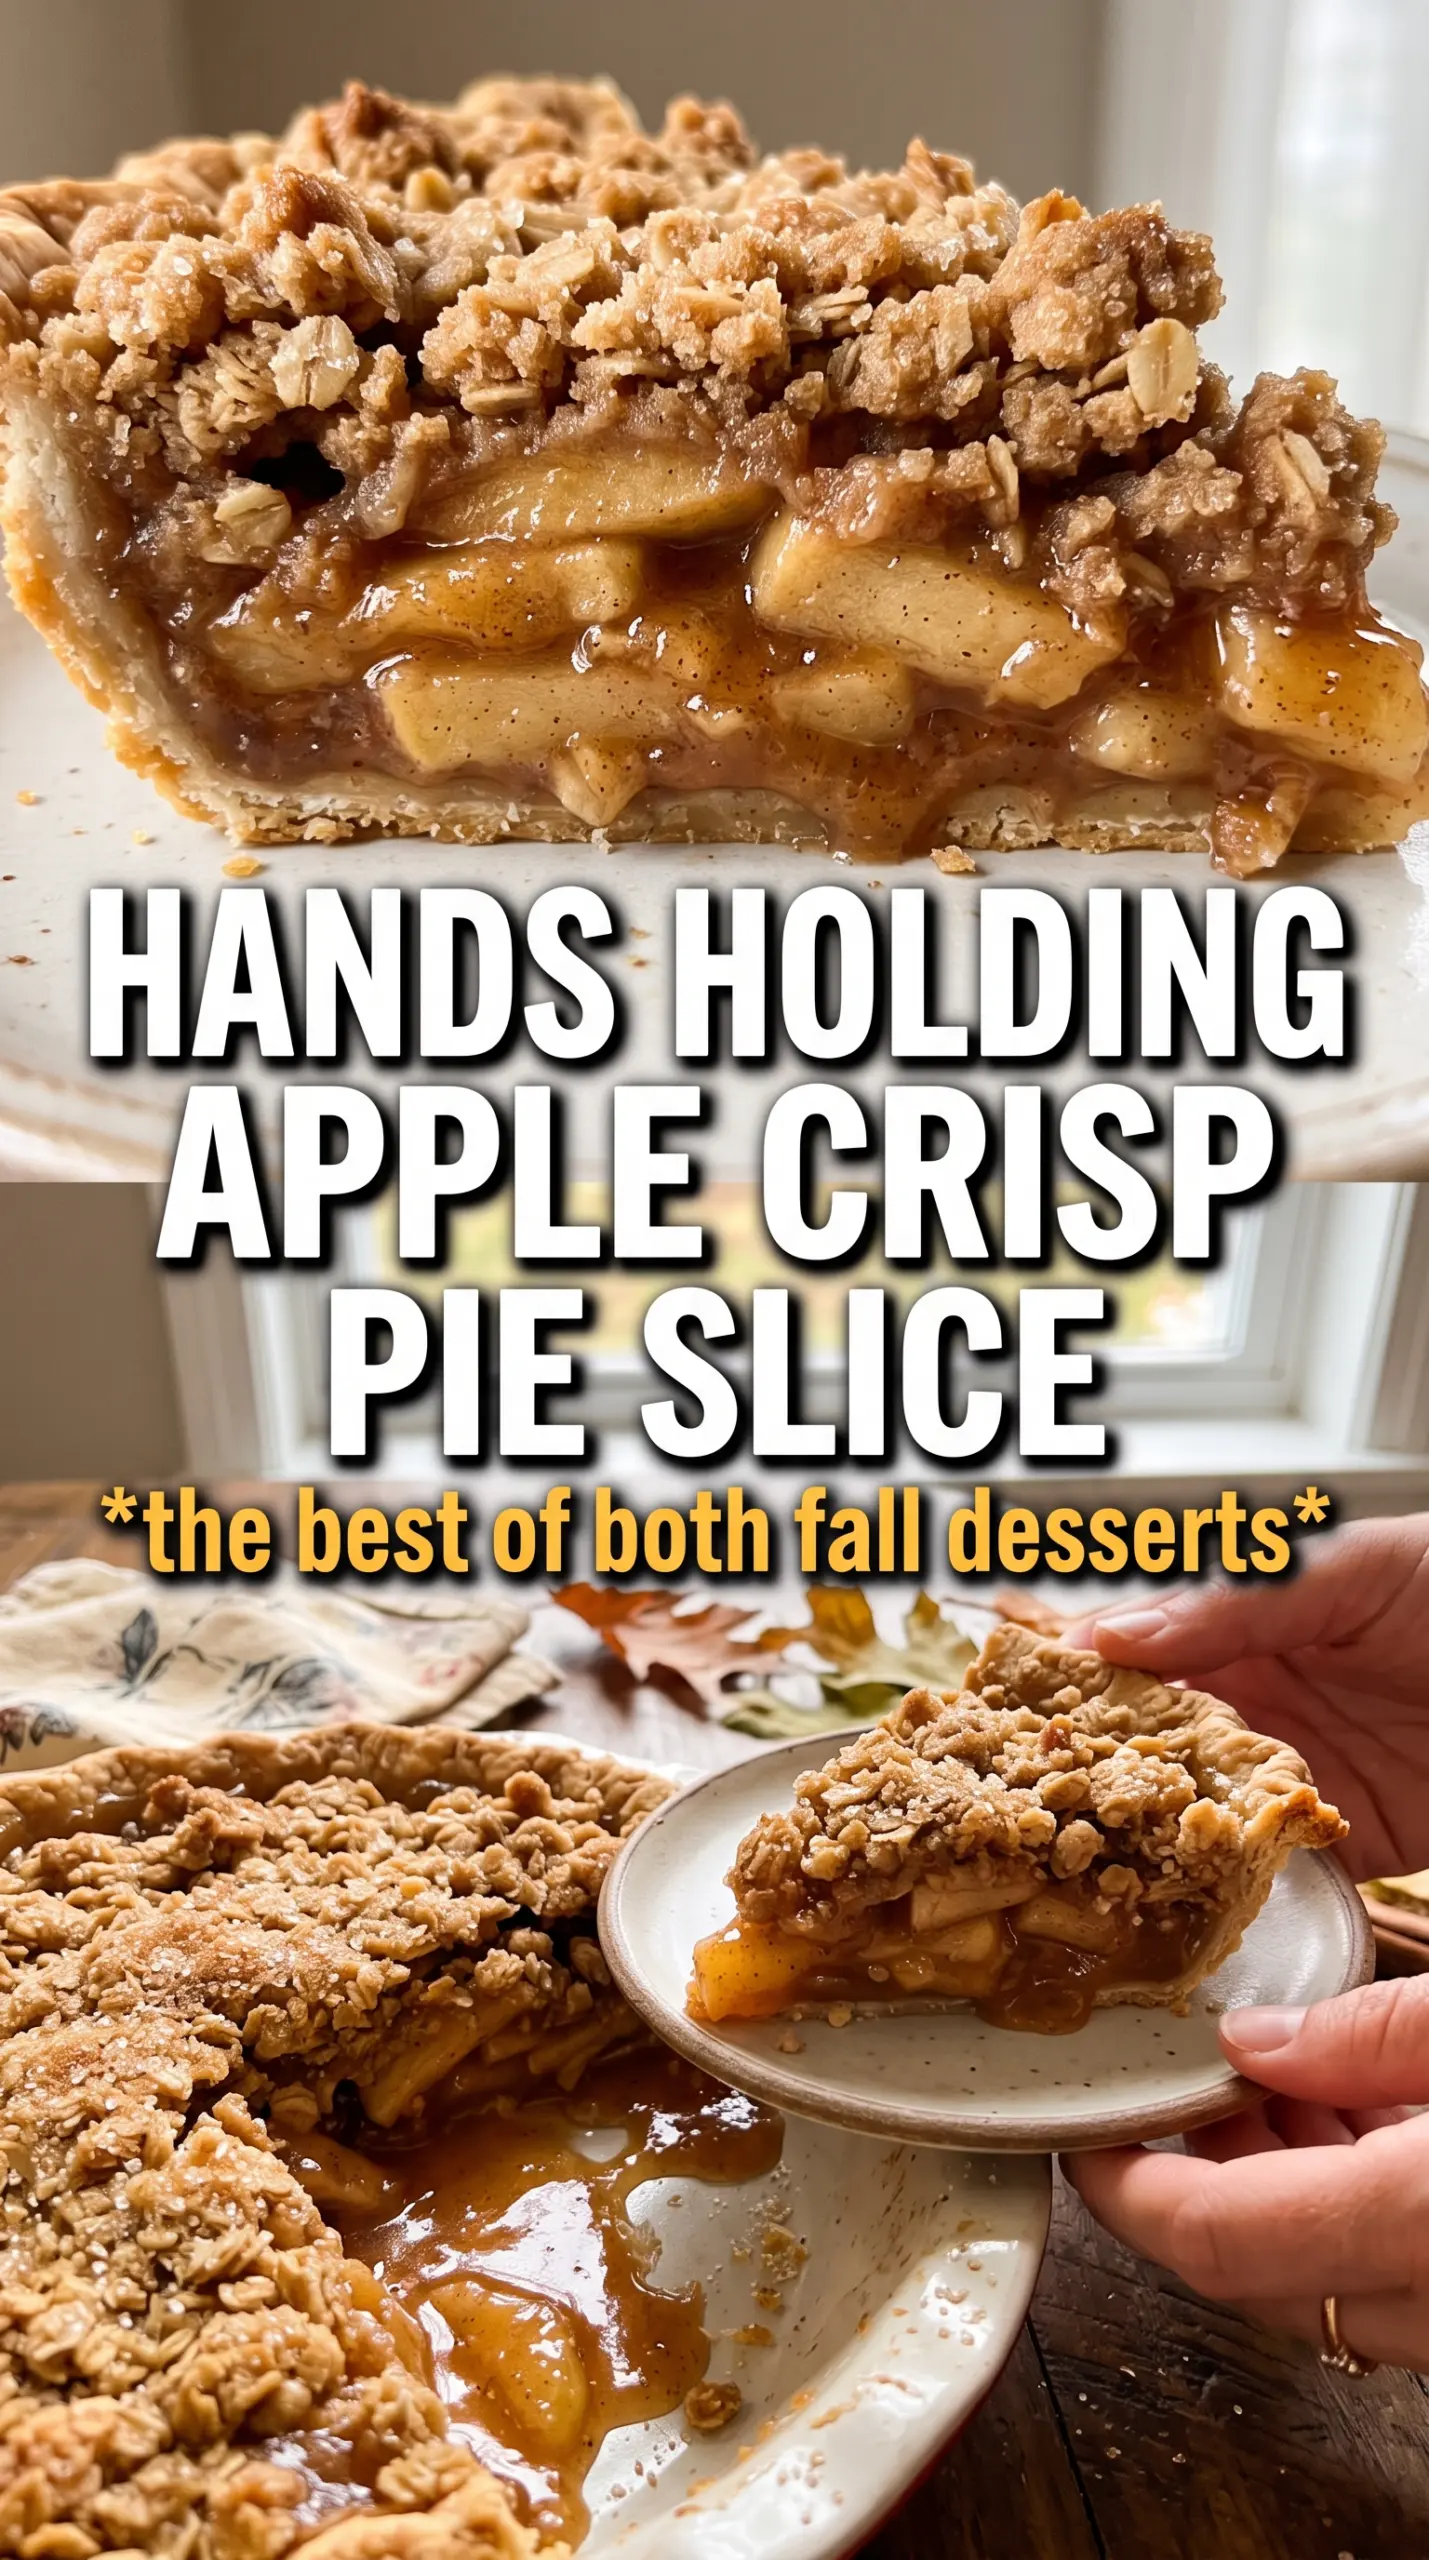
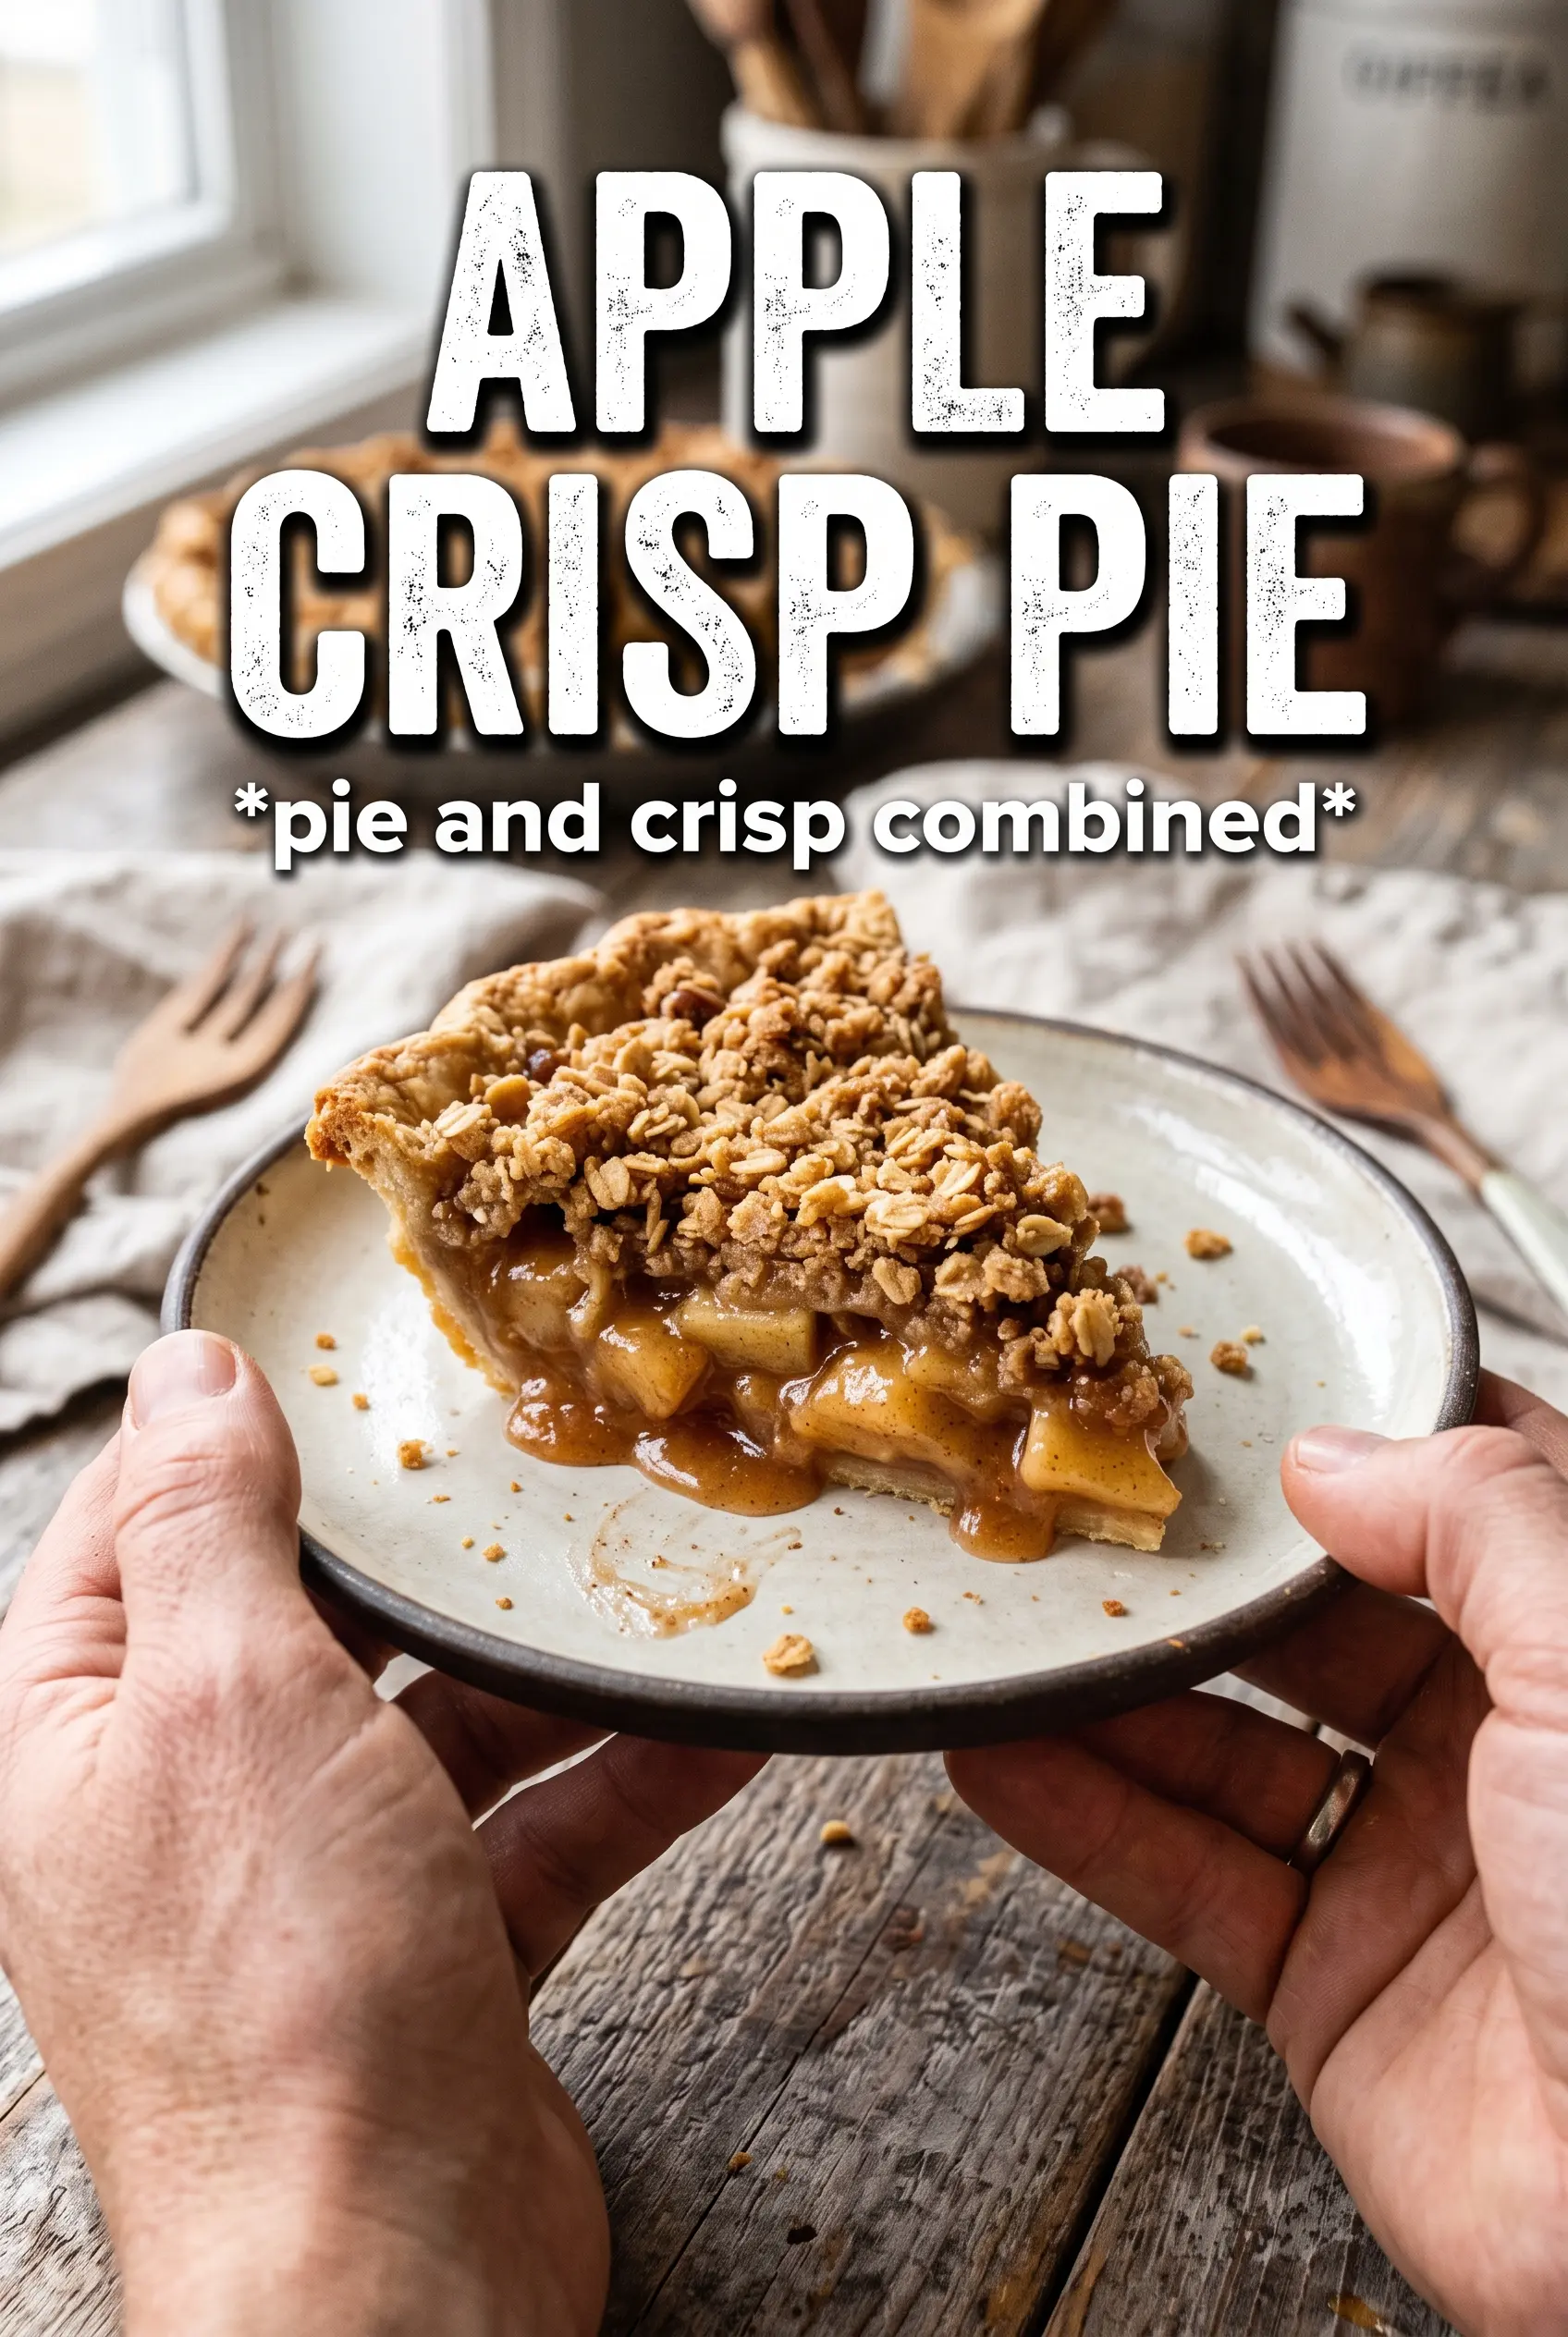
Apple crisp pie gives you the best parts of two desserts in one pan: tender spiced apples underneath and a thick oat crumble that bakes into crisp, buttery crags on top. The filling bubbles up around the edges, the topping turns deeply golden, and every slice holds together just long enough to land on the plate before the caramel starts to run. It’s the kind of dessert people go back for when they want something homey but still a little special.
What makes this version work is the balance between the fruit filling and the topping. The apples are coated with cornstarch before baking, which keeps the juices from flooding the crust, and a little caramel sauce in the filling gives the fruit a richer, deeper sweetness than plain sugar alone. The topping stays crumbly instead of sandy because the butter goes in cold and gets cut into the dry ingredients just until clumps form.
Below, you’ll find the little details that matter most: how to keep the bottom from turning soggy, when to tent the pie so the crumble doesn’t darken too fast, and why the apples should be mounded higher than you think before they go into the oven.
The filling set up beautifully and the crumble stayed crunchy even after sitting on the counter for a while. I loved that the caramel didn’t make it runny — it tasted like apple pie and crisp all at once.
Craving that bubbling caramel-topped apple crisp pie? Save this one for dessert nights when you want a deep-dish pie with a crunchy oat crown.
The Trick to Keeping the Bottom Crust from Going Soft
The biggest mistake with a dessert like this is underestimating how much juice the apples give off. If the filling goes into the shell wet and loose, the bottom crust steams instead of baking, and you end up with a pie that slices sloppily instead of cleanly. Cornstarch helps, but it only works if the filling has enough heat and time to bubble all the way through.
This is also why the apples get piled high. They shrink as they bake, and if you start with a shallow mound, the pie settles into a flat, underfilled look. A good apple crisp pie should rise above the rim before it goes in the oven, then settle into a generous, craggy top after baking.
- Apples — Use a mix with structure, like Honeycrisp, Granny Smith, or Braeburn. Softer apples break down too fast and turn the filling mushy. If you only have one sweet variety, keep the lemon juice in place so the pie doesn’t taste flat.
- Cornstarch — This is what thickens the juices into a glossy filling instead of a puddle. Flour can work in a pinch, but it leaves the filling a little cloudier and usually needs more time in the oven. Don’t reduce it unless you want a looser slice.
- Caramel sauce — A few tablespoons in the filling deepen the apple flavor and make the pie taste more finished. Use a good jarred sauce if that’s what you have; this isn’t the place where homemade is mandatory. Just choose a sauce that’s pourable, not a stiff candy layer.
- Cold butter — The butter for the topping has to stay cold long enough to form clumps. Warm butter blends in too smoothly and gives you a sandy topping instead of crisp chunks. If your kitchen runs warm, cube the butter and chill it again for 10 minutes before cutting it in.
What Each Ingredient Is Actually Doing in This Recipe
- Primary ingredient (the star) — Quality matters most. Choose the best you can find.
- Cooking medium (oil, butter, or broth) — This carries flavors and prevents dryness.
- Seasonings (salt, pepper, spices, herbs) — Layer flavors so nothing overpowers. Build depth gradually.
- Aromatics (garlic, onion, herbs) — Cook with fat to bloom flavors. Become the foundation.
- Supporting ingredients — Complement the main ingredient without overpowering it.
- Sauce or liquid (if applicable) — Brings flavors together. Balance richness with acid.
- Acid (lemon, vinegar, wine, or other) — Brightens and prevents flat-tasting results.
- Final finish (garnish, glaze, or sauce) — Prevents one-dimensional taste and adds visual appeal.
Building the Filling and Crisp Topping Without Losing Texture
Getting the Apples Ready
Toss the sliced apples with both sugars, cinnamon, nutmeg, cornstarch, lemon juice, and caramel sauce until every piece looks lightly coated. You want the apples glossy, not soupy. If liquid starts pooling in the bowl right away, the apples may be extra juicy, and that’s fine — just get them into the shell quickly so the cornstarch can start doing its job.
Making the Oat Crumble
Combine the oats, flour, brown sugar, cinnamon, and salt, then cut in the cold butter until the mixture forms large clumps. Those chunks are what bake into the crisp, craggy top people expect from this pie. If you keep mixing until everything looks evenly sandy, the topping loses its texture and bakes up dense instead of crisp.
Baking Until the Filling Bubbles
Pile the crumble over the apples and press it down only lightly so it stays loose on top. Bake until the top is deeply golden and the filling is actively bubbling at the edges, not just hot in the middle. If the topping is browning too quickly around the 40-minute mark, tent it loosely with foil so the apples can finish cooking underneath without scorching the crumble.
Three Practical Ways to Adjust This Pie
Make It Gluten-Free
Swap the all-purpose flour in the topping for a good 1:1 gluten-free blend. The crumble will still bake up nicely, but it may be a little more delicate when sliced, so let the pie cool fully before serving.
Use a Different Fruit Blend
Replace up to half the apples with pears for a softer, more perfumed filling. Pears release more moisture than apples, so keep the full amount of cornstarch in place and bake until you see thick bubbles around the edges.
Make the Topping More Nutty
Add 1/2 cup chopped pecans or walnuts to the oat mixture for extra crunch and a deeper toasted flavor. The topping gets a little richer and more rustic, which works especially well if you like the crumble to stand out against the soft apples.
Storage and Reheating
- Refrigerator: Store covered for up to 4 days. The topping softens a little in the fridge, but the flavor holds well.
- Freezer: This pie freezes well after baking. Cool completely, wrap tightly, and freeze for up to 2 months. Thaw in the fridge overnight before reheating.
- Reheating: Warm slices in a 325F oven until the filling loosens and the topping crisps back up, about 15 to 20 minutes. The microwave will heat the center, but it turns the crumble soft fast.
Answers to the Questions Worth Asking
Apple Crisp Pie
Ingredients
Equipment
Method
- Preheat the oven to 375F and place a sheet pan on the lower rack to catch any drips. Fit the unbaked 9-inch deep dish pie shell into a deep-dish pie plate and crimp the edge decoratively.
- Toss the apple slices with granulated sugar, brown sugar, cinnamon, nutmeg, cornstarch, lemon juice, and caramel sauce until evenly coated.
- Pile the apple mixture into the shell, mounding well so it bakes into a high filling.
- Combine rolled oats, all-purpose flour, packed brown sugar, cinnamon, and salt until the dry ingredients look evenly mixed.
- Cut in the cold unsalted butter until large clumps form, with a mix of crumbly and bigger oat clusters.
- Pile the crumble generously over the apples and press very gently so it stays in clumps.
- Bake at 375F for 60-65 minutes until the crumble is deeply golden and the filling bubbles at the edges.
- Tent with foil after 40 minutes if browning too quickly, keeping the crumble from over-darkening while the apples finish softening.
- Drizzle with extra caramel and serve once the pie is set and bubbling has calmed.