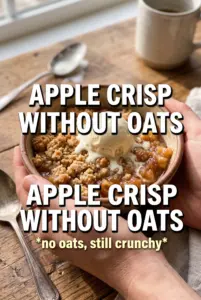
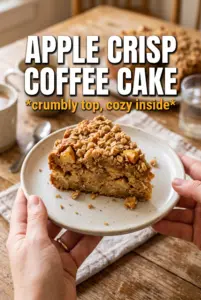
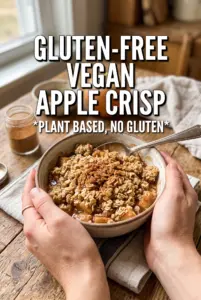
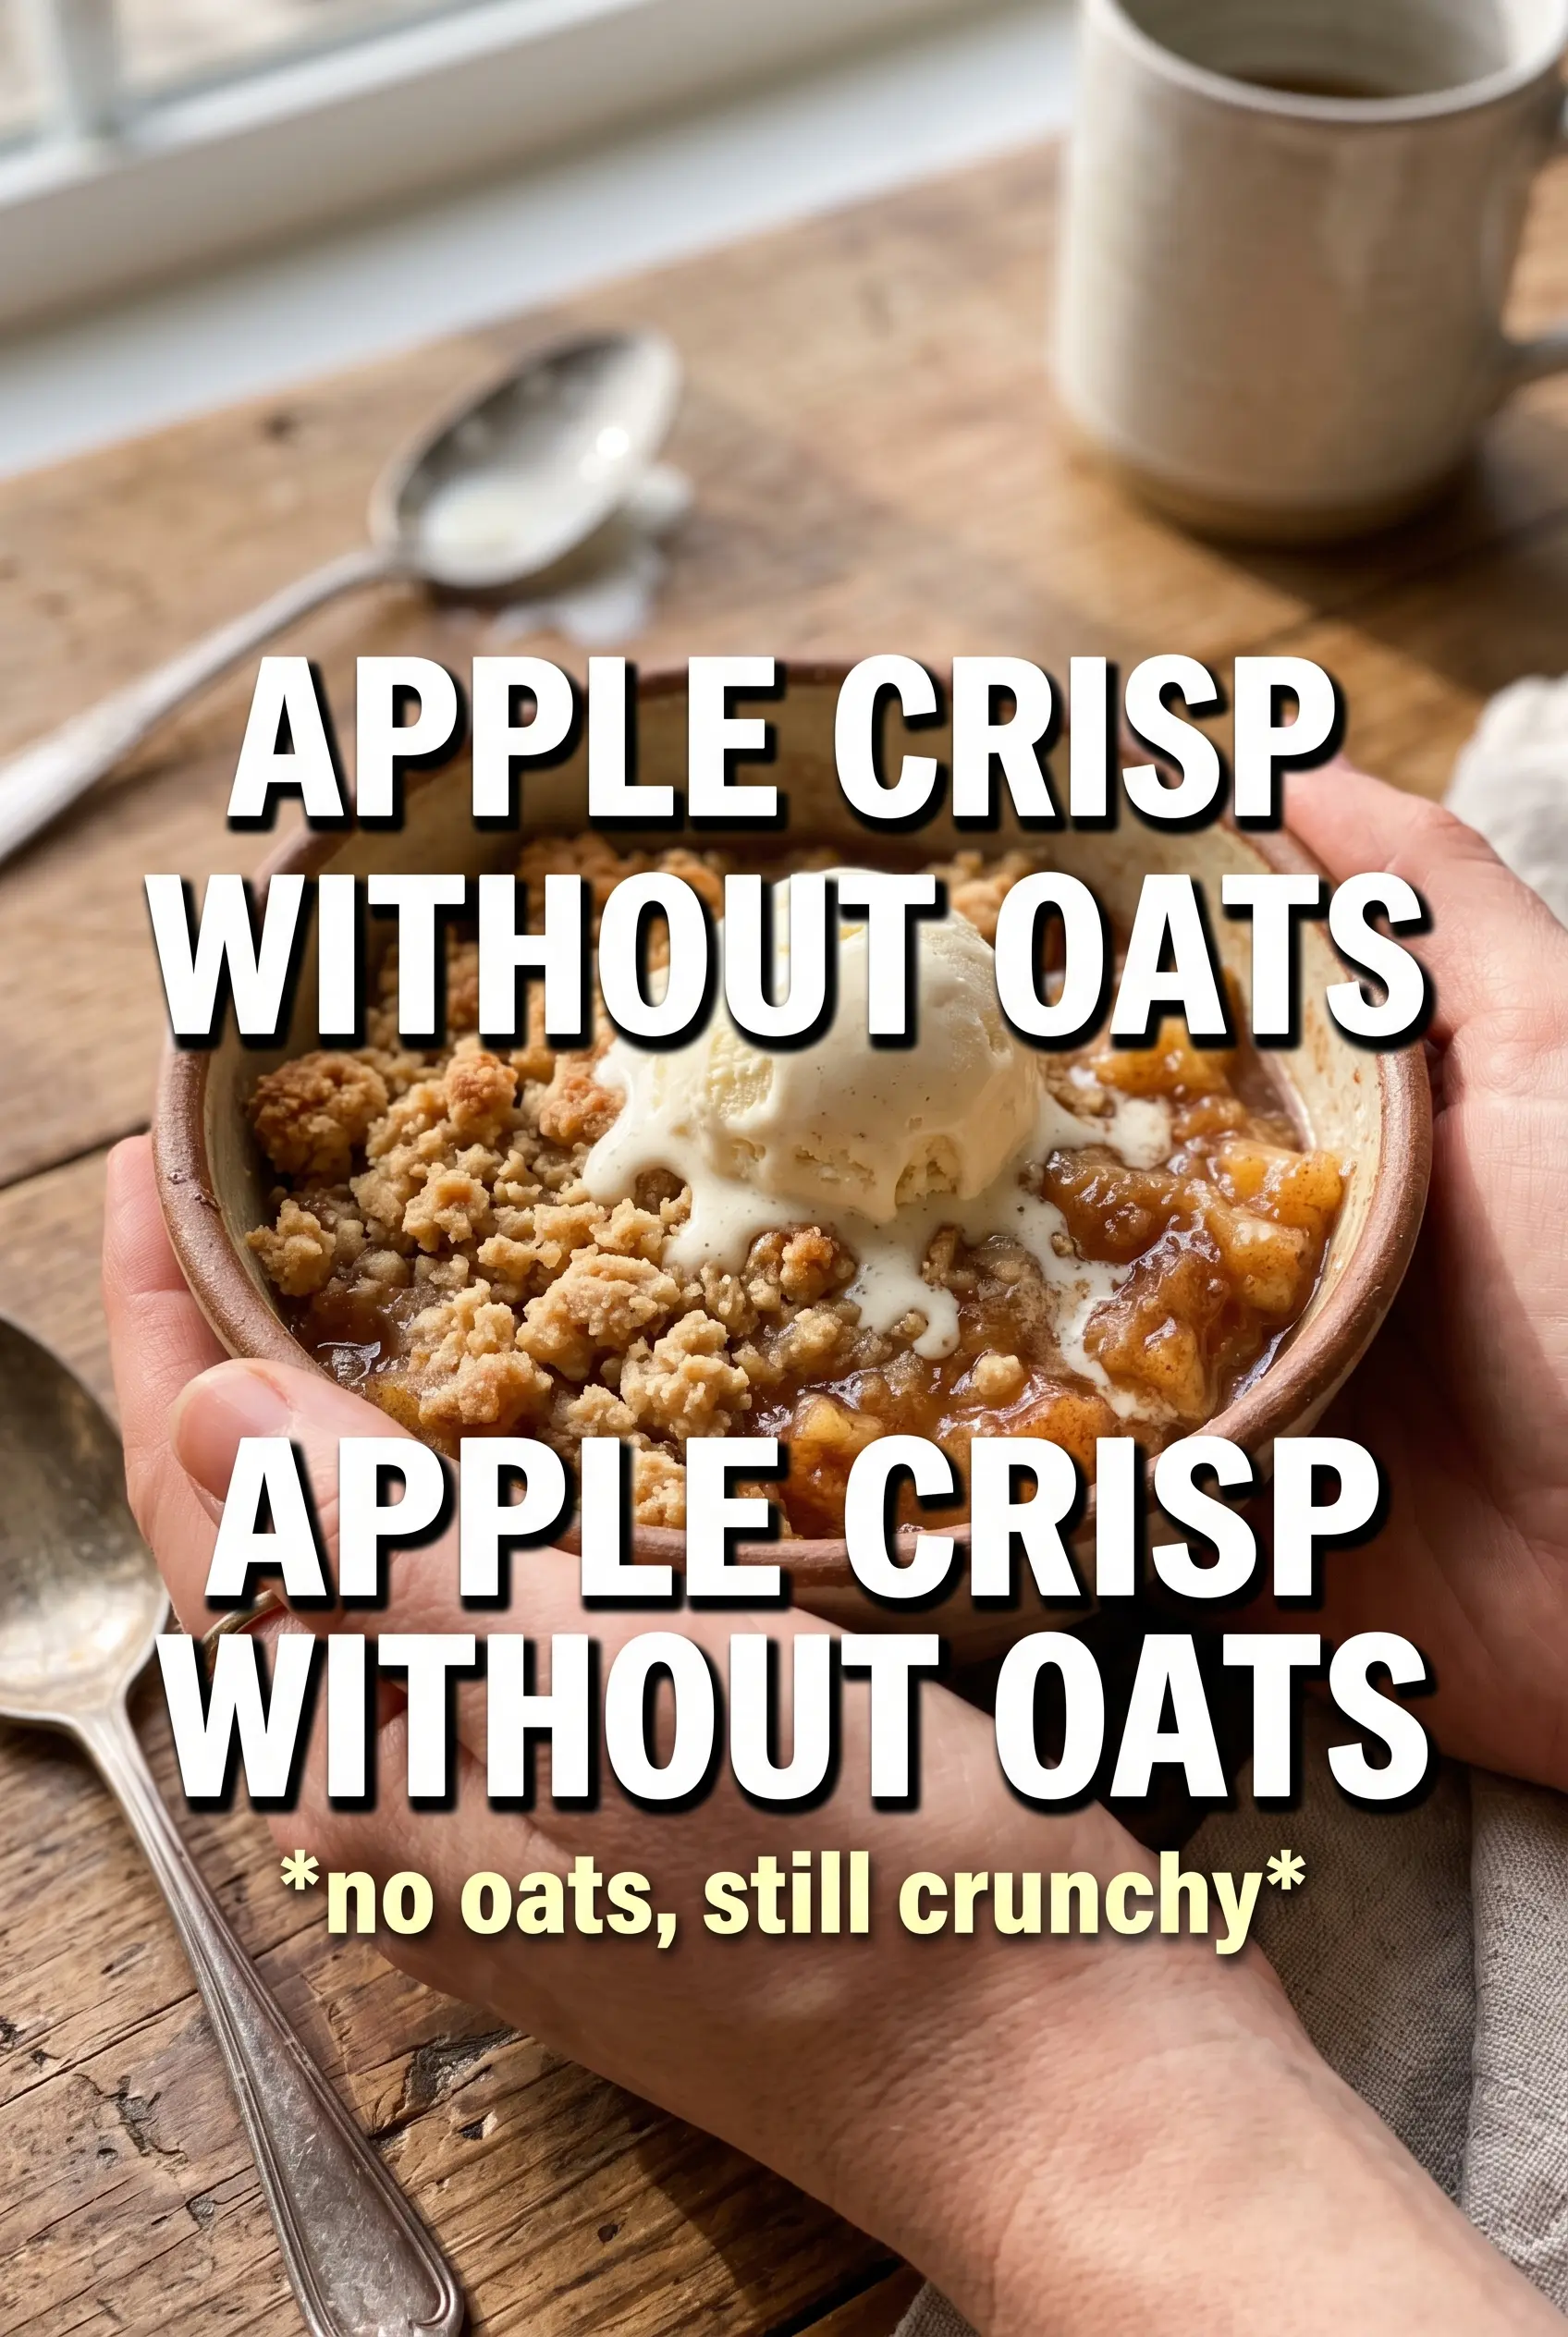
Apple crisp without oats gives you the part everyone fights over: that sandy, golden topping that bakes up crisp instead of chewy. The apples underneath stay juicy and cinnamon-scented, and the contrast between the bubbling filling and the buttery crumble is what keeps this dessert on repeat. It still tastes like the classic version people remember, just with a more tender, shortbread-like topping that cracks when you spoon into it.
The trick is treating the topping like pie dough in loose form. Cold butter matters here because it creates those irregular clumps that bake into crisp, crunchy bits instead of melting into a paste. The apples also need cornstarch, not just sugar, so the filling turns syrupy and glossy without going watery in the pan.
Below, I’ll walk through the little things that make this work: which apples hold their shape, how to get the crumble evenly sandy, and why the rest time after baking is worth the wait. A few small choices make all the difference here.
The topping baked up crisp and sandy, not soggy at all, and the apples held their shape instead of turning mushy. I used walnuts, and the whole dish smelled incredible after 40 minutes.
Save this apple crisp without oats for the nights when you want a buttery crumble topping and bubbling cinnamon apples with almost no extra work.
The Reason the Topping Stays Crisp Without Oats
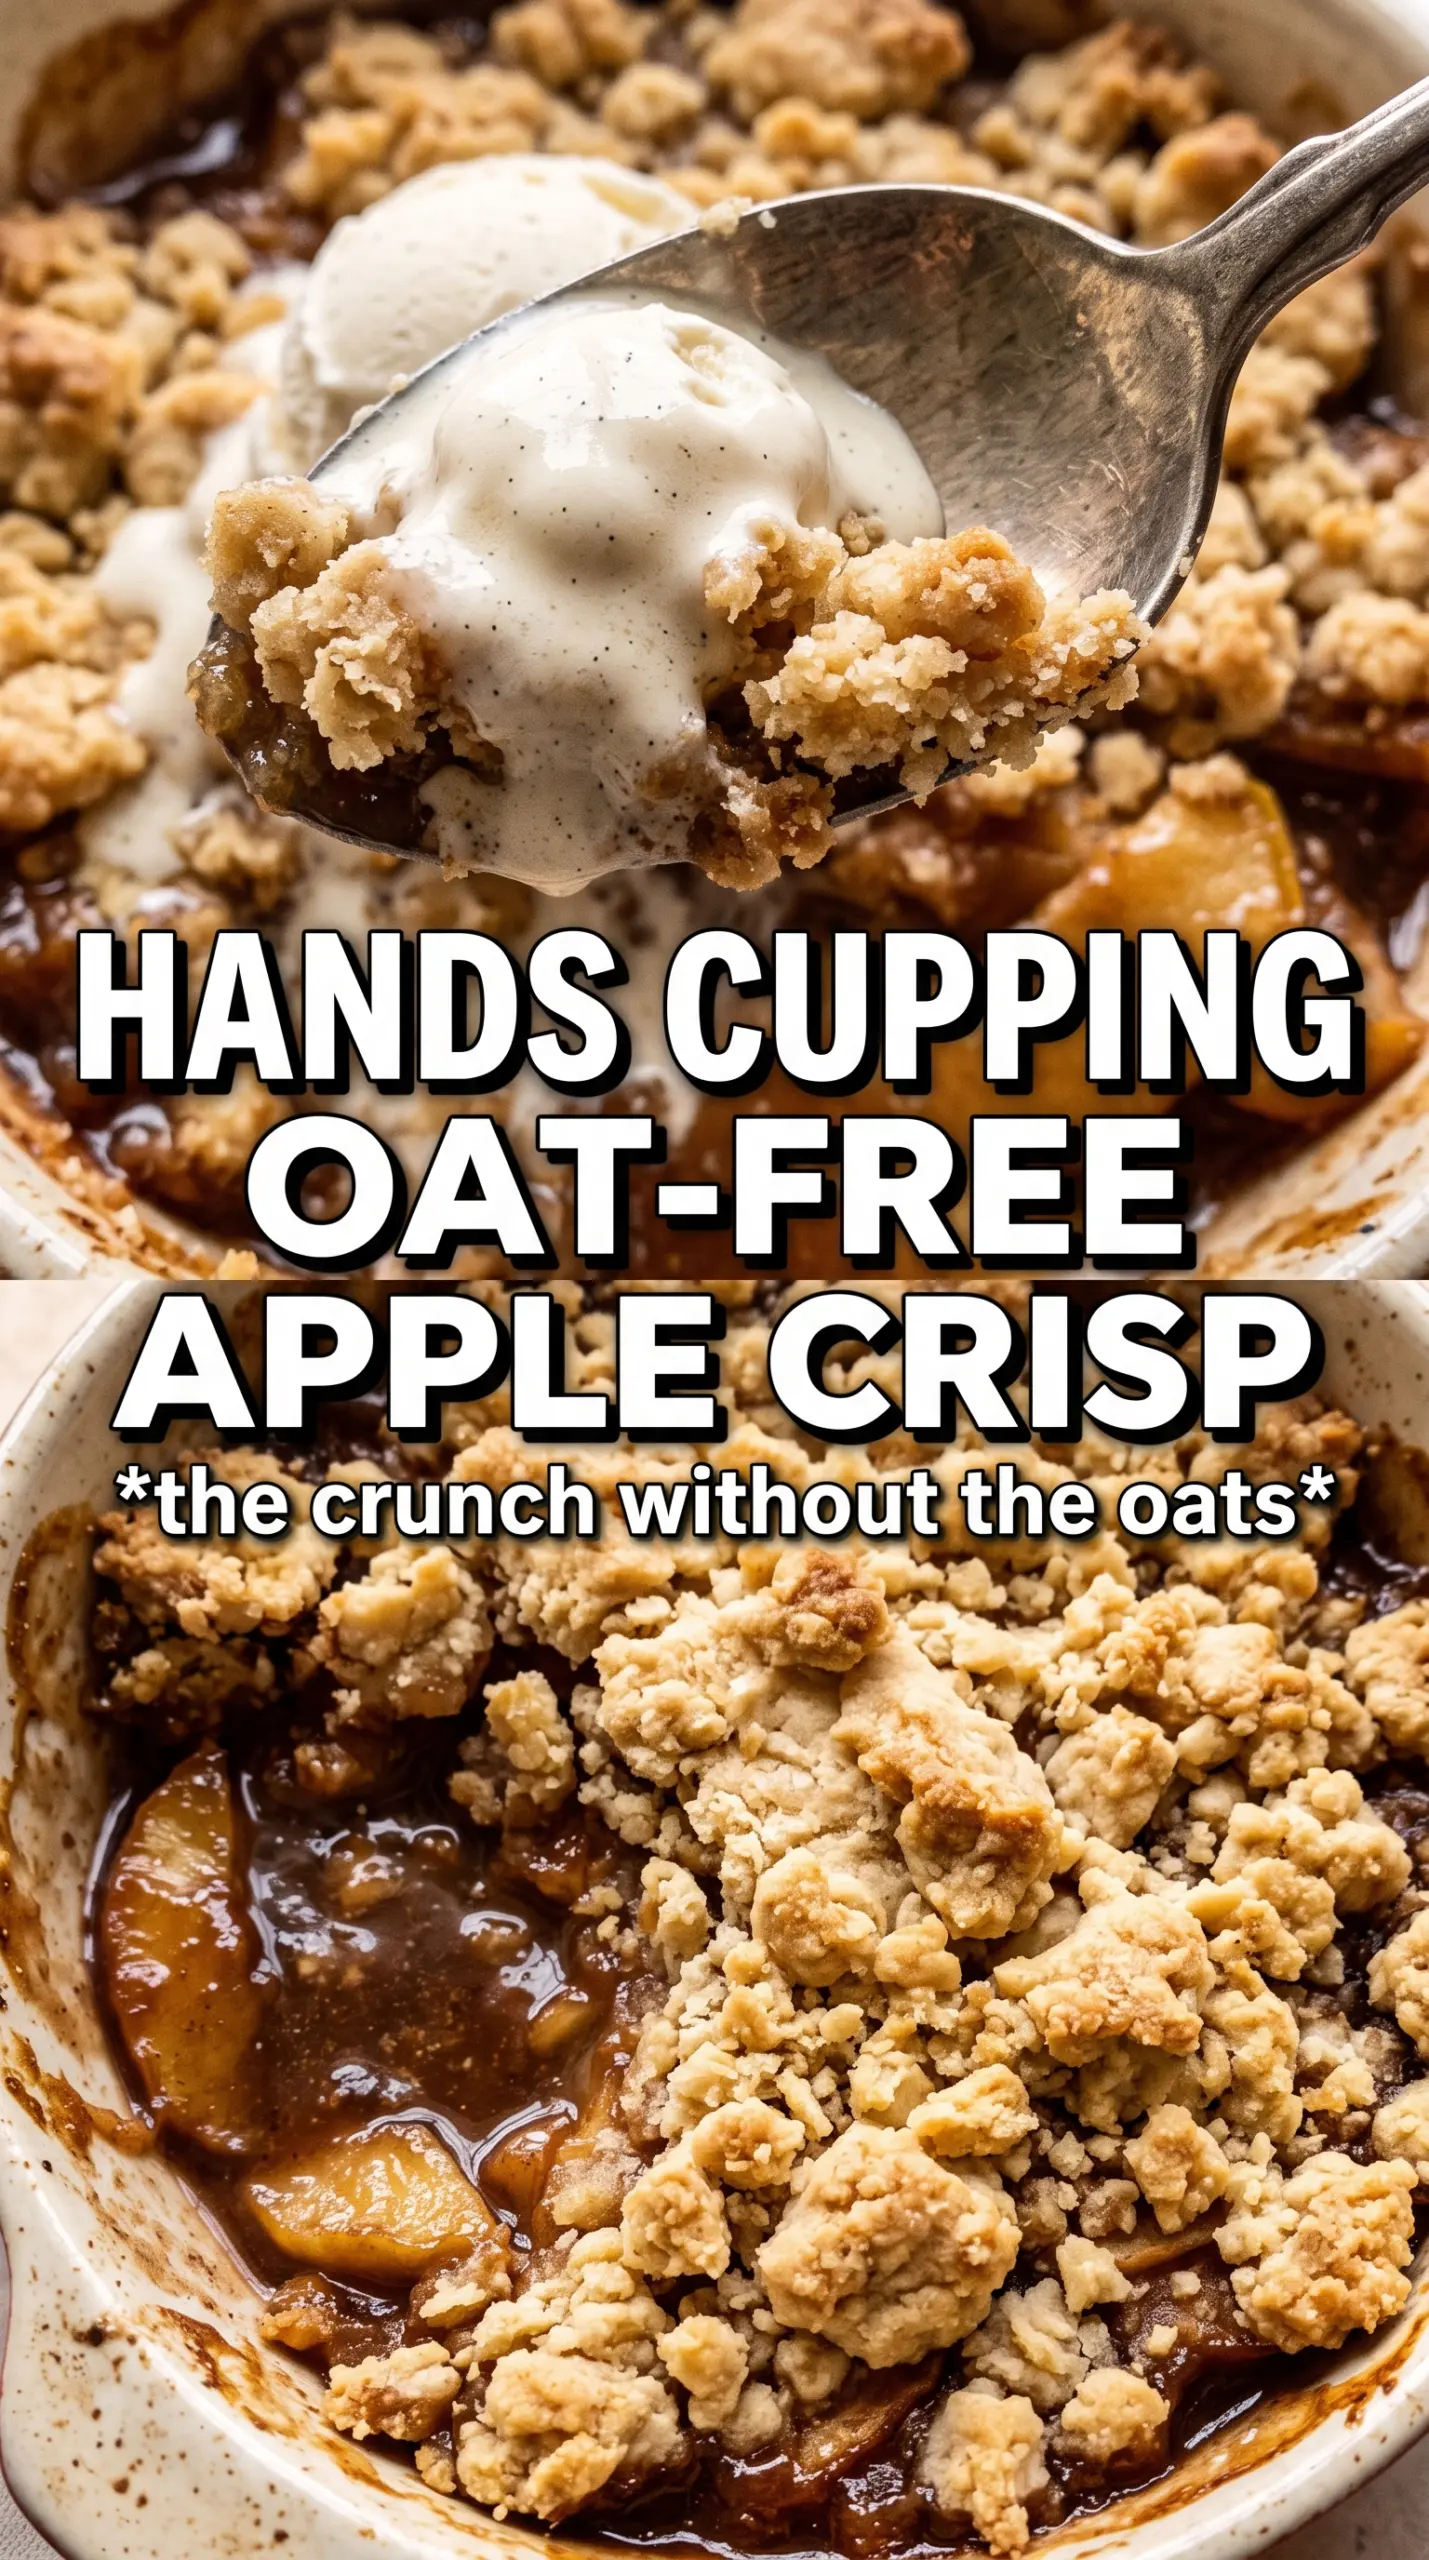
Oats add chew, but they also bring extra moisture-holding power. When you leave them out, the topping needs a different structure, and that structure comes from flour, sugar, and cold butter handled the right way. The butter should stay in small pieces until it hits the oven. Those pieces melt, release steam, and leave behind little pockets that bake into crisp, craggy crumbs instead of a dense layer.
The other common failure is a topping that turns sandy but never browns. That usually means the butter was worked in too finely or the layer was packed down on top of the apples. Scatter it loosely. The air gaps help the heat move through the crumble, and the sugar has room to caramelize. If the top looks pale while the apples are bubbling hard, give it a few more minutes. Color on the topping tells you more than the clock does.
What Each Ingredient Is Actually Doing in This Dish
- Apples — Use a firm baking apple so the slices hold some shape after 45 minutes in the oven. Granny Smith, Honeycrisp, Braeburn, or a mix all work well. Softer apples can be used, but the filling will turn more jammy and less distinct.
- Cornstarch — This thickens the apple juices as they bubble. Without it, the filling can look fine in the oven and then loosen into a runny puddle when you scoop it. If you swap in flour, you’ll need more of it and the filling won’t set as cleanly.
- Cold unsalted butter — This is what gives the topping its crisp, crumbly texture. Salted butter works in a pinch, but cut back the added salt a little. The butter should be cubed straight from the fridge so it forms clumps instead of disappearing into the flour.
- Brown sugar and granulated sugar — Brown sugar brings molasses depth and helps the crumble bake into a richer, more cohesive layer. Granulated sugar keeps it crisp. Using both gives you a topping that tastes layered instead of one-note.
- Pecans or walnuts — These are optional, but they add a nice toasted crunch that plays well with the soft apples. Chop them roughly so you still get texture in the crumble. If you skip them, the dessert still works; it just leans more classic and less nutty.
Building the Crisp Topping and Baking It Through
Seasoning the Apples First
Toss the sliced apples with sugar, cinnamon, nutmeg, cornstarch, and lemon juice before they go into the baking dish. The sugar pulls out some juice, and the cornstarch starts coating that liquid right away so it thickens in the oven instead of pooling at the bottom. Spread the apples in an even layer so they cook at the same pace. If the mound is too high in the center, the top can brown before the middle gets tender.
Cutting in the Butter
Mix the flour, both sugars, spices, and salt, then work in the cold butter until you get large sandy clumps with some pea-sized pieces left behind. A food processor can do this fast, but your fingers or a pastry cutter work just as well. Stop before the mixture looks like damp paste. If it does, the topping will bake up dense instead of crumbly.
Letting the Oven Do the Rest
Scatter the crumble evenly over the apples and don’t press it down. Bake until the top is deep golden and you can see the filling bubbling at the edges and through small gaps in the topping. That bubbling matters because it tells you the cornstarch has cooked through and the filling has thickened. Let the crisp rest for 10 minutes after baking so the juices settle; if you cut in too soon, the filling will run.
Three Ways to Make This Apple Crisp Fit What You Need
Make it gluten-free
Swap the all-purpose flour for a good 1:1 gluten-free baking blend. The crumble will still bake up crisp, though it may be a touch more delicate when you spoon it out. Keep the butter cold and don’t overwork the mixture, because gluten-free blends can turn pasty faster than wheat flour.
Skip the nuts
Leave out the pecans or walnuts if you want a clean, classic topping or you’re serving someone with a nut allergy. The crumble will be a little less textured, but the butter and sugars still give it plenty of crunch. If you want more structure without nuts, use an extra 2 to 3 tablespoons of flour.
Make it a little less sweet
Reduce the granulated sugar in the filling to 2 tablespoons and the topping by 2 to 4 tablespoons if your apples are already sweet. The crisp will still brown nicely because the brown sugar does most of the heavy lifting in the topping. The flavor shifts from dessert-sweet toward a more apple-forward bake.
Storage and Reheating
- Refrigerator: Store covered for up to 4 days. The topping softens a little in the fridge, but the flavor stays good.
- Freezer: It freezes well after baking. Cool completely, wrap tightly, and freeze for up to 2 months. Thaw overnight in the fridge before reheating.
- Reheating: Warm individual servings in the oven at 325F until heated through, or reheat the full dish covered loosely with foil. The oven brings the crumble back to life better than the microwave, which tends to make the topping limp.
Answers to the Questions Worth Asking
Apple Crisp Without Oats
Ingredients
Equipment
Method
- Preheat oven to 375°F and grease a 9x13 baking dish. Set up for baking so the apple filling goes in right after mixing.
- Toss apple slices with granulated sugar, cinnamon, nutmeg, cornstarch, and lemon juice until evenly coated. Spread the coated apples in the greased dish in an even layer with no dry pockets.
- Combine flour, both sugars, cinnamon, nutmeg, and salt in a bowl. Cut in cold butter until the mixture forms large sandy clumps.
- Stir in nuts if using, then scatter the crumble evenly over the apples. Aim for full coverage so the topping bakes crisp and golden.
- Bake for 40-45 minutes at 375°F until the topping is golden and the filling bubbles at the edges. If needed, rotate the dish once for even browning.
- Rest the apple crisp for 10 minutes. Letting it set helps the filling thicken before slicing.
- Serve warm with vanilla ice cream. Add a scoop right before eating so the contrast stays creamy and crisp.