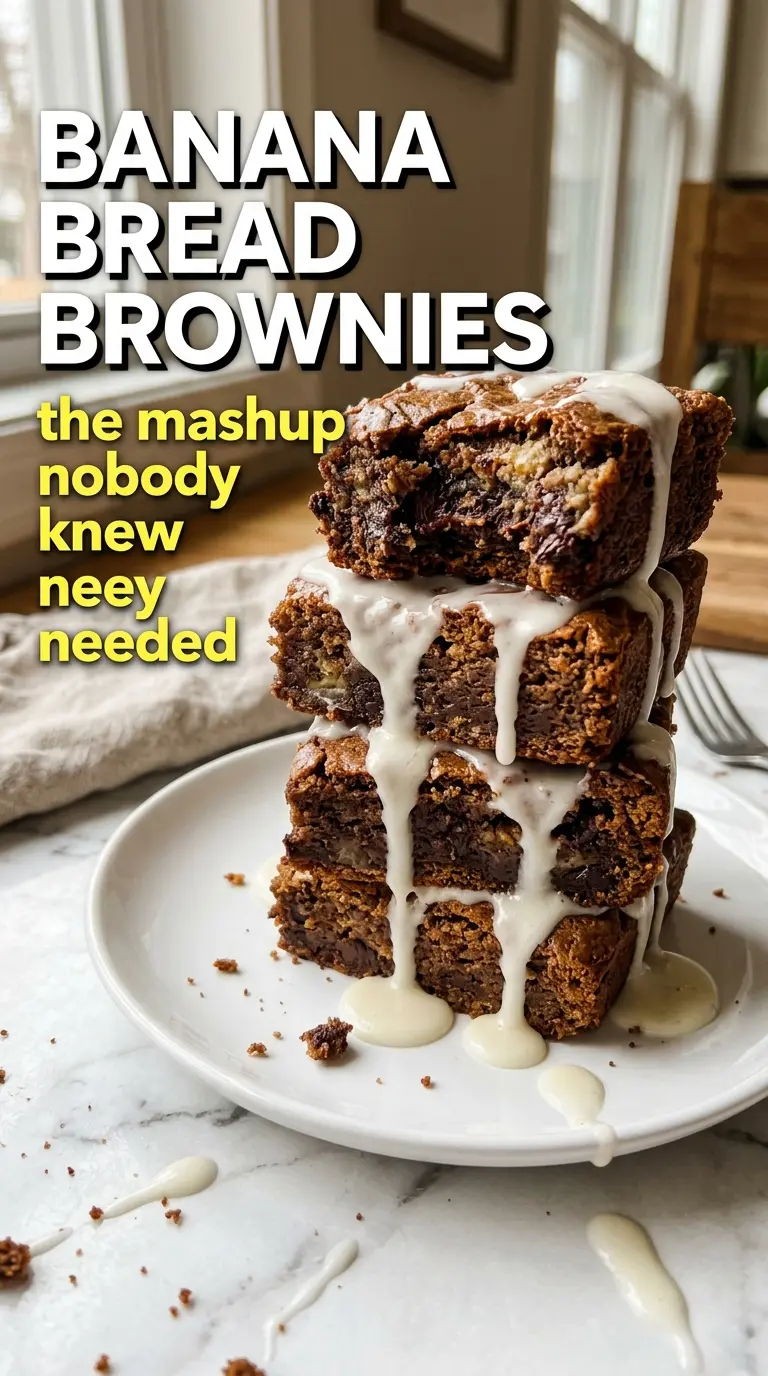
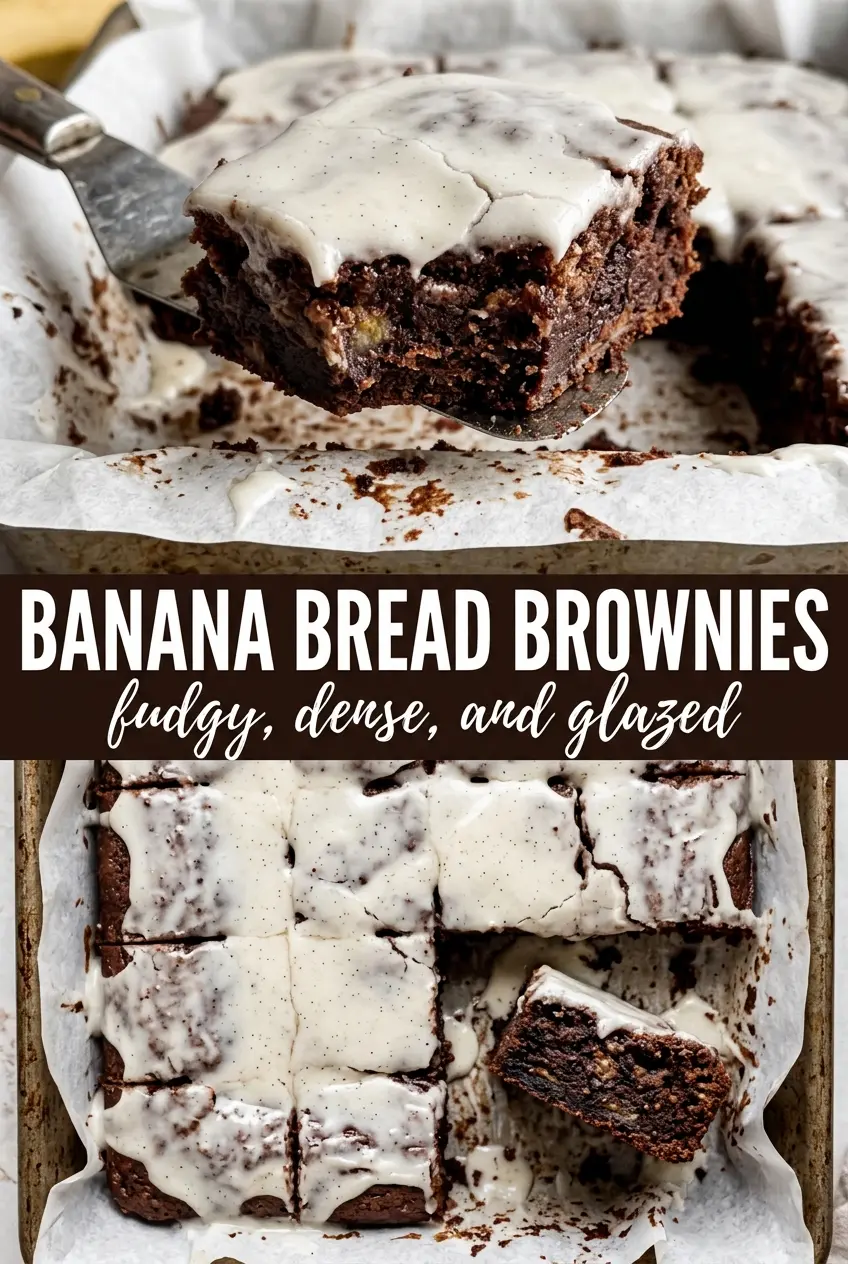
Fudgy banana bread brownies hit that sweet spot between a bakery-style banana bar and a rich blondie. The top bakes up with a thin crinkled crust, the center stays dense and moist, and the brown butter glaze melts into the warm bars so every bite tastes deeper and more rounded than plain banana bread ever does.
Browned butter does a lot of the heavy lifting here. It brings a nutty note that keeps the bars from tasting flat, and it plays especially well with ripe bananas and cinnamon. The batter comes together fast, but the order matters: cool the butter slightly before whisking it with the sugar and eggs so you don’t scramble anything, and stop mixing the flour as soon as it disappears so the bars stay tender instead of cakey.
Below, you’ll find the small details that make these bars worth baking more than once — from the exact doneness cue to the glaze timing that gives you that glossy finish without turning sticky.
The bars baked up with that crinkly top I was hoping for, and the brown butter glaze soaked into the warm pan so they stayed soft for days. I added the chocolate chips and they made every bite better.
Save these banana bread brownies for the brown-butter glaze and that fudgy, crinkled-top finish.
The Reason These Banana Bars Stay Fudgy Instead of Turning Cake-Like
The biggest mistake with banana bars is treating them like banana bread. Banana bread can handle a little extra flour or a few extra minutes in the oven. These can’t. The texture you’re after is more like a dense blondie with banana flavor, which means you want enough flour to hold the bars together, but not so much that they bake up fluffy and dry.
The other thing that matters is the banana-to-fat balance. Three ripe bananas give you plenty of moisture and sweetness, but browned butter adds structure and depth that plain melted butter can’t match. Pull the bars when a toothpick comes out with a few moist crumbs, not a clean toothpick. Clean usually means overbaked here, and overbaked banana bars go from fudgy to crumbly fast.
What Each Ingredient Is Actually Doing in This Batch
- Ripe bananas — The riper they are, the better the flavor and texture. Spotty, soft bananas mash smoothly and bring enough sweetness that the bars don’t taste one-note. If yours aren’t fully ripe, bake them first to soften them, but don’t use firm yellow bananas unless you want a milder result.
- Browned butter — This is what gives the bars their nutty, toasty edge. It also keeps the flavor from leaning too sweet. Brown it until you see amber bits at the bottom and smell something close to toasted hazelnuts, then let it cool a few minutes before using it so the eggs don’t seize up.
- Brown sugar — This is the reason the bars stay moist and a little chewy. White sugar will work in a pinch, but you’ll lose some of the caramel-like depth and the texture will be less plush.
- Chocolate chips — These are optional in theory, but they give the bars little pockets of melted chocolate that make the banana flavor taste fuller. Semi-sweet is the best default. Mini chips distribute more evenly if you want chocolate in every bite.
- Powdered sugar glaze — The glaze turns these from good banana bars into something people remember. Whisk it with browned butter and just enough milk to make it pourable. If it’s too thick, add milk a teaspoon at a time; if it’s too thin, wait a minute before drizzling it so it clings to the bars instead of running off.
The Mixing Order That Keeps the Bars Dense and Tender
Brown the Butter First
Start with the butter for both the bars and the glaze, because browned butter needs a few minutes to cool before it goes into the batter. It should look golden with little brown specks at the bottom and smell nutty, not burnt. If the butter is screaming hot when it hits the eggs, you’ll get little scrambled bits in the bowl and the texture will suffer.
Build the Banana Base
Whisk the cooled browned butter, brown sugar, eggs, vanilla, and mashed bananas until the mixture looks smooth and glossy. You don’t need to beat a lot of air into it. The goal is a thick, unified batter that pours slowly off the whisk. If the bananas are lumpy, mash them more before you start mixing so the bars bake evenly.
Stop as Soon as the Flour Disappears
Fold in the flour, baking soda, cinnamon, and salt just until no dry streaks remain, then stir in the chocolate chips. Overmixing here develops too much structure and pushes the bars toward cake. Spread the batter evenly into the pan and level the top with a spatula so the center bakes at the same pace as the edges.
Watch for the Moist Crumb
Bake until the top is set, the edges are lightly browned, and a toothpick comes out with a few moist crumbs attached. If the toothpick is completely clean, the bars are already past the sweet spot. Let them cool for a few minutes before glazing so the surface is warm enough to absorb some of the glaze without dissolving it completely.
Glaze While Warm
Brown the glaze butter, whisk it with powdered sugar, milk, and vanilla, then pour it over the warm bars. The warmth helps it settle into the cracks and gives you that glossy finish. Let the glaze set before slicing, or you’ll drag it through the pan and lose the clean edges.
Three Ways to Make These Banana Bread Brownies Fit What You Need
Skip the Chocolate Chips for a Pure Banana Bar
Leave the chips out if you want the browned butter and banana to stay front and center. The bars will still be rich and moist, just a little less sweet and a little more like classic banana blondies. This version also slices a touch cleaner once the glaze sets.
Make Them Gluten-Free
Use a cup-for-cup gluten-free flour blend that includes xanthan gum. The bars will still be tender, though the crumb may be slightly more delicate, so let them cool fully before slicing. Avoid almond flour here; it won’t give the same structure and the centers can turn too soft.
Make It Dairy-Free
Swap in plant-based butter for both the bars and the glaze. You’ll lose a little of the deep nuttiness that real browned butter gives you, but the bars will still bake up moist with a good chew. Use an unsweetened non-dairy milk in the glaze so the sweetness stays balanced.
Turn Them Into a Thicker Snack Cake
Bake the same batter in a smaller pan if you want a taller bar with a softer center. Start checking early, because the edges will set faster than you expect. The texture shifts from brownie-like to more snack-cake-like, but the glaze still works beautifully over the top.
Storage and Reheating
- Refrigerator: Store covered for up to 4 days. The bars stay moist, and the glaze firms up slightly, which actually helps them slice neatly.
- Freezer: Freeze unglazed bars wrapped well for up to 2 months. Thaw at room temperature, then glaze after they come back to soft room temp for the best texture.
- Reheating: Warm individual squares for 10 to 15 seconds in the microwave if you want the chocolate chips soft again. Don’t heat them too long or the glaze will melt off and the crumb can turn gummy.
Questions I Get Asked About This Recipe
Banana Bread Brownies
Ingredients
Equipment
Method
- Preheat the oven to 350°F and grease a 9x13 pan.
- Brown the butter in a saucepan until golden and nutty smelling, then remove from heat and cool slightly.
- Whisk the browned butter, brown sugar, eggs, and vanilla into the mashed bananas until smooth.
- Fold in the flour, baking soda, cinnamon, and salt until just combined, then stir in the chocolate chips.
- Spread the batter evenly in the pan and bake for 25–30 minutes, until a toothpick comes out with just a few moist crumbs and the top looks set.
- Brown the glaze butter, whisk it with powdered sugar, milk, and vanilla until smooth and pourable.
- Pour the warm glaze over the warm bars and let it set before slicing, so it soaks in and forms a lightly set coating.