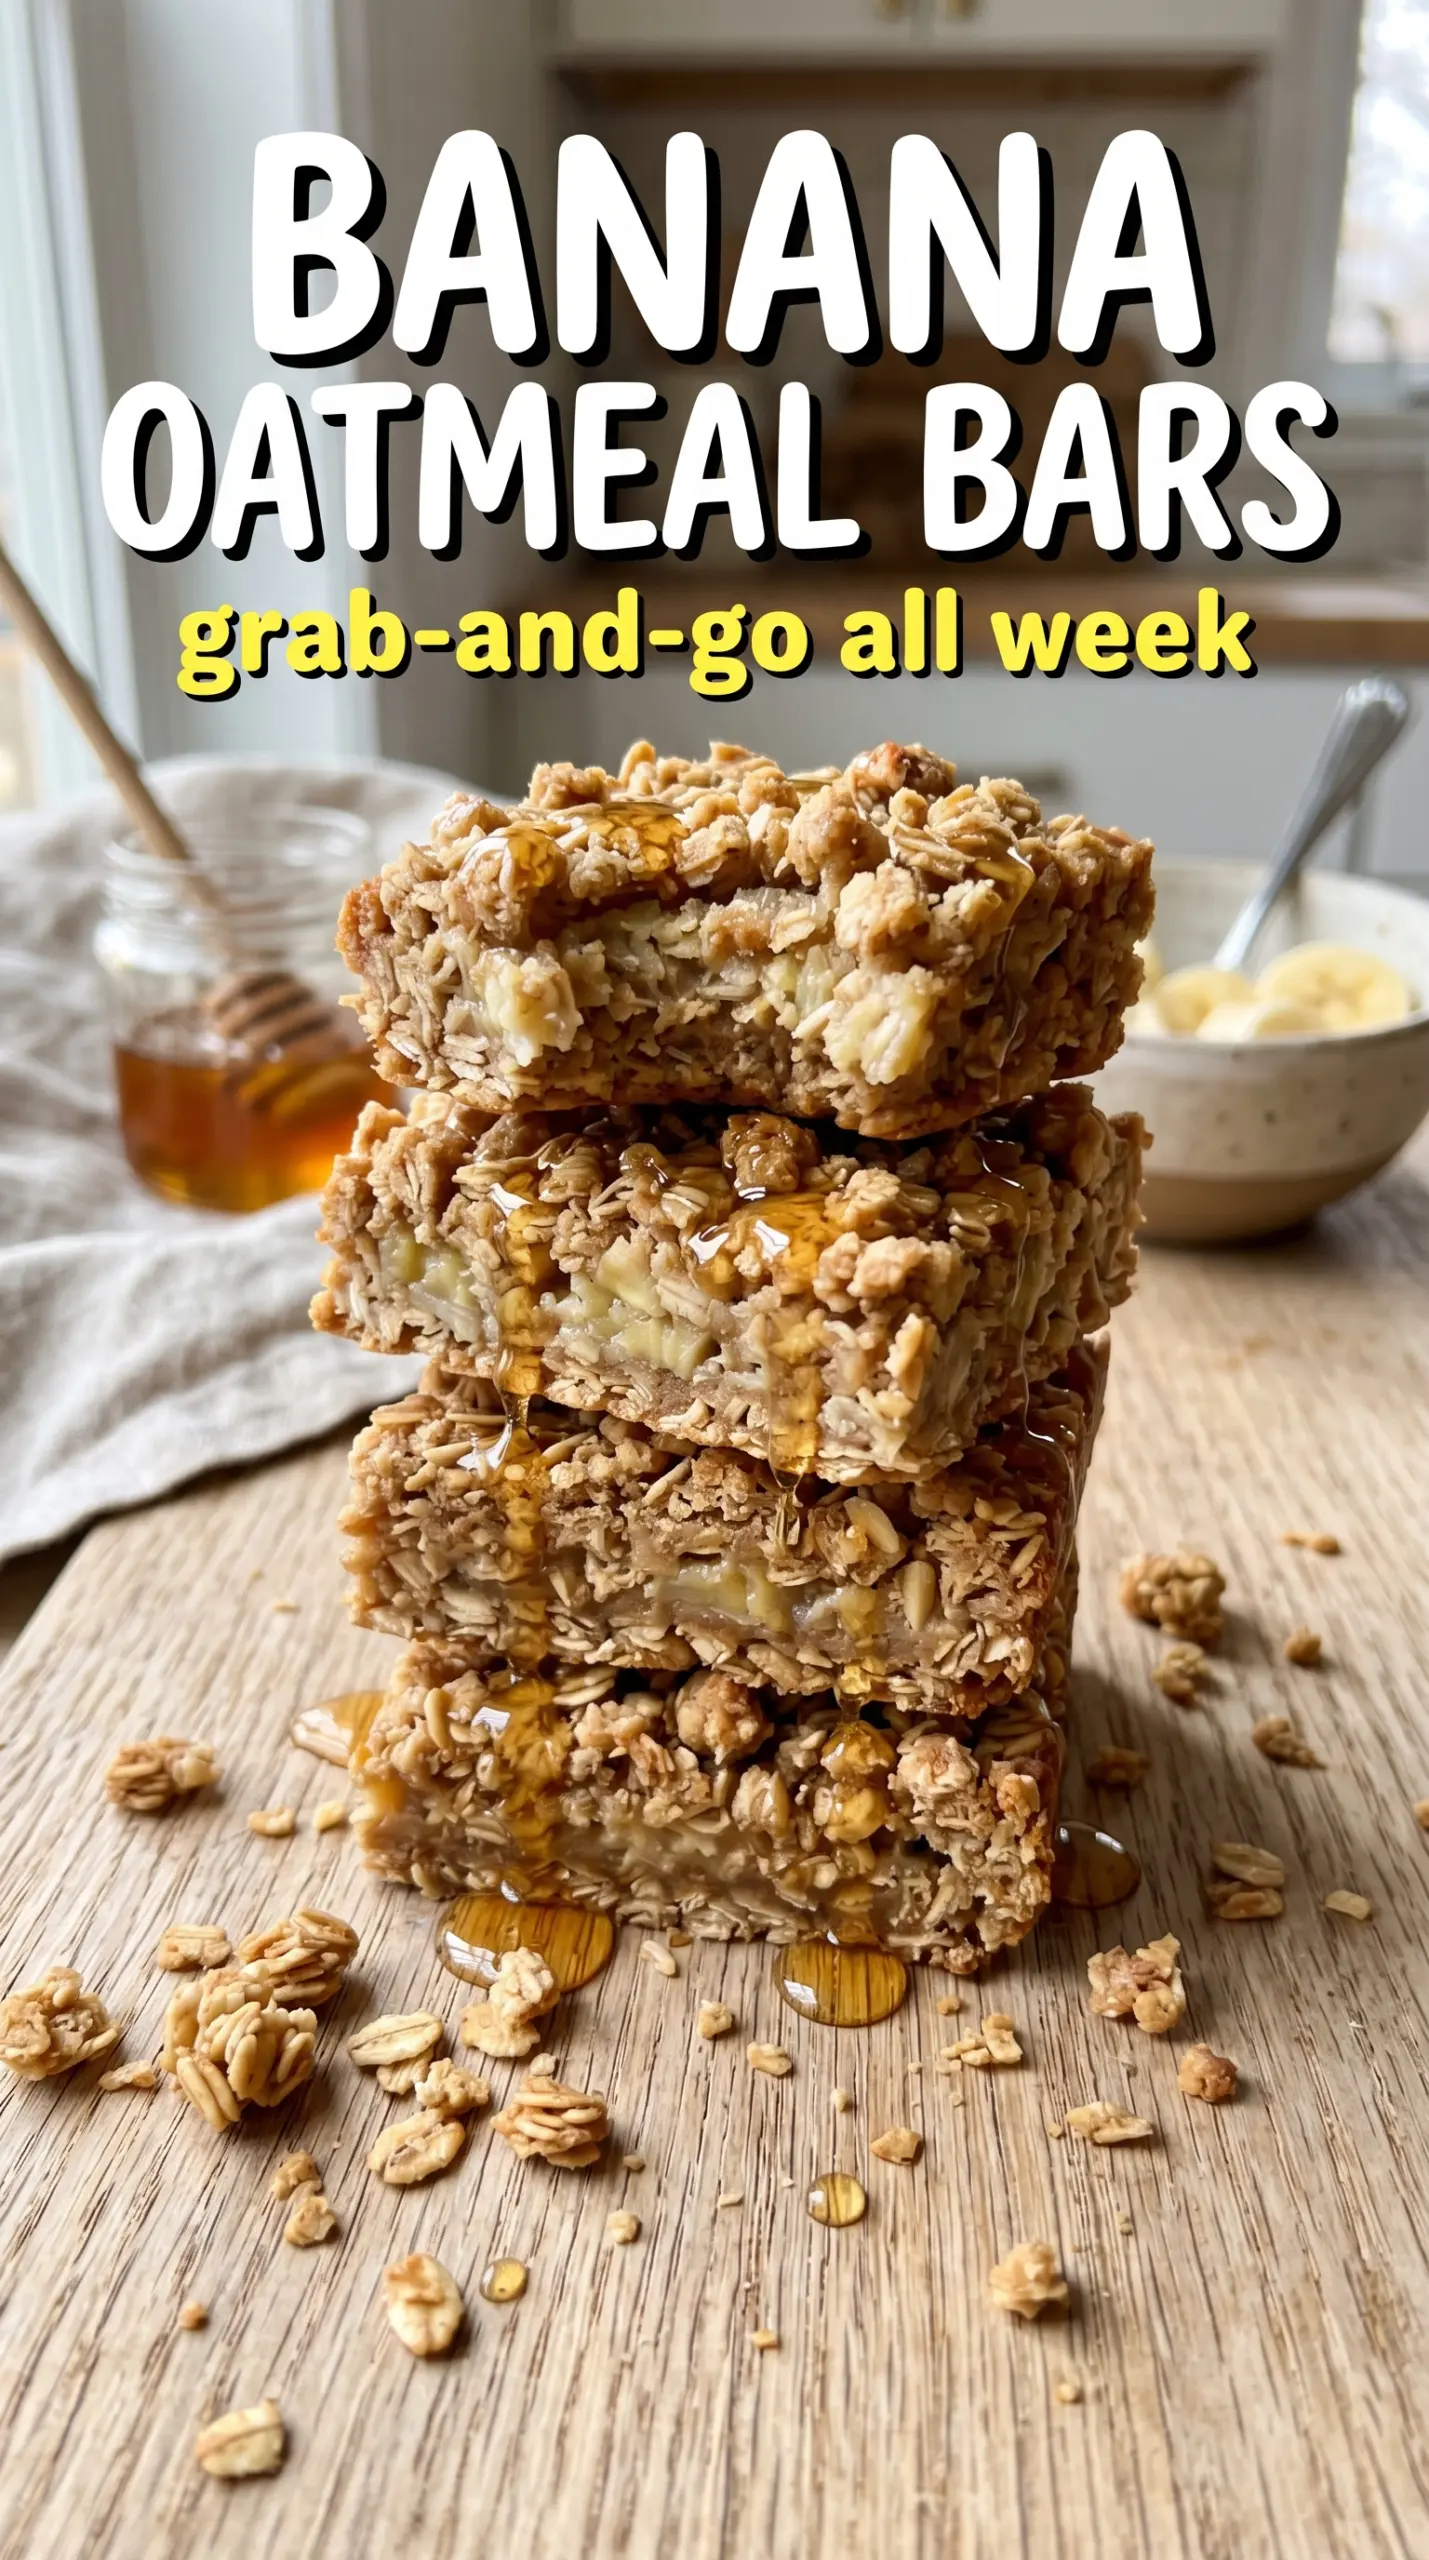
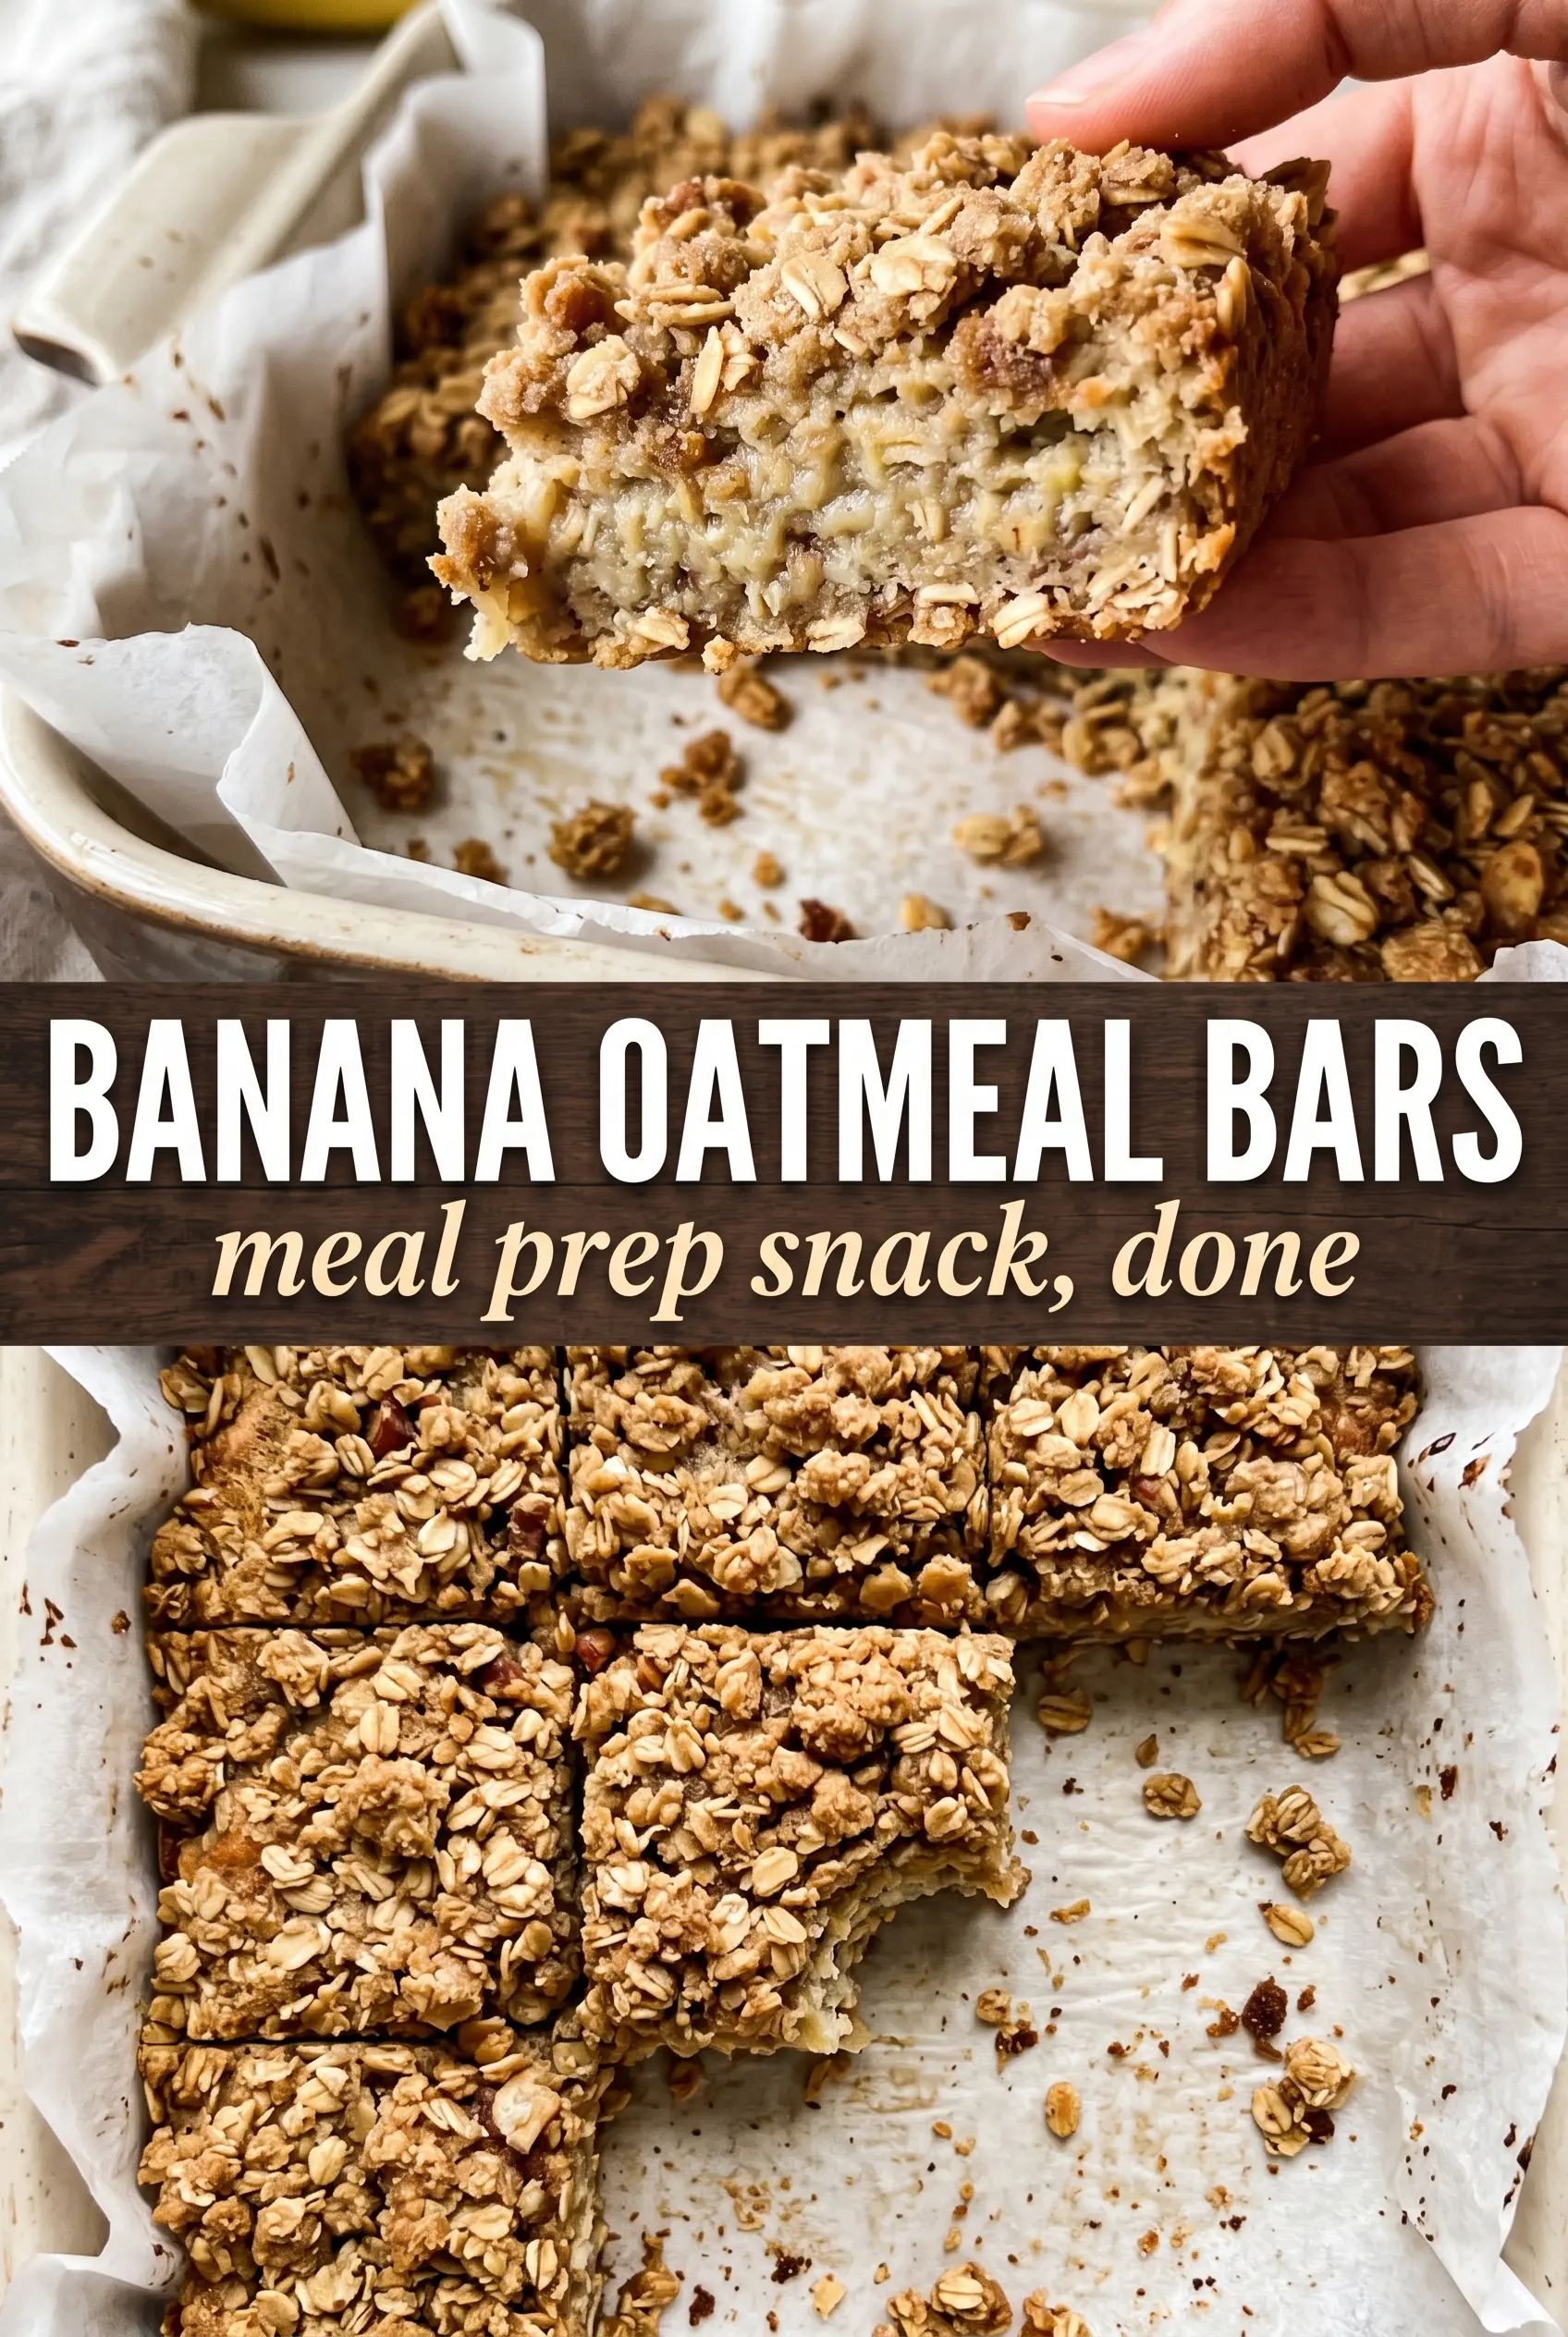
Chewy banana oatmeal bars are the kind of breakfast that disappear from the pan before they ever make it to a container. The edges bake up lightly golden and a little crisp, while the center stays soft and dense with that hearty oat texture that feels substantial without turning heavy. They slice cleanly once cooled, which makes them just as useful for lunchboxes and grab-and-go snacks as they are for a quick breakfast.
What makes this version work is the balance: enough mashed banana to bind everything together, enough oats to give the bars structure, and just enough honey or maple syrup to round out the flavor without pushing them into dessert territory. The nut butter matters here too. It adds richness and helps the bars hold together, so they don’t crumble the second you cut them. If your banana mixture looks a little loose before baking, that’s normal; the oats need a few minutes in the oven to absorb the moisture and set up properly.
Below, I’ve included the little details that make these bars come out sturdy instead of mushy, plus a few swaps if you want to use what you already have in the pantry.
I loved how these held together after chilling. The oats stayed chewy, the banana flavor was front and center, and my kids grabbed them cold right out of the fridge all week.
Save these chewy banana oatmeal bars for a fast breakfast that slices cleanly and packs well.
The Secret to Bars That Hold Together Instead of Falling Apart
The biggest mistake with banana oat bars is treating them like quick bread. They need to be packed into the pan firmly, and the bananas need to be smooth enough to coat the oats evenly. If the mixture stays loose or chunky, the bars bake unevenly and break apart when you cut them.
Cooling matters just as much as baking. These bars continue to set as they come down to room temperature, and chilling them before slicing gives you the cleanest edges. If you cut them while they’re still warm, the center can seem underdone even when the bake was perfect.
- Bananas — Use ripe bananas with plenty of brown spots. They bring sweetness, moisture, and binding power. Underripe bananas taste flat and don’t mash into the smooth base these bars need.
- Rolled oats — Old-fashioned rolled oats give the best chewy texture. Quick oats can work in a pinch, but the bars will be softer and less distinct. Don’t use steel-cut oats here; they won’t soften enough in the oven.
- Nut butter — Almond butter or peanut butter adds fat and helps the bars hold their shape. Natural nut butter is fine, but stir it well first so the texture isn’t oily on top and dry underneath.
- Honey or maple syrup — This is just enough extra sweetness to balance the banana. Maple syrup keeps the flavor a little lighter; honey adds a deeper note and slightly firmer finish.
- Mix-ins — Chocolate chips, raisins, or dried cranberries all work, but don’t overload the batter. Too many add-ins make the bars crumbly, so keep the total amount measured.
What Each Ingredient Is Actually Doing in This Banana Bread or Baked Good
- Bananas (the moisture and sweetness) — Use very ripe bananas for maximum sweetness. Overripe is actually better here.
- Flour (the structure base) — Don’t overmix or the baked good becomes tough. Mix just until dry ingredients are incorporated.
- Sugar (the sweetness) — Ripe bananas are already sweet, so adjust sugar slightly if desired. Don’t reduce too much or it becomes dry.
- Butter or oil (the richness) — This creates tender crumb. Oil makes moister baked goods; butter adds richness.
- Eggs (the binder and lift) — These hold everything together and help the baked good rise. Use room temperature eggs.
- Leavening (baking soda or powder) — This creates rise and light texture. Too much makes it taste bitter.
- Vanilla extract (the flavor enhancer) — This brings out banana flavor. Use quality vanilla extract.
- Optional mix-ins (nuts, chocolate, or dried fruit) — These add texture and prevent one-dimensional flavor.
Building the Batter So the Bars Bake Evenly
Start With a Smooth Banana Base
Mash the bananas until they look almost puréed, with no large chunks left behind. Those soft bits don’t distribute evenly, and they can leave wet pockets in the finished bars. Stir in the nut butter, honey or maple syrup, vanilla, cinnamon, and salt until the mixture looks glossy and uniform.
Fold in the Oats Without Overmixing
Add the oats and mix just until every flake is coated. The batter should look thick and scoopable, not runny. If you keep stirring after the oats are fully combined, you won’t hurt the bars, but you’ll compact the mixture more than necessary and end up with a tougher texture.
Press and Bake for a Set Center
Scoop the mixture into the lined pan and press it down firmly with the back of a spoon or your fingers. Pay attention to the corners and edges so the layer is even all the way across; thin spots bake too quickly and dry out before the center is done. Bake until the edges are golden and the center no longer looks wet. A little softness in the middle is fine — it firms up as it cools.
Cool Before You Cut
Let the pan cool completely, then chill it if you want tidy rectangles. Warm bars will crumble at the edges and smear the add-ins, especially if you used chocolate chips. A brief chill gives you the clean slices you see in the photos and helps the texture settle into that chewy, dense bar you want.
Three Ways to Make These Banana Oat Bars Fit What You Need
Make Them Gluten-Free With the Right Oats
Use certified gluten-free rolled oats if you need these bars to stay gluten-free. Oats themselves are naturally gluten-free, but cross-contact is common during processing. The texture stays the same, so this swap is easy and doesn’t change the bake.
Swap the Nut Butter for Sunflower Seed Butter
Sunflower seed butter works well if you need a nut-free version. It keeps the bars cohesive and adds richness, though the flavor will be a little earthier and more savory than peanut butter. Stir the butter well before measuring so the bars don’t bake up oily in one spot and dry in another.
Turn Them Into a Lower-Sugar Snack
You can reduce the honey or maple syrup slightly if your bananas are very ripe and sweet. Don’t cut it out completely, though, because the extra syrup helps the bars bake up tender instead of dry and crumbly. For a more dessert-like batch, chocolate chips are the better add-in than dried fruit.
Storage and Reheating
- Refrigerator: Store in an airtight container for up to 5 days. They firm up in the fridge, which actually makes them easier to pick up and eat.
- Freezer: Freeze well for up to 2 months. Wrap individually, then store in a freezer bag so they don’t stick together.
- Reheating: Eat them cold or warm them for 10 to 15 seconds in the microwave. Longer heating dries out the oats and makes the bars lose that chewy texture.
Answers to the Questions Worth Asking
Banana Oatmeal Bars
Ingredients
Equipment
Method
- Preheat the oven to 350°F and line an 8x8 pan with parchment paper, leaving overhang for easy lifting.
- Mash the bananas until completely smooth, then stir in almond butter or peanut butter, honey or maple syrup, vanilla extract, cinnamon, and salt.
- Fold in the rolled oats until fully combined, then fold in your chosen mix-ins (chocolate chips, dried cranberries, or raisins).
- Press the mixture firmly and evenly into the prepared pan to help the center set.
- Bake for 22–25 minutes until the edges are golden and the center is set with no wet batter.
- Cool completely before slicing into bars to prevent crumbling and help the texture firm up.
- Refrigerate after cooling for cleaner cuts and neatly shaped rectangles.