Golden-edged banana oatmeal bars with a soft, chewy center are one of those bake-once, eat-all-week breakfasts that actually hold together in your hand. The bananas keep them moist without turning them cakey, the oats give them structure, and the nut butter adds enough richness to make them feel like a real snack instead of a compromise.
What makes these work is the ratio. Too much banana and the bars bake up gummy. Too little and they turn dry and crumbly. Mashing the bananas until they’re completely smooth helps the batter press evenly into the pan, and letting the bars cool all the way before slicing gives them the cleanest edges. If you rush that part, they’ll still taste good, but they won’t cut into neat squares.
Below, you’ll find the small details that keep these bars chewy instead of mushy, plus a few smart ways to change them up depending on what’s in your pantry.
I loved how the bars held together after cooling and didn’t fall apart in the lunchbox. The banana flavor came through, and the chocolate chips stayed melty without making the center wet.
Save these chewy banana oatmeal bars for a make-ahead breakfast with a soft center and golden edges.
The Reason Banana Bars Turn Gummy — and How to Keep Them Chewy
Banana bars go wrong when they lean too wet. Bananas vary a lot in size and moisture, and if you use extra-large ones or don’t mash them fully, the batter can stay soft in the middle even after the edges brown. The fix is simple: use ripe bananas with plenty of brown spots, mash them until no lumps remain, and press the mixture into the pan firmly so it bakes evenly from edge to center.
The other thing that matters here is the oats. Rolled oats give these bars their chew and structure. Quick oats can work in a pinch, but they make the bars a little softer and less textured. If you want clean slices, let the pan cool completely before cutting. Warm bars will seem underbaked even when they’re done, and they’ll collapse when you try to lift them.
What Each Ingredient Is Actually Doing in These Bars
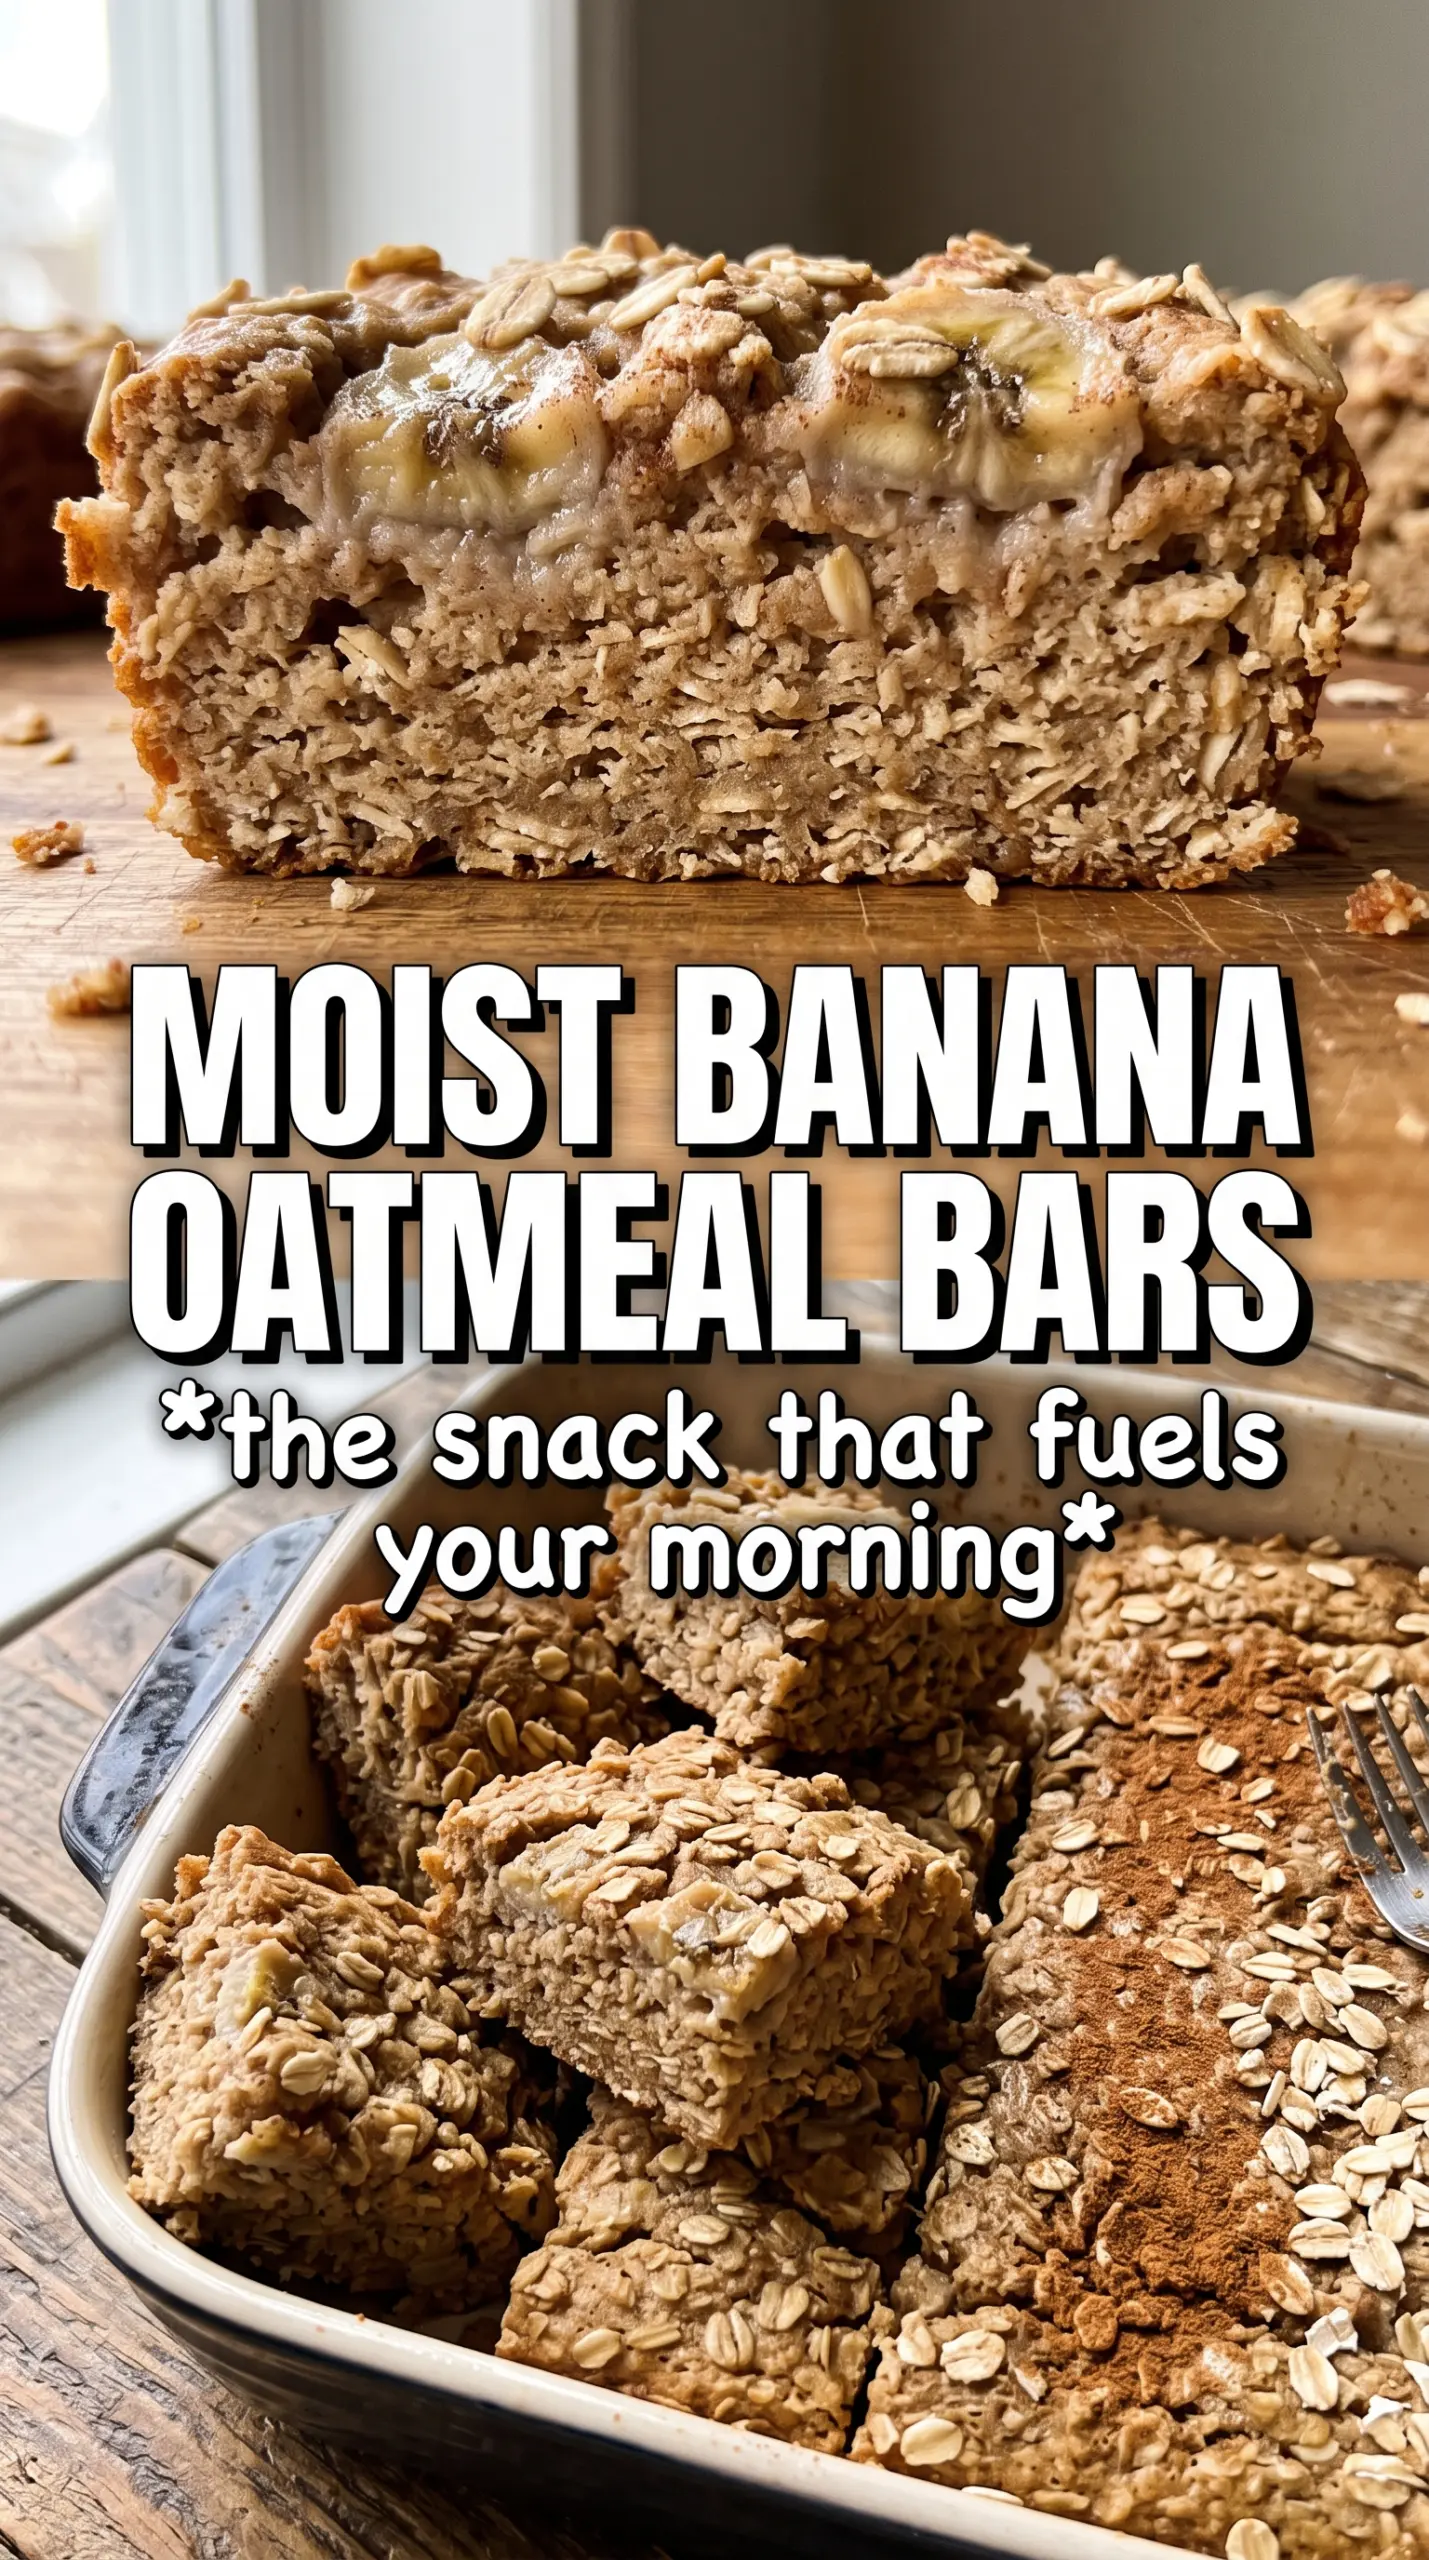
- Ripe bananas — These bring sweetness, moisture, and the soft texture that makes the bars hold together. The browner the peel, the better the flavor. Bananas that still taste starchy won’t mash as smoothly and won’t give the bars the same natural sweetness.
- Rolled oats — These are the backbone of the recipe. They absorb the banana mixture without turning to paste, which is why the bars stay chewy instead of mushy. If you only have quick oats, use them, but expect a softer texture.
- Honey or maple syrup — This helps the bars set up with a little extra sweetness and gives a more rounded finish. Honey bakes a touch firmer; maple syrup keeps the flavor a little lighter. If your bananas are very ripe, you can reduce this slightly, but the bars may be less cohesive.
- Peanut butter or almond butter — This is what gives the bars enough body to slice cleanly. It also adds richness and keeps them from tasting like mashed banana and oats alone. Natural nut butters work fine, but stir them well first so the oil doesn’t throw off the texture.
- Chocolate chips, raisins, or chopped nuts — These are optional, but they add contrast. Chocolate chips melt into pockets of sweetness, raisins make the bars a little more breakfast-y, and nuts add crunch. Don’t overload the batter or the bars can fall apart when you cut them.
The Fastest Way to Mix, Press, and Bake Them Evenly
Start With Smooth Banana
Mash the bananas until they’re completely smooth, not just mostly mashed. Little chunks look harmless, but they create wet pockets that bake unevenly and keep the center soft. A fork works fine, though a potato masher gets you there faster. When the bananas are glossy and mostly liquid with only tiny bits left, you’re in the right place.
Build the Batter in One Bowl
Add the oats, honey or maple syrup, nut butter, vanilla, cinnamon, and salt straight into the bowl with the bananas. Stir until every oat looks coated and the mixture feels thick and sticky, almost like a very loose cookie dough. If it seems dry, let it sit for a minute before adding anything else; oats need a little time to absorb the moisture before you decide if the batter needs adjusting.
Press It Harder Than You Think
Transfer the mixture to the lined pan and press it down firmly with the back of a spoon or your hands. Loose packing is the main reason these bars crumble when sliced. The surface should look smooth and even, with the batter reaching all the corners. If you’re adding chocolate chips or nuts on top, press them in lightly so they don’t fall off after baking.
Bake Until the Edges Color, Then Cool Completely
Bake just until the edges turn golden and the center looks set rather than wet. The middle may still feel a little soft when you first pull it out, and that’s fine. It firms up as it cools. Cutting too soon is the fastest way to get a ragged, sticky mess, so give the pan enough time to come to room temperature before you slice it.
Three Ways to Change These Banana Oatmeal Bars Without Ruining the Texture
Make Them Gluten-Free
Use certified gluten-free rolled oats. Oats are naturally gluten-free, but they’re often processed in facilities with wheat, so certified oats are the safe move if you’re cooking for someone who needs to avoid gluten. The texture stays the same.
Make Them Dairy-Free and Vegan
Use maple syrup instead of honey. Everything else in the base recipe is already dairy-free, so this is an easy swap. The bars will taste a little less floral and a little more caramel-like, which works well with bananas.
Make Them More Filling for Breakfast
Add chopped nuts and chocolate chips, or stir in a handful of shredded coconut. The bars become heartier and a little more substantial, but don’t add so much extra mix-in that the batter can’t bind. About 1/2 cup total is the sweet spot for keeping the structure intact.
Storage and Reheating
- Refrigerator: Store in an airtight container for up to 5 days. They’ll firm up in the fridge, which makes them even easier to pack for snacks or breakfast.
- Freezer: These freeze well. Wrap individual bars and freeze for up to 2 months, then thaw in the fridge or at room temperature.
- Reheating: Warm a bar in the microwave for 10 to 15 seconds if you want the chocolate chips soft again. Don’t overheat them or the oats can dry out and the edges turn tough.
Answers to the Questions Worth Asking
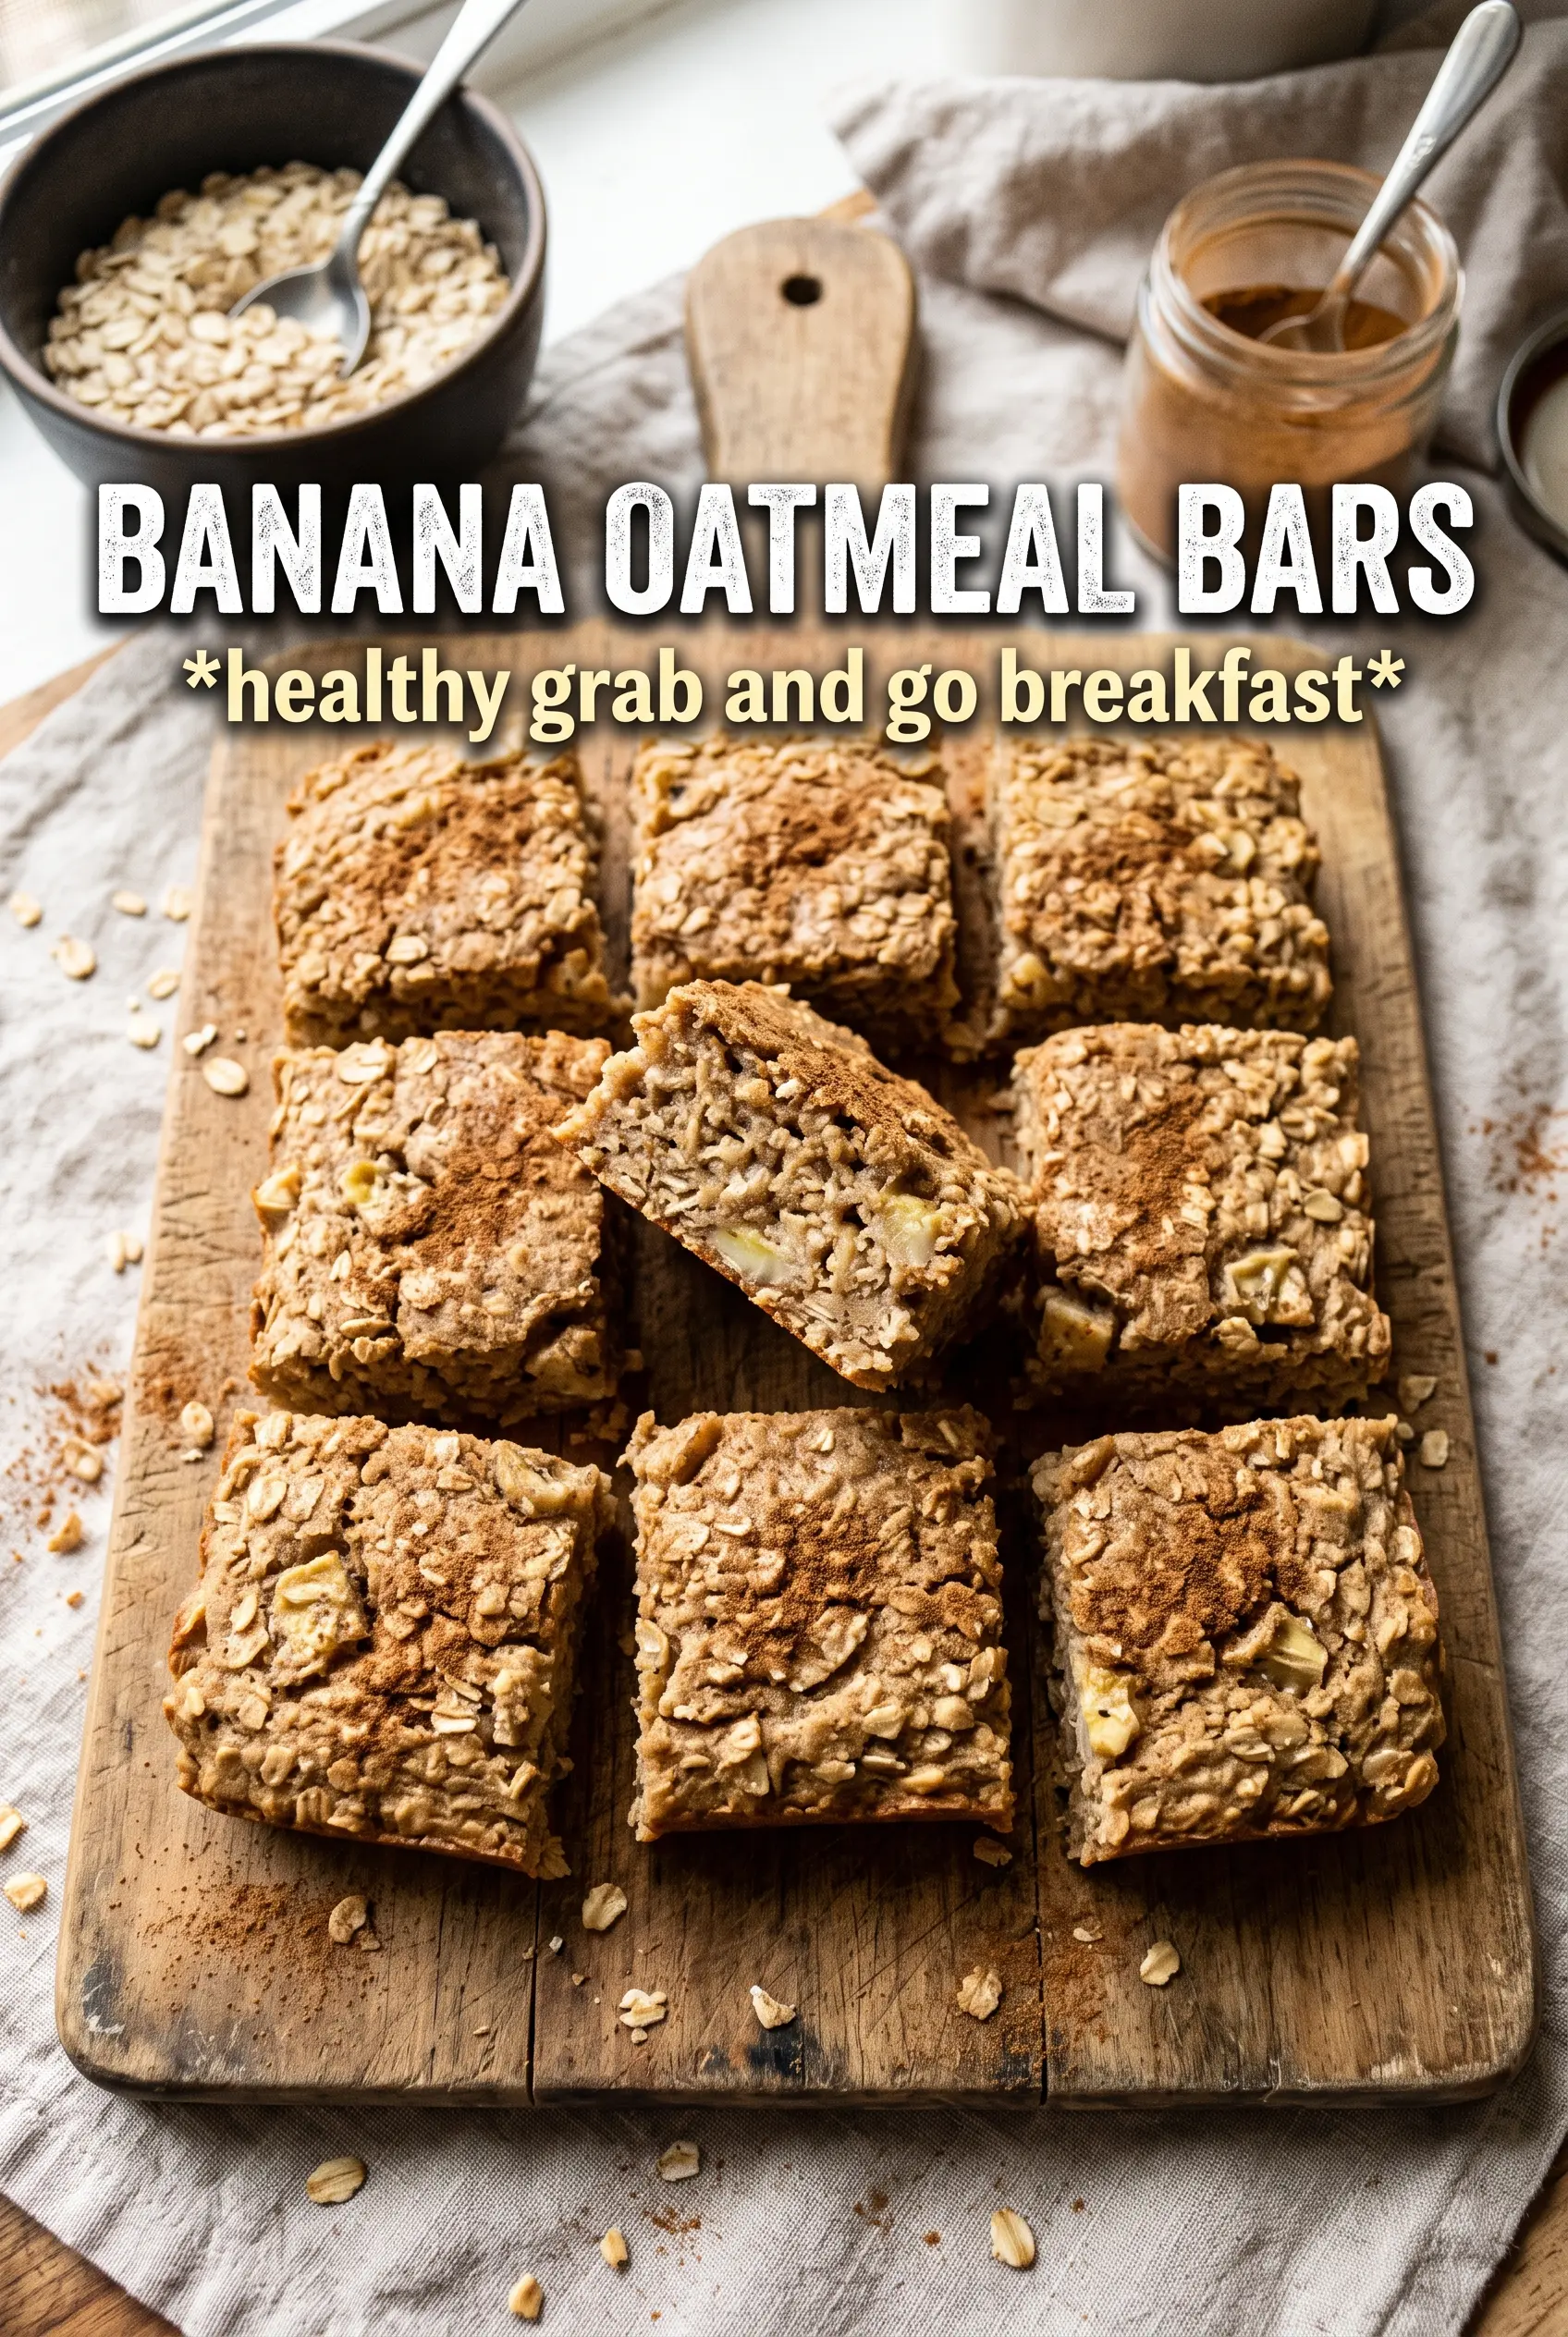
Banana Oatmeal Bars
Ingredients
Equipment
Method
- Preheat the oven to 350°F and line an 8x8 or 9x13 pan with parchment paper, ensuring the paper overhangs for easy lifting.
- Mash the ripe bananas until completely smooth in a large bowl so the bars bind well.
- Add the rolled oats, honey, peanut butter, vanilla, cinnamon, and salt and mix until fully combined.
- Fold in the chocolate chips or add-ins if using so they’re evenly distributed through the batter.
- Press the mixture evenly into the pan and smooth the top for a flat, even bake surface.
- Bake for 22–25 minutes at 350°F until the edges are golden and the center is set, then remove to cool.
- Cool completely before cutting into bars so the center holds together and slices cleanly.