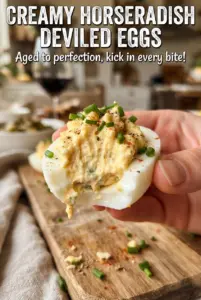
A deviled egg board turns a familiar party staple into a centerpiece people actually gather around. The eggs stay creamy and classic in the middle, but the real fun comes from the toppings: smoky bacon, briny capers, sharp cheddar, herbs, heat, and that little hit of everything seasoning that makes each bite taste different from the last. It looks generous on the table and takes the pressure off making a dozen perfectly customized eggs ahead of time.
The base filling stays intentionally simple so it can carry all those add-ons. A little Dijon keeps the yolks bright, white vinegar gives the filling lift, and the mayonnaise has to be enough to make the mixture smooth without turning it loose. The eggs themselves matter too. If they’re overcooked, the yolks go chalky and the whites get rubbery. Pulling them from the heat and letting them stand covered gives you tender whites and yolks that mash into a filling with a clean, creamy texture.
Below, I’ve laid out the easiest way to peel the eggs cleanly, build the board so it looks abundant instead of crowded, and choose toppings that actually earn their spot.
The filling was smooth and piped beautifully, and the toppings made it feel like a whole spread instead of just deviled eggs. The bacon and pickled jalapeños were the first things to disappear.
Build your own deviled egg board with creamy filling, bold toppings, and a centerpiece that disappears fast.
The Trick to Deviled Eggs That Taste Fresh Instead of Flat
The filling matters, but the eggs themselves decide whether this board feels polished or tired. If you boil them too hard or too long, the yolks pick up that gray ring and the whites turn tough. The method here keeps the eggs gently cooked: bring them up, cover the pot, then let the heat do the work off the burner.
That resting period is the part people skip, and it shows. The yolks set through evenly without drying out, which gives you a filling that mashes smooth instead of grainy. Once the eggs hit the ice bath, the temperature drops fast and the shells release more cleanly. That small bit of control saves you from ragged whites and broken halves.
- Timing matters more than heat. Twelve minutes off the heat is enough for fully set yolks without the chalky center that comes from a rolling boil.
- The ice bath isn’t optional. It stops carryover cooking and helps the shells slide off instead of clinging to the whites.
- Use a steady hand when piping. A spoon works, but a piping bag gives you those neat, swirled centers that make the board look finished.
What Each Topping Is Doing on the Board
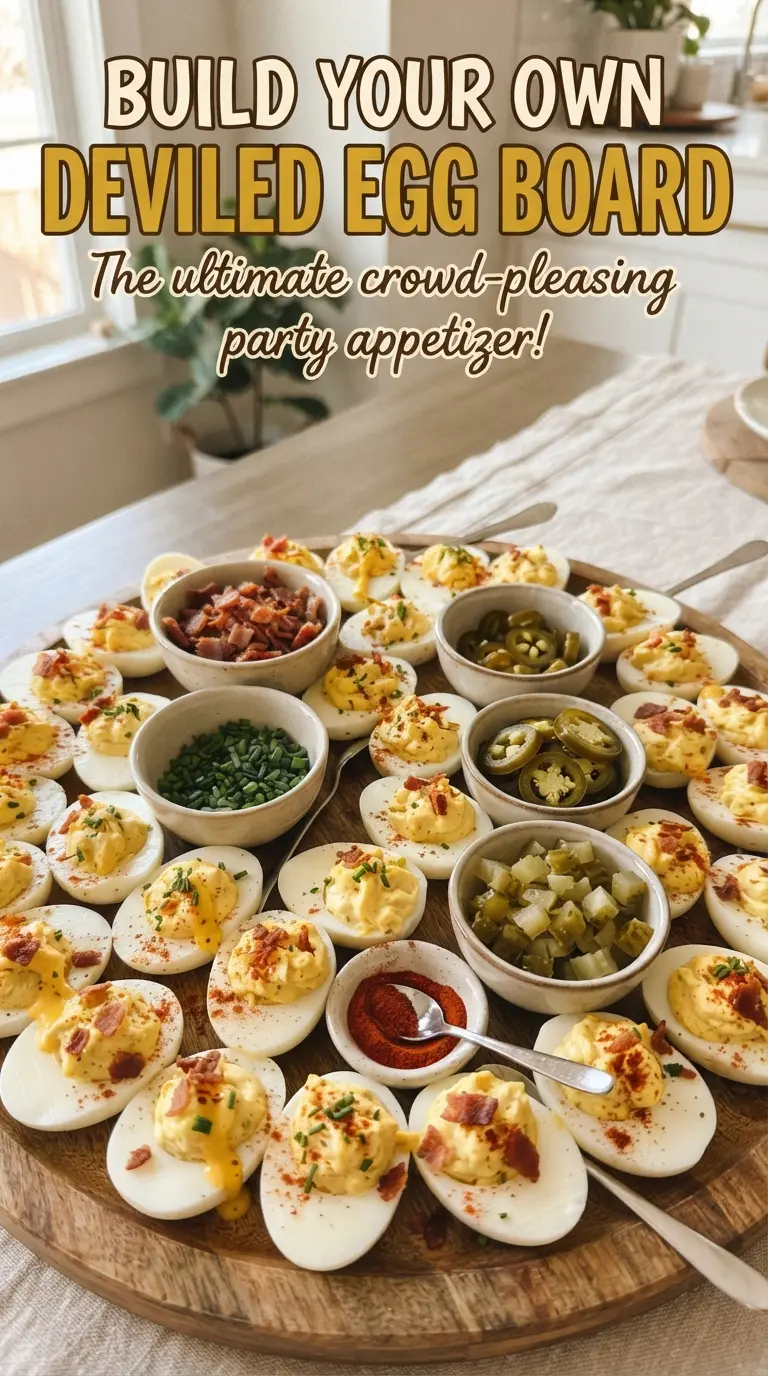
The toppings aren’t decoration. Each one changes the egg in a different direction, which is why this board works so well for a crowd. Bacon gives salt and crunch, smoked salmon adds a richer, more savory edge, and pickled jalapeños cut through the mayo with sharp heat and acid. Everything seasoning brings texture, while chives and capers keep the board from tasting heavy.
If you want the best result, use toppings with contrast. Soft eggs need crunch. Rich yolks need something briny or spicy to wake them up. Cheddar can work here, but keep it finely shredded so it doesn’t sit in clumps. Hot sauce belongs on the side or drizzled lightly right before serving, because too much too early can slide the filling around.
- Mayonnaise — This is the backbone of the filling, so use one you like the taste of. A thick, full-fat mayo gives the smoothest texture.
- Dijon mustard — It sharpens the yolks without making the filling taste overtly mustardy. Yellow mustard will work in a pinch, but the flavor is flatter.
- White vinegar — Just enough acid keeps the filling lively. Lemon juice can replace it, though it adds a slightly brighter, more noticeable citrus note.
- Bacon, smoked salmon, jalapeños, capers, chives, and everything seasoning — These are the flavor builders. Pick two or three if you’re keeping the board smaller, but keep at least one salty item and one fresh herb or all the richness starts to blur together.
Building the Eggs, Then the Board
Cooking the Eggs Without Overdoing Them
Set the eggs in a pot and cover them with cold water so they heat evenly from the start. Once the water comes to a boil, cover the pot and take it off the heat right away. That covered rest is what cooks the yolks through gently. If you leave them at a hard boil, the whites tighten up and peel badly.
Cooling and Peeling Cleanly
Move the eggs straight into an ice bath for about 10 minutes. They need to be cold all the way through before peeling, not just warm on the outside. Crack the shells all over and peel under cool running water if the membrane hangs on. If a few whites tear, keep going — the filling hides minor flaws once they’re arranged on the board.
Mashing a Filling That Pipes Smoothly
Mash the yolks with mayonnaise, Dijon, vinegar, salt, and pepper until the mixture looks completely smooth and glossy. If it seems stiff, add a spoonful of mayo rather than water; water loosens the filling without improving the texture. Stop mixing as soon as it’s creamy. Overworking it can make the filling pasty instead of light.
Assembling the Board So It Looks Full
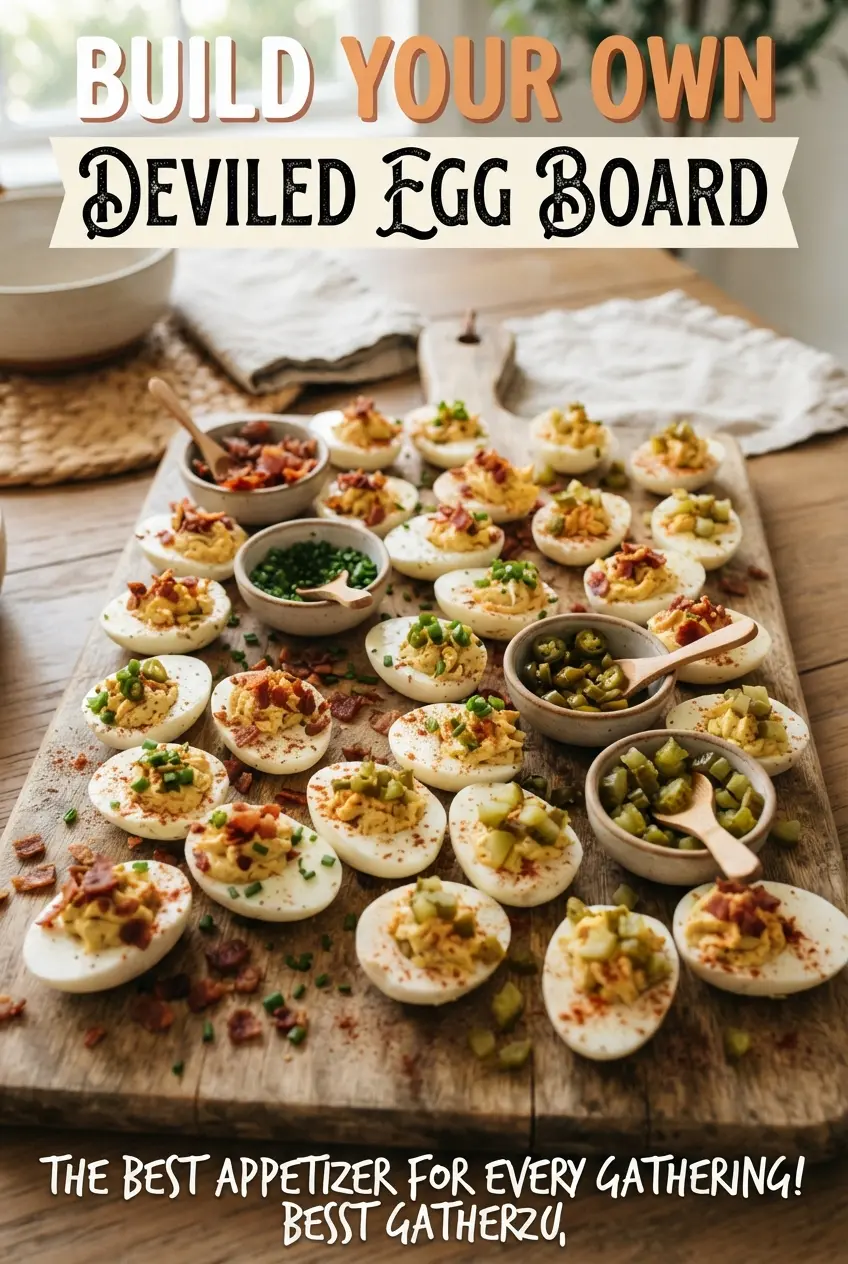
Pipe or spoon the yolk mixture into the egg whites and set them in the center of a large board or platter. Surround them with small bowls of bacon, salmon, jalapeños, everything seasoning, cheddar, chives, and capers so people can build their own bites. Finish with paprika and hot sauce just before serving. That last-minute touch keeps the paprika from dulling and the toppings from sliding around.
How to Adapt This for Different Crowds
Make It Gluten-Free Without Changing the Board
This board is naturally gluten-free as written, but you still want to check the labels on your mayonnaise, mustard, hot sauce, and everything bagel seasoning. Most versions are fine, but some seasoning blends and sauces hide wheat-based fillers or malt vinegar. Keep the toppings in separate bowls so guests can build safely without cross-contact.
Skip the Bacon and Keep the Flavor
If you need a pork-free board, use extra capers, chives, smoked salmon, and a little more paprika for depth. The eggs still taste complete because the filling carries the richness. The only thing you lose is the crisp, salty crunch from bacon, so add a toasted seed or crunchy vegetable if you want another textured topping.
Make It Ahead for a Party
You can boil, peel, and halve the eggs a day ahead, then keep the whites and filling covered separately in the refrigerator. Pipe or spoon the filling into the whites just before serving so the edges stay clean and the eggs don’t dry out. Hold the toppings in small bowls until the last minute, especially the bacon and herbs, which lose their best texture sitting too long.
Storage and Reheating
- Refrigerator: Store the filled eggs in an airtight container for up to 2 days. The toppings are best kept separate so the eggs don’t get soggy.
- Freezer: Don’t freeze deviled eggs. The whites turn watery and rubbery after thawing, and the filling loses its smooth texture.
- Reheating: These are served cold. If they sit out more than 2 hours, discard the leftovers rather than trying to warm them up.
Answers to the Questions Worth Asking
Build Your Own Deviled Egg Board
Ingredients
Equipment
Method
- Place large eggs in a pot, cover with cold water, and bring to a boil. Cover, remove from heat, and let stand 12 minutes.
- Chill the eggs in an ice bath for 10 minutes, then peel. Halve lengthwise and set the egg whites in a single layer.
- Mash the egg yolks with mayonnaise, Dijon mustard, white vinegar, salt, and black pepper until smooth. Stop when the texture is creamy and pipeable.
- Pipe the filling into the egg whites and arrange them in the center of a large board. Keep the halves upright so the filling stays neat.
- Fill small bowls with bacon, smoked salmon, pickled jalapenos, everything bagel seasoning, shredded cheddar, fresh chives, and capers. Arrange the bowls around the eggs.
- Finish with paprika and hot sauce on the board, then serve so guests top their own. Keep toppings accessible for quick customizing.