Sizzling campfire fajitas hit the table with that mix of char, smoke, and fresh lime that makes people hover around the skillet before you’ve even set out the tortillas. The peppers stay tender with a little bite, the onions soften and sweeten at the edges, and the meat picks up just enough browning to taste like it came off a real fire, not a hurried stovetop dinner. This is the kind of meal that feels casual and a little celebratory at the same time.
What makes this version work is the order. The meat goes in first so it can brown hard in the hot cast iron, then comes out before the vegetables take over the pan and turn everything watery. The peppers and onions need direct heat and space to char instead of steam, and returning the meat at the end keeps it juicy instead of overcooked. A good fajita seasoning does a lot of the work here, but the fire and the skillet are what give the dish its personality.
Below, I’ll walk through the part that matters most: keeping the skillet hot enough to sear, not just warm enough to cook. I’ve also included a few useful swaps and camping-friendly notes so you can make these work whether you’re using chicken, steak, or a mix of both.
The chicken browned beautifully in the cast iron and the peppers picked up just enough char without turning mushy. I loved that the tortillas warmed over the fire while everything finished in the skillet, so dinner came together fast and tasted like we’d planned it for hours.
Like these campfire fajitas? Save them for the next cookout when you want a smoky skillet dinner with browned meat, charred peppers, and quick cleanup.
The Trick to Getting Real Sizzle Over a Campfire
The biggest mistake with fajitas over open fire is starting with a skillet that isn’t hot enough. If the pan is only lukewarm, the meat gives off moisture before it browns, and the vegetables turn soft long before they pick up color. A cast iron skillet solves part of that problem because it holds heat, but it still needs time over the grate before anything goes in.
Work in batches if your skillet is crowded. Overstuffed pans cool down fast, and once that happens you’re steaming dinner instead of searing it. The second thing to watch is the flame itself: a steady bed of coals or controlled heat gives you much better browning than a wild, licking fire that scorches one spot and leaves the rest underdone.
What Each Ingredient Is Doing in These Fajitas
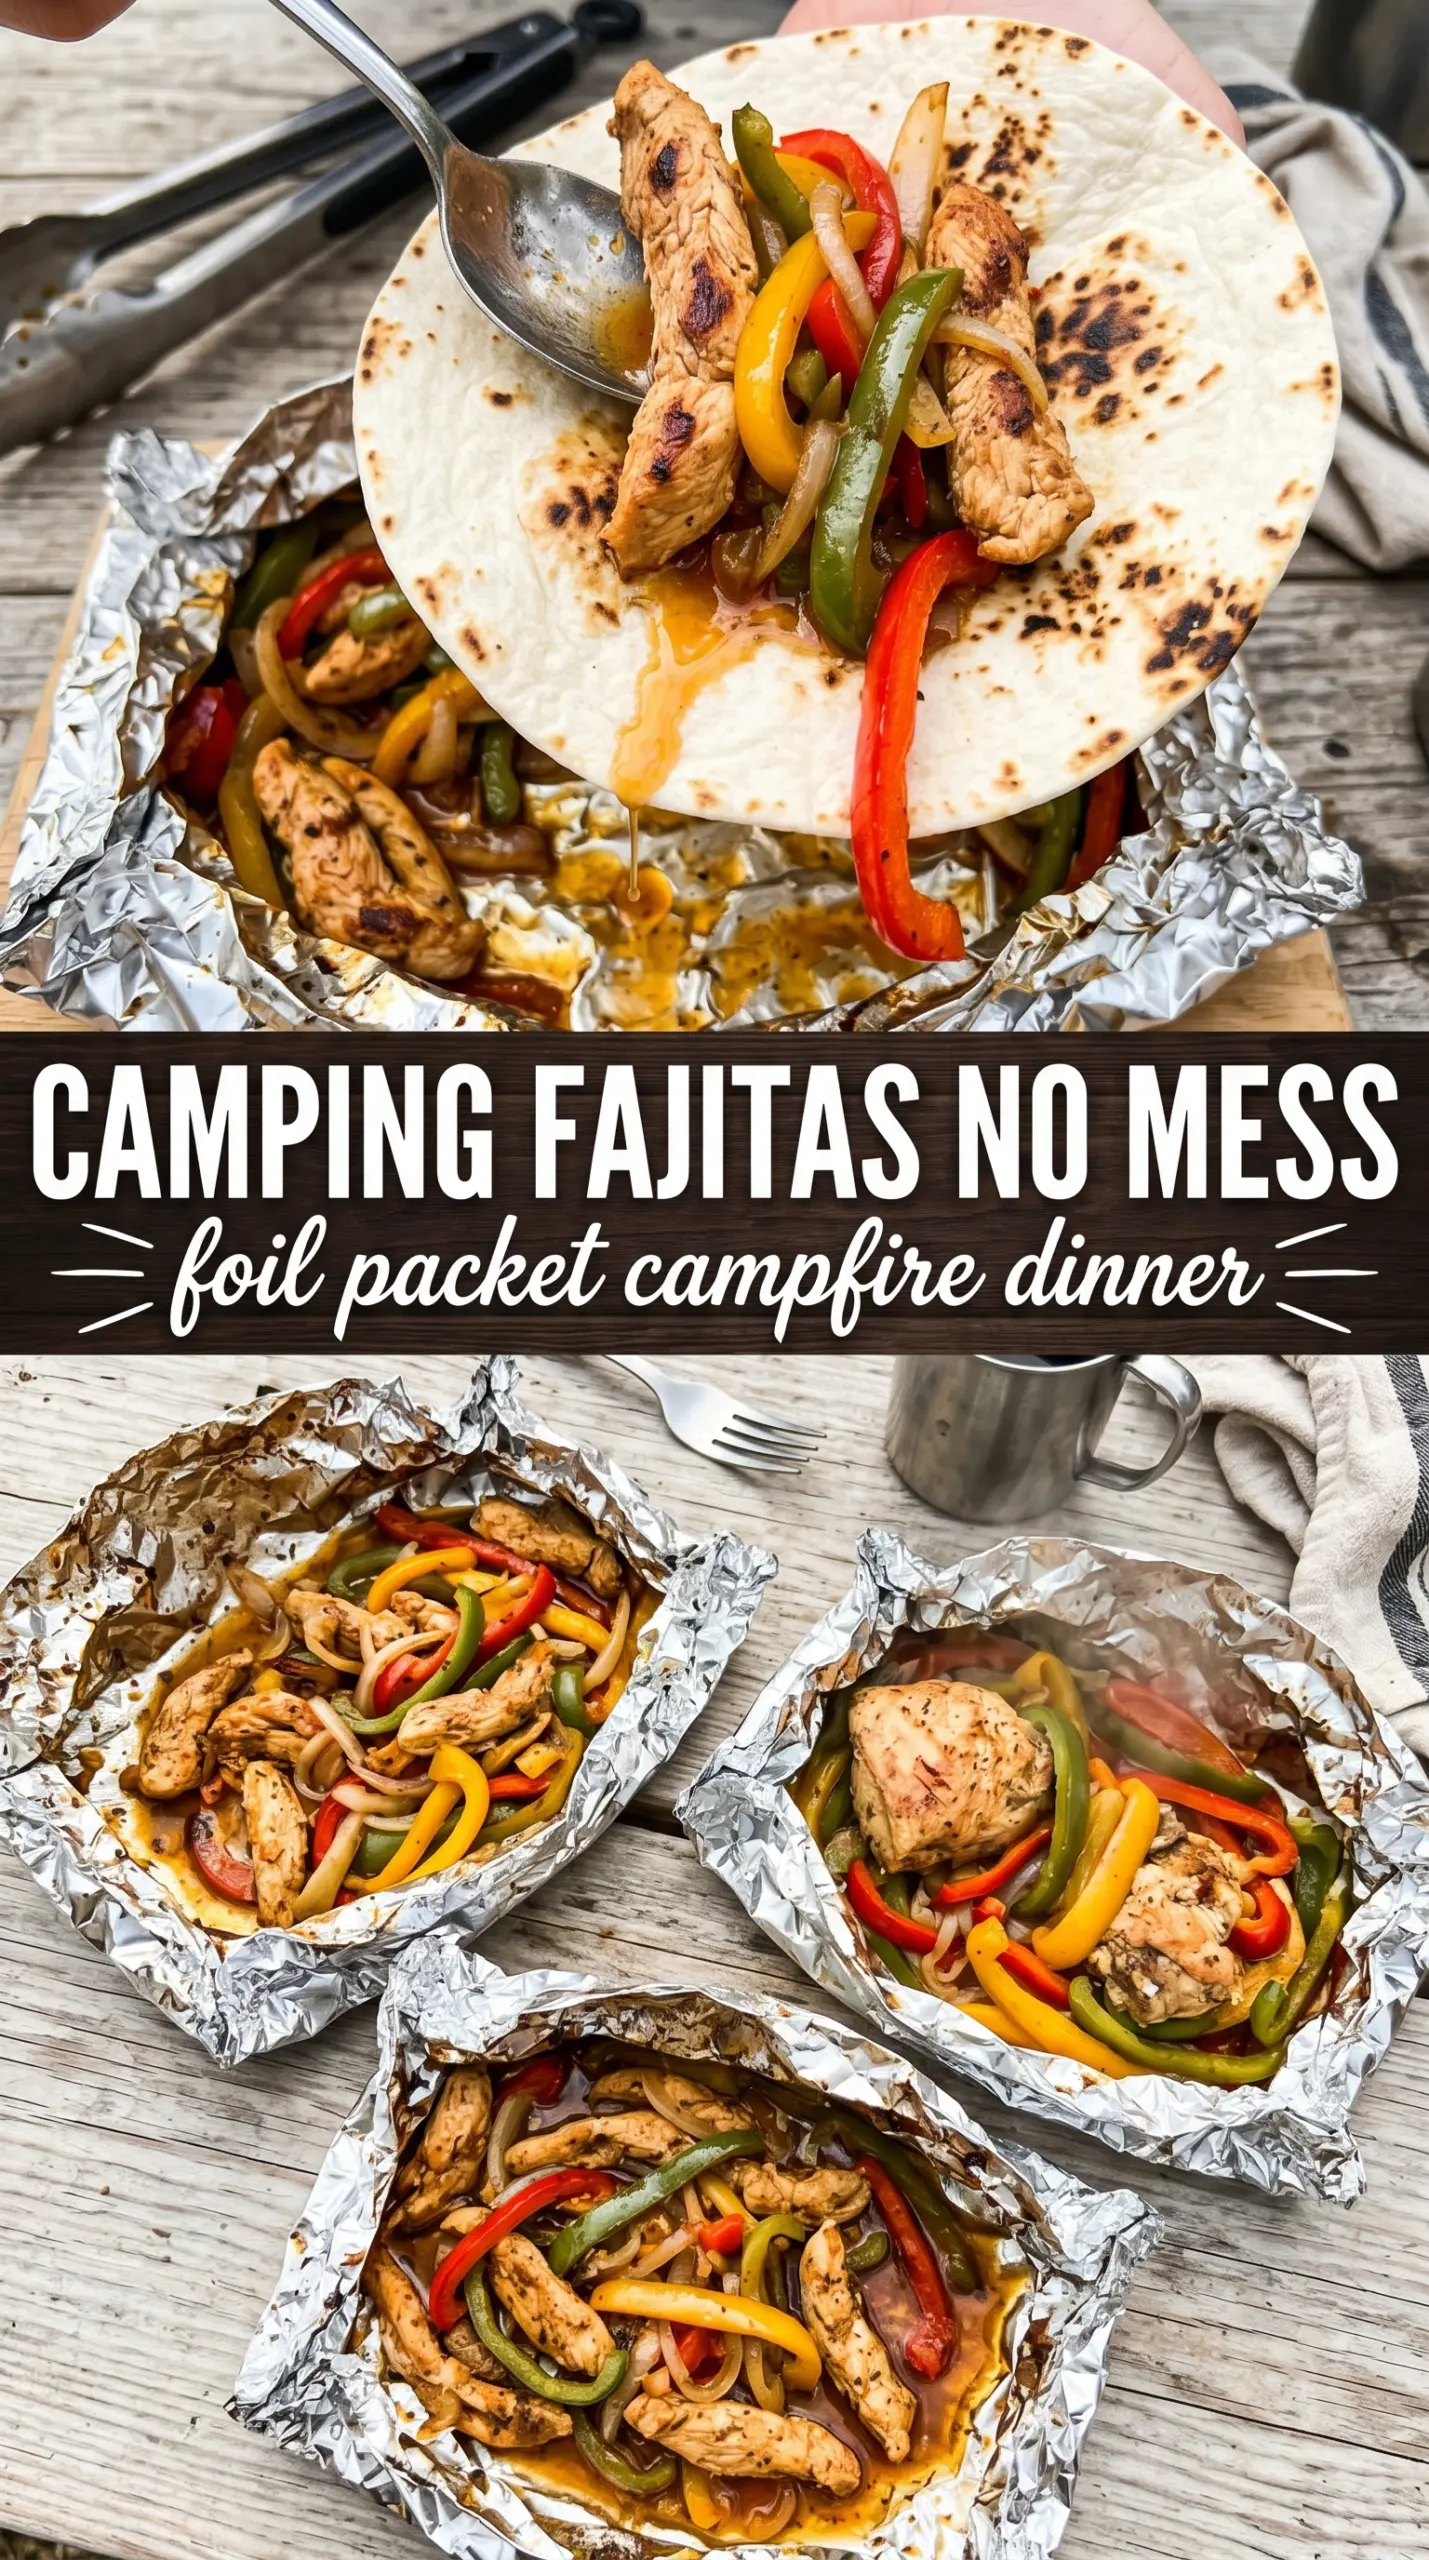
- Chicken breast or steak — Thin slices cook fast and stay tender. Steak gives you a deeper, beefier bite, while chicken takes seasoning beautifully and keeps the whole skillet lighter. If you’re using chicken breast, slice it across the grain so it doesn’t eat stringy after cooking.
- Bell peppers — The mix of colors isn’t just for looks; it gives the skillet a sweeter, more balanced finish. Thicker slices hold their shape better over fire, while paper-thin strips can collapse before they char.
- Onions — They soften, caramelize at the edges, and bring the sweetness that makes fajitas taste complete. Yellow or white onions both work well, and red onion is a little sharper if you like more bite.
- Fajita seasoning — This carries the whole dish, so use one you actually like. A good blend should taste smoky, savory, and a little bright; if yours is salt-heavy, back off a touch and finish with lime instead.
- Flour tortillas — They stay pliable and wrap around the filling without cracking. Corn tortillas work if that’s what you have, but they’re less forgiving around a hearty filling and are easier to tear over a camp setup.
- Lime wedges — Don’t skip them. The squeeze of acid wakes up the meat and cuts through the richness of the skillet, especially if you pile on sour cream or cheese.
Building the Skillet So Nothing Turns Watery
Brown the Meat First
Heat the oil in the cast iron until it shimmers, then add the seasoned meat in a single layer. You want an immediate sizzle when it hits the pan. Leave it alone long enough for the underside to brown before stirring, because constant tossing keeps it pale and wet. If the meat releases a lot of liquid, your heat was too low or the skillet was overcrowded.
Give the Peppers and Onions Room
Once the meat comes out, add the peppers and onions to the same skillet and cook them until the edges start to blister and the onions turn translucent with a little browning. The pan will have browned bits stuck to it, and that’s a good thing; the vegetables pick that up as they soften. If they start to burn before they soften, pull the skillet slightly away from the hottest part of the fire.
Finish with the Meat Back in the Pan
Return the meat at the end and toss everything together just until heated through. This last step matters because fajita meat can go from juicy to dry in a short stretch over fire. Warm your tortillas while the skillet finishes so everything lands on the table at the same time, hot and ready to wrap.
How to Adapt These Fajitas for Different Camps and Crowds
Chicken-to-Steak Swap
Use all steak if you want a richer, more classic grill-house flavor, or all chicken if you’re cooking for a group that prefers a lighter main dish. Steak usually benefits from a little rest after browning, while chicken needs to be cooked through fully before it goes back in the skillet.
Dairy-Free and Gluten-Free Toppings
The fajita filling itself is naturally dairy-free and gluten-free as long as your seasoning blend is safe. Serve with corn tortillas instead of flour tortillas for a gluten-free version, and load up on salsa, guacamole, and cilantro to keep the plate bright without needing cheese or sour cream.
Veggie-Only Skillet
Skip the meat and double the peppers and onions, then add sliced mushrooms or zucchini if you want more body. Cook the vegetables a little longer so they pick up deeper color, and finish with extra lime because the filling needs that lift once the meat is gone.
Storage and Reheating
- Refrigerator: Store the fajita mixture for up to 3 days. The peppers will soften a bit more in the fridge, but the flavor holds well.
- Freezer: The cooked meat freezes well, but the peppers and onions lose some of their texture after thawing. If you want to freeze it, do the meat separately or expect a softer filling.
- Reheating: Reheat in a hot skillet over medium heat until just warmed through. Don’t blast it over high heat or the meat will dry out before the vegetables come back to temperature.
Answers to the Questions Worth Asking
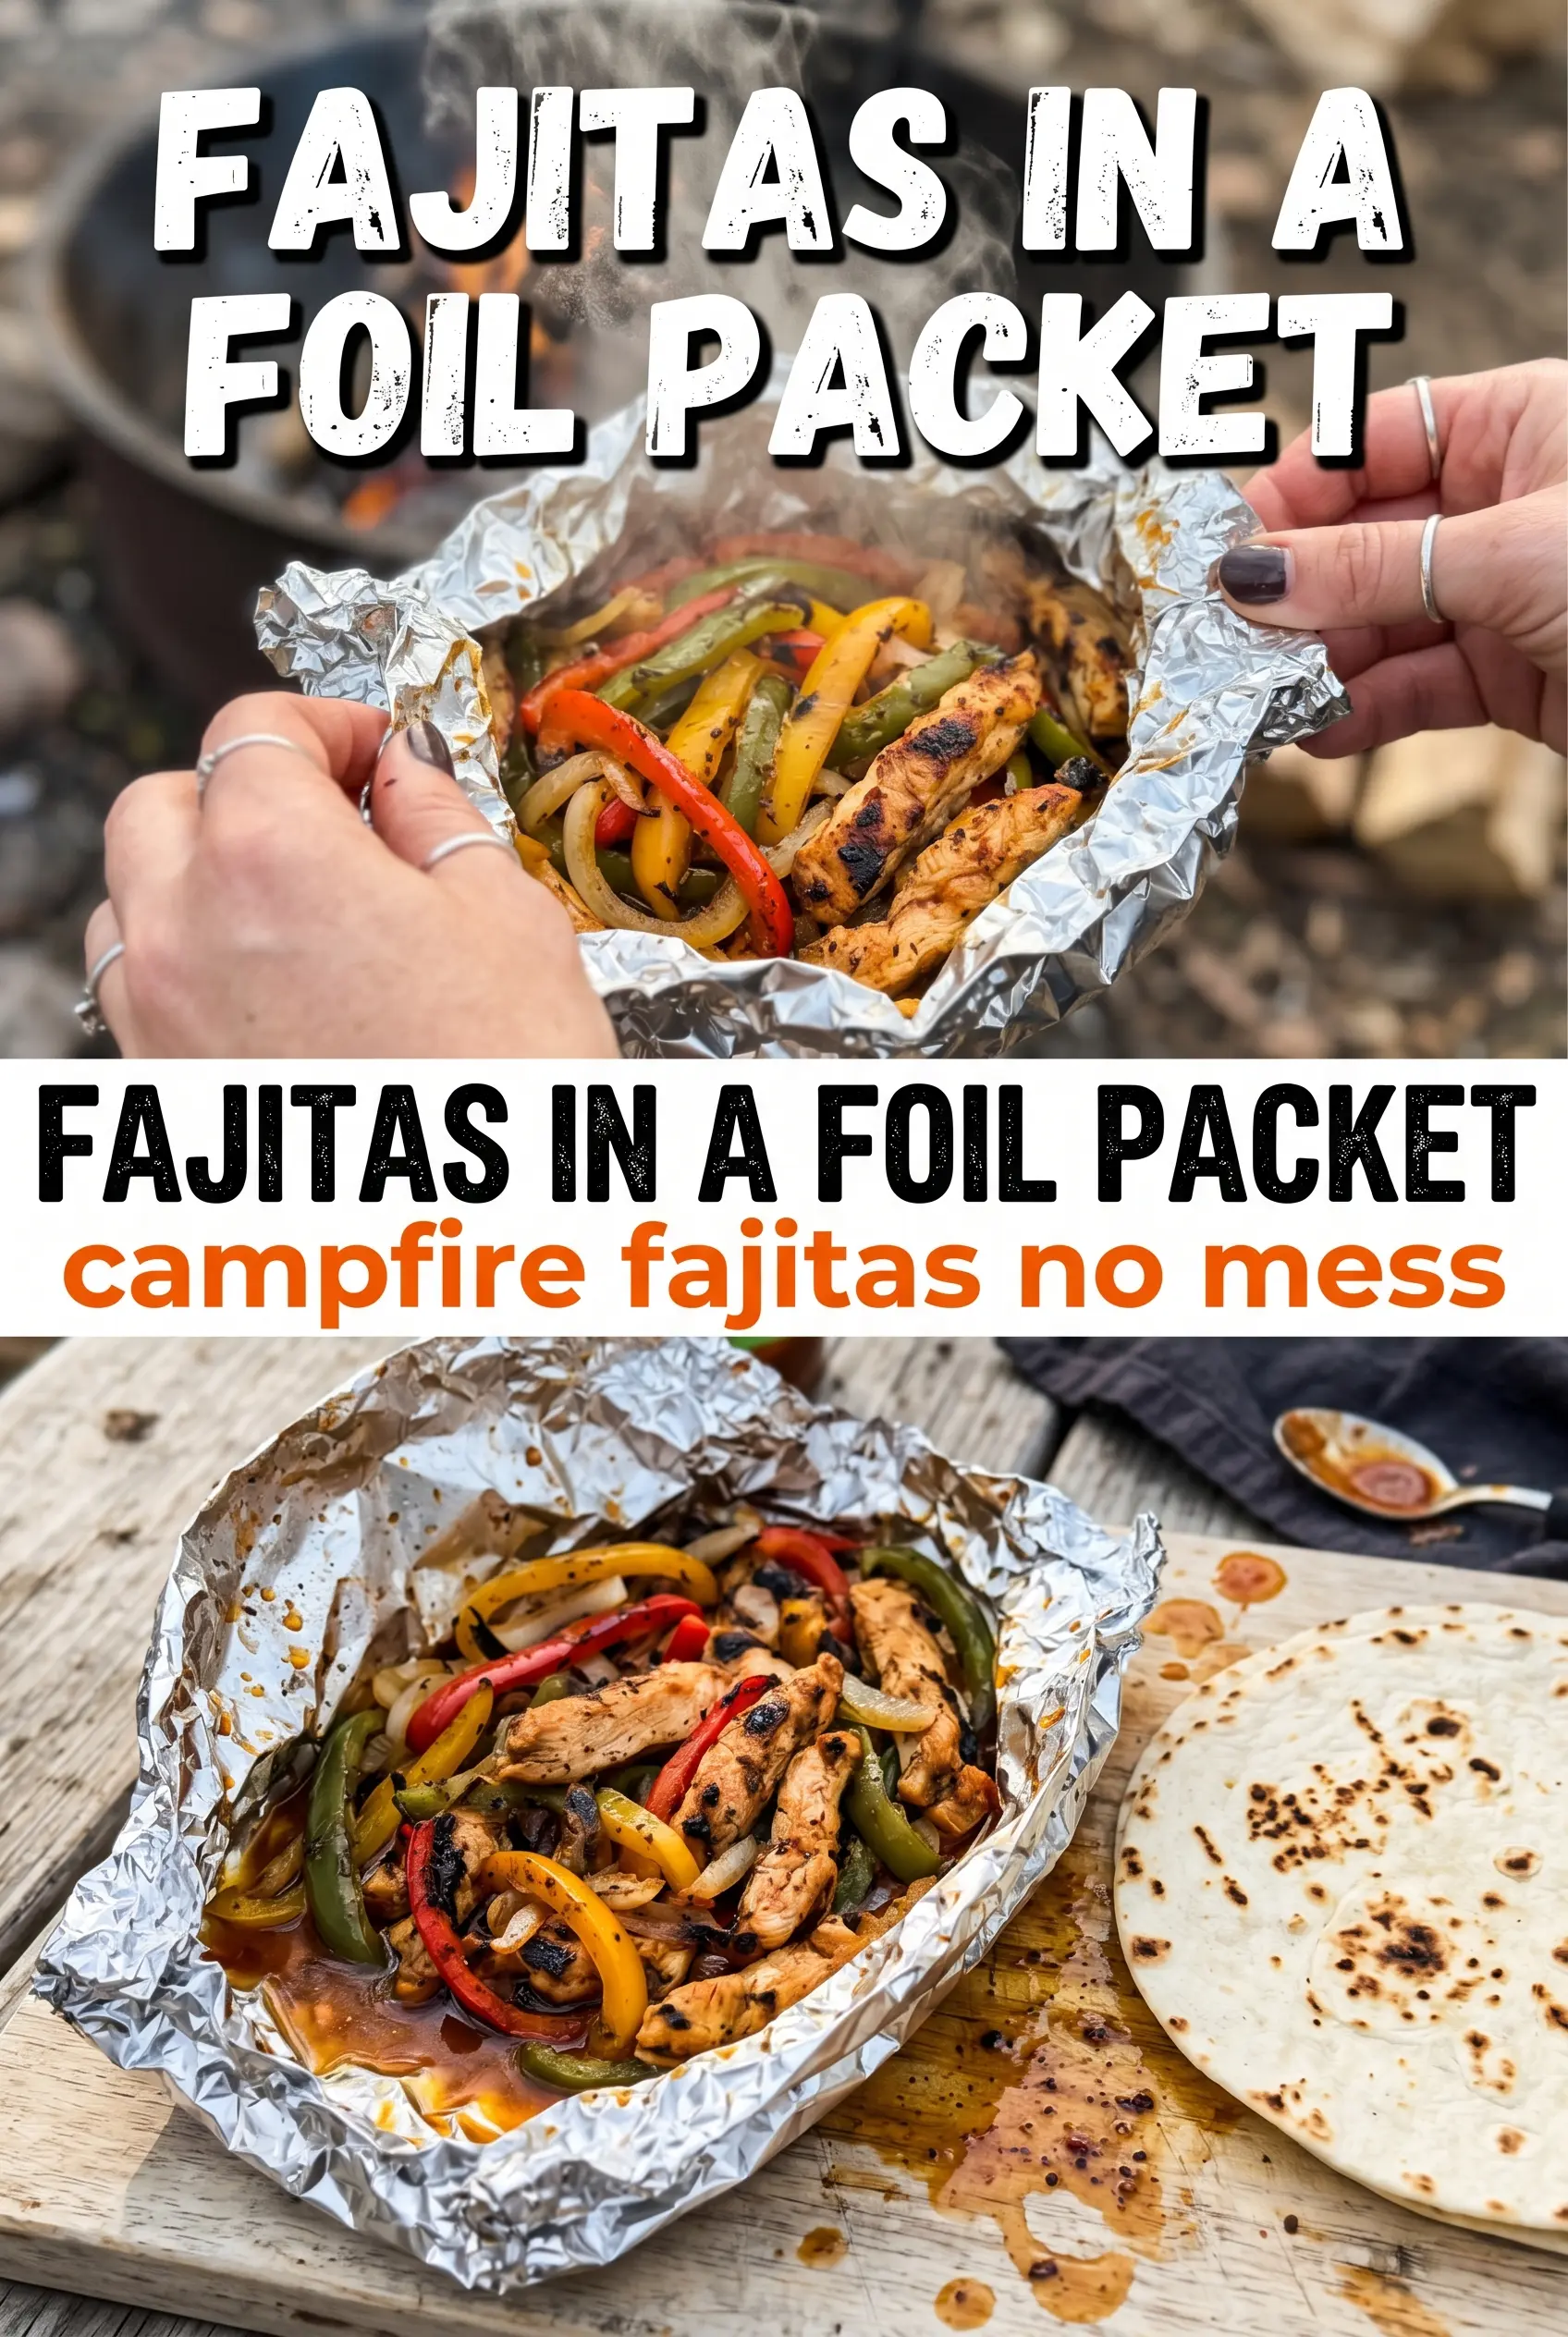
Campfire Fajitas
Ingredients
Equipment
Method
- Heat the oil in a large cast iron skillet over the campfire until shimmering.
- Season the sliced chicken or steak with fajita seasoning, then add it to the hot skillet.
- Cook the meat for 8-10 minutes until browned and cooked through, then remove it and set aside.
- Add the sliced bell peppers and onions to the skillet, cooking for 8-10 minutes until tender and slightly charred.
- Return the cooked meat to the skillet and toss to combine with the peppers and onions.
- Warm the flour tortillas over the fire until pliable, then serve with the fajita mixture.
- Top each fajita with sour cream, guacamole, salsa, cheese, and cilantro, and finish with lime wedges.