Golden, smoky bread with a molten center is what makes a campfire sandwich worth building in the first place. The buttered crust gets crisp and patterned from the grate, while the cheese inside melts into the ham and turkey instead of sliding out onto the coals. It’s the kind of meal that feels simple until you bite into it and realize the hot, toasted edges are doing a lot more work than plain bread ever could.
What makes this version hold together is the order of the layers and the medium heat. Cheese on both sides of the meat acts like edible glue, and buttering the bread on the outside gives you better browning without drying the sandwich out. The biggest mistake with campfire sandwiches is rushing them over flames; the outside burns before the center softens. Slow heat gives you the crisp shell and the fully melted middle at the same time.
Below, I’ve included the timing cue that keeps the bread from scorching, plus a few swaps if you want to change the fillings or make the sandwich work with what’s already in your cooler.
I kept the grate over medium coals like you said and the bread toasted up evenly without blackening. The cheese melted all the way through the ham and turkey, and the sandwich held together cleanly when I cut it in half.
Save this campfire sandwich for the next time you want a hot, cheesy meal that cooks right over the grate.
The Reason Campfire Sandwiches Burn Before the Cheese Melts
The heat source matters more here than almost anywhere else. Open flames are too aggressive for bread and cheese layered this tightly. They scorch the buttered crust before the center gets a chance to soften, which leaves you with dark bread and stubbornly firm cheese. Medium heat over a grate gives the sandwich time to cook through while the outside turns crisp and evenly browned.
The other thing that keeps this from turning messy is the structure. Cheese on the bottom and top of the fillings helps the sandwich seal, and keeping the butter on the outside means the bread browns instead of soaking up the filling juices. If your sandwich collapses when you flip it, it usually means it sat too long on one side or the heat was high enough to melt the cheese too fast before the bread had set.
What Each Ingredient Is Doing in This Campfire Sandwich
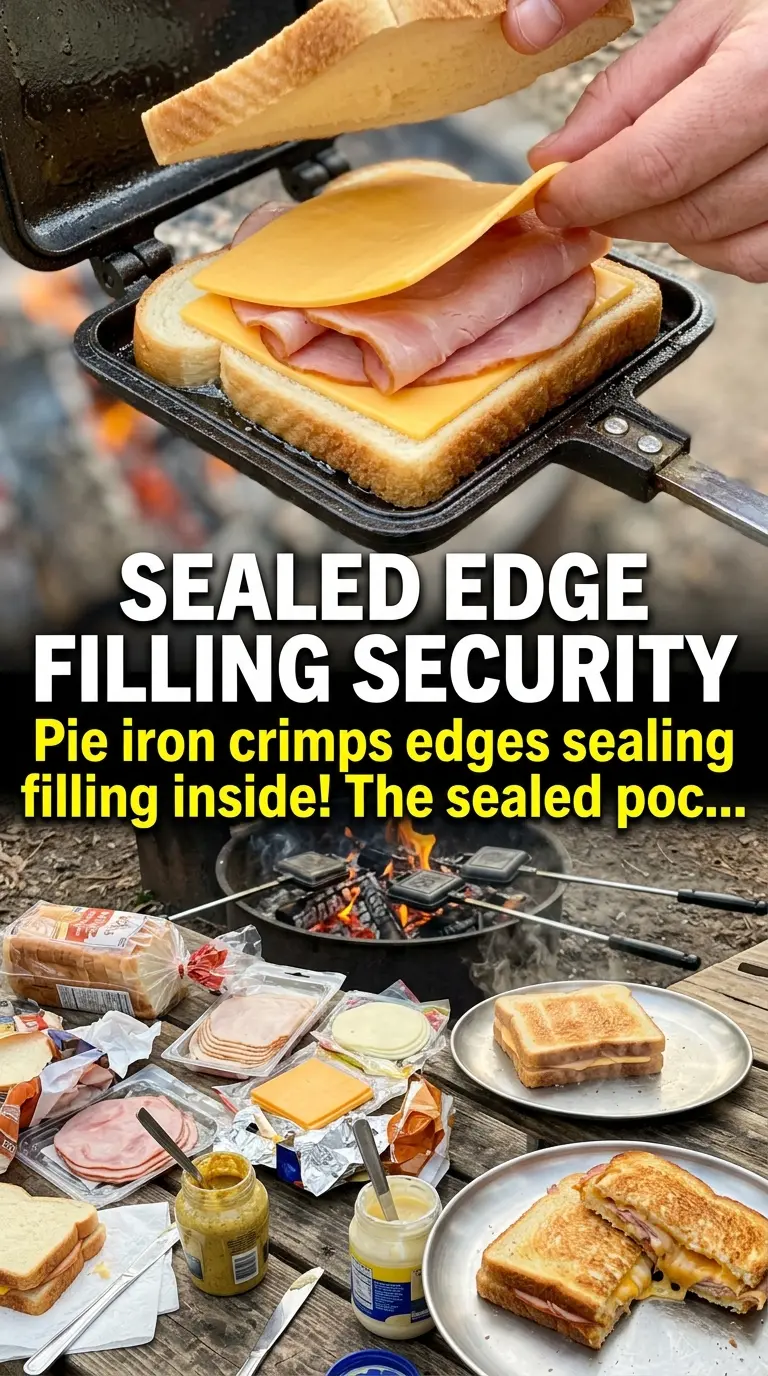
- Bread — Use sturdy sandwich bread that can handle a little time over the fire. Soft, flimsy bread tears when you flip it, while a slightly thicker slice gives you a better crust and a cleaner cut.
- Butter — Softened butter spreads evenly and helps the outside toast instead of drying out. You can swap in mayonnaise on the outer bread if that’s what you have; it browns well, though it gives a slightly richer, tangier finish.
- Cheese — Cheddar gives a sharper bite, while Swiss melts smoothly and stays a little milder. If you want the sandwich to hold together, put cheese against both slices of bread so it starts melting from the outside in.
- Deli ham and turkey — This combination keeps the filling savory without making the sandwich greasy. Thin-sliced deli meat warms quickly, which matters when you’re cooking over a campfire instead of in a skillet.
- Mustard and mayo — These are optional, but they add moisture and a little extra punch. Keep the layer thin so the bread doesn’t slip when you flip the sandwich.
How to Build the Sandwich So It Stays Together on the Grate
Butter the Outside, Not the Inside
Spread the softened butter on one side of each bread slice before you build anything. That butter needs to face outward so it hits the grate and turns into a crisp, golden crust. If you butter the inside instead, the filling can slide around and the bread won’t brown as well. Room-temperature butter spreads cleanly, while cold butter tears the bread and leaves patchy spots.
Stack the Cheese Like a Seal
Build each sandwich with the buttered sides facing out, then layer bread, cheese, ham, turkey, cheese, and bread. The cheese on both sides helps trap the filling and gives the sandwich a better chance of melting into one neat piece instead of a loose stack. If you pile the meat too high, the center stays cold while the edges overcook, so keep the layers even and compact.
Cook Over Medium Heat, Not Flames
Set the sandwiches on a campfire grate over medium heat and let them go for 4 to 5 minutes per side. You’re looking for deep golden bread and cheese that’s visibly soft at the edges. If the bread darkens too fast, move the grate higher or shift the sandwich to a cooler spot. The first side needs enough time to set before you flip it, or the filling will slide.
Cut and Serve While the Cheese Is Still Moving
Pull the sandwich off the grate when both sides are toasted and the center feels soft when pressed lightly. Let it rest just a minute, then cut it in half while the cheese is still glossy and fluid. That short pause keeps the filling from rushing out the moment you slice it. Serve it hot, because the texture changes fast once the cheese starts cooling and tightening up.
How to Change This Campfire Sandwich Without Losing the Good Part
Make It Meatier With Roast Beef
Swap the ham and turkey for thin-sliced roast beef if that’s what you packed. The sandwich turns a little richer and heavier, so sharp cheddar works especially well here because it cuts through the beefiness.
Go Vegetarian With Grilled Veggies
Leave out the deli meat and add thin slices of grilled zucchini, peppers, or mushrooms. You’ll lose the salty chew of the meat, so use a more assertive cheese and a thin swipe of mustard to keep the sandwich from tasting flat.
Dairy-Free Version
Use your favorite dairy-free butter and a melting plant-based cheese. The browning may be a little less even than with real butter and dairy cheese, but the sandwich still works if you keep the heat moderate and give it time to soften through.
Make-Ahead for the Cooler
Assemble the sandwiches at home, wrap them tightly, and chill them until you’re ready to cook. Cold sandwiches take a little longer over the fire, but they hold their shape better, which helps when you’re cooking on a grate with uneven heat.
Storage and Reheating
- Refrigerator: Store cooked sandwiches in an airtight container for up to 2 days. The bread softens as it sits, so the crust won’t stay as crisp.
- Freezer: I don’t recommend freezing the finished sandwich. The bread turns soggy after thawing and the cheese texture changes in a way that doesn’t recover well.
- Reheating: Warm it in a skillet over low heat or back on a grate away from direct flame. High heat dries out the bread before the center warms, which is the fastest way to ruin the texture.
Answers to the Questions Worth Asking
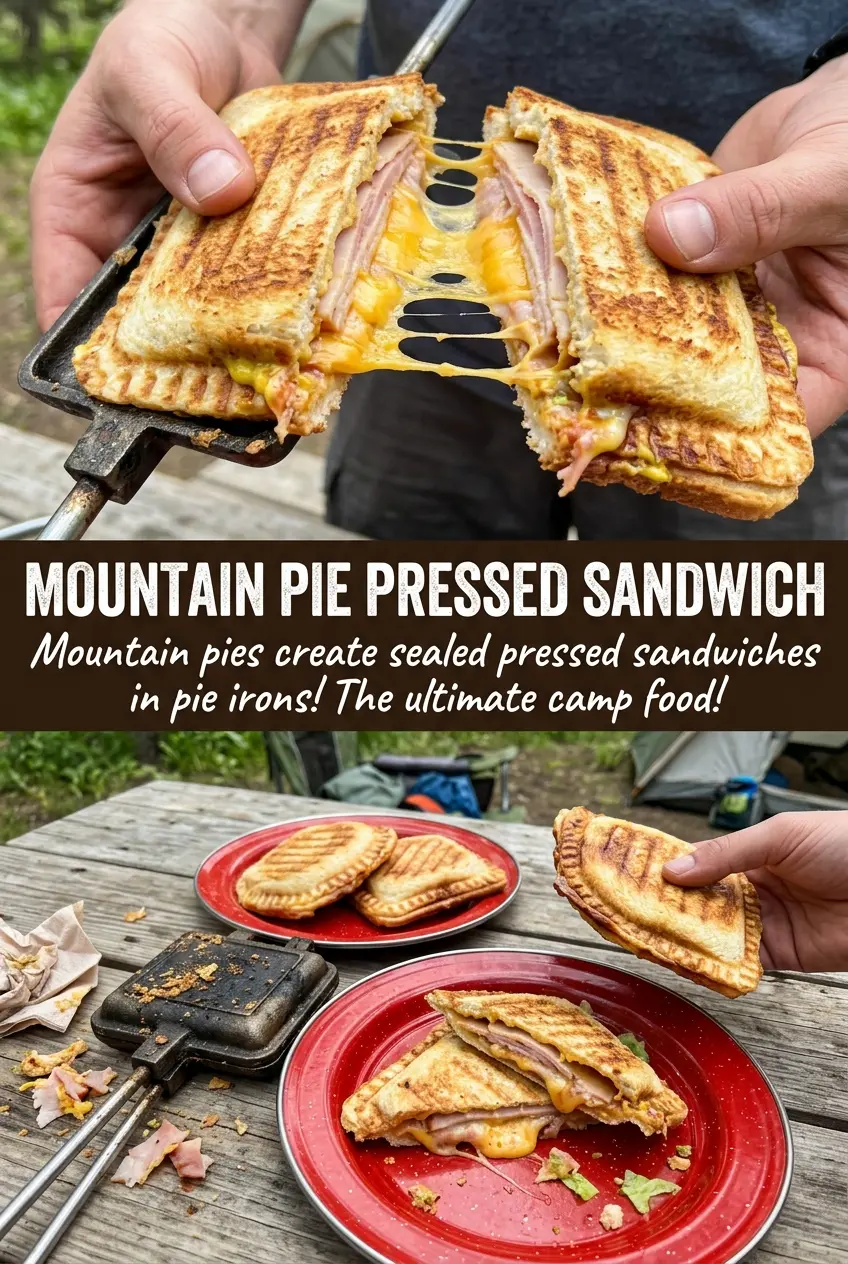
Campfire Sandwich
Ingredients
Equipment
Method
- Butter one side of each bread slice with softened butter so the surface can brown evenly on the grate. Set up your slices butter-side up for quick building.
- Build sandwiches with butter-side out by layering bread, cheese, deli ham, turkey, cheese, then topping with bread. Keep the layers tight so the cheese melts and holds the filling together.
- Add mustard and mayo if using by spreading a thin layer on the inner bread surfaces before you close the sandwich. This is optional, but it adds tang and richness to the melted filling.
- Place sandwiches on a campfire grate over medium heat. The surface should sizzle gently, signaling it’s ready to toast without burning.
- Grill for 4-5 minutes per side until the bread turns golden and the cheese melts. Lift one edge to check browning and ensure the center looks gooey.
- Remove from the heat, cut in half, and serve hot. The cut should show melted cheese pulling between the layers.