Campfire hot dogs have a way of disappearing faster than anything else at the campsite. The outside gets a little blistered and smoky while the inside stays juicy, and when you tuck that into a warm bun with the right toppings, it hits exactly the kind of simple, satisfying meal people want after a day outdoors.
What makes this version work is the balance between heat and patience. You want the hot dogs close enough to the flames to pick up char, but not so close that the casings split before the center is hot. Rotating them often gives you even browning and keeps one side from turning leathery while the other side barely warms. Toasting the buns for just a minute or two makes a bigger difference than most people expect.
Below, I’ve included the small details that matter at the fire: how to keep the hot dogs from slipping on the stick, how to judge when they’re done by look alone, and a few topping combinations that work especially well when you’re cooking outside.
The hot dogs got that perfect campfire char without splitting, and the buns toasted up just enough to hold everything together. My kids ate theirs before I even sat down.
Campfire hot dogs with smoky char and toasted buns are the easiest win at the fire.
Save this campfire hot dog recipe for your next outdoor cookout
The Trick to Char Without Splitting the Casings
The most common mistake with campfire hot dogs is parking them too close to aggressive flames and leaving them there. That gives you dark blistering on the outside before the center has had time to heat, and the casing can burst open early. A better result comes from moving them constantly through changing heat zones: over the flames for color, then slightly farther out when the fire flares up.
Rotating often matters more than cranking up the heat. Hot dogs already have enough fat and moisture to cook through quickly, so the goal is even exposure, not speed. If you see the skin wrinkling and starting to split, pull them back for a minute and let the heat work more gently.
- Rotation: Turn them every 20 to 30 seconds so one side doesn’t scorch while the rest stays pale.
- Heat level: Medium flames or steady coals are easier to control than a roaring fire.
- Visual cue: Look for tiny blisters and a few dark char marks, not full blackening.
- Best fix for splitting: Move the hot dogs farther from the hottest part of the fire and keep turning them; the casing tightens when it’s stressed too fast.
What Each Campfire Ingredient Is Actually Doing
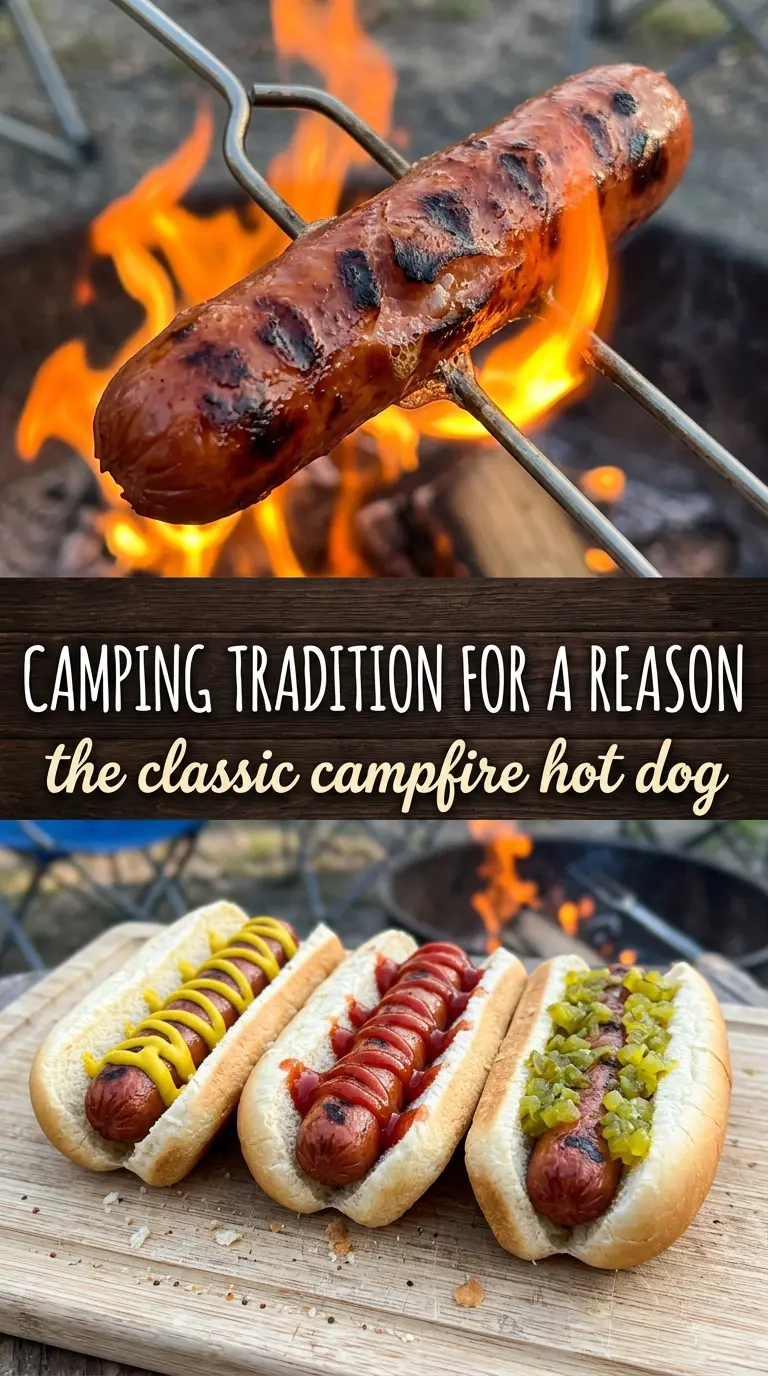
- Hot dogs: Use standard beef, pork, or all-beef hot dogs here; the higher-fat ones brown better and stay juicy over the fire. Thin franks cook faster but can dry out if you forget them for even a minute.
- Buns: Fresh buns matter more than people think because dry buns split when you load them up. If they’re a little stale, toast them briefly so they soften from the heat rather than tearing under the toppings.
- Ketchup, mustard, and relish: These are the classic camping finish because they add acid and sweetness that cut through smoky, salty meat. Use the condiments you already like; there’s no technical trick here beyond not drowning the bun.
- Shredded cheese, onions, chili, sauerkraut, jalapeños: These toppings turn the hot dogs into something heartier and more interesting. Chili and cheese work especially well because the heat from the dog and bun softens everything just enough to make it cohesive.
Getting the Fire Timing Right
Skewer and Set Up
Slide each hot dog lengthwise onto a roasting stick or long fork so it stays secure while you turn it. Keep the point centered so the dog doesn’t wobble and spin off when the casing softens. If you’re using wooden skewers, soak them first; otherwise the ends can scorch before the hot dog is done.
Roast Over Steady Heat
Hold the hot dogs over flames or coals and rotate them frequently for 8 to 10 minutes. You’re looking for light blistering, a little char, and a hot center. If the fire is too hot, the skins burst before the inside catches up, so shift them farther out instead of rushing the cook.
Toast the Buns
Place the buns near the fire for just a short minute, until they’re warm and slightly crisp at the edges. That small step keeps them from going soggy once the condiments and toppings go on. Watch them closely because buns go from lightly toasted to burnt in a blink.
Build and Serve Fast
Pull the hot dogs from the sticks, tuck them into the buns, and top them while everything is still hot. The best texture happens in that first minute off the fire, before the bun cools and the dog starts to lose its snap. Serve immediately if you want the char, steam, and crunch all at once.
How to Make These Work for a Crowd, a Cooler, or a Meatless Night
Veggie Dogs for a Meatless Camp Dinner
Use plant-based hot dogs and keep the heat a little lower, since many meatless versions split faster than standard franks. They won’t brown quite the same way, but they still pick up smoke well and work with the same toppings.
Chili Cheese Camp Dogs
Add warm chili and shredded cheese right after the dogs come off the fire. The hot bun melts the cheese just enough, but if the chili is cold, it drags the whole thing down and cools the sausage too fast.
Gluten-Free Serving Option
Use gluten-free buns or serve the hot dogs bunless with the toppings on the side. Gluten-free buns usually toast faster and can dry out, so keep them close to the fire only long enough to warm through.
Storage and Reheating
- Refrigerator: Store cooked hot dogs in an airtight container for up to 3 days. The buns are best kept separate so they don’t get soggy.
- Freezer: Cooked hot dogs freeze okay for about 1 month, but the texture is softer after thawing. Wrap them well and freeze without buns.
- Reheating: Warm them in a skillet over medium-low heat or wrap in foil and set near the fire until heated through. High heat dries them out fast and can split the casing again.
Answers to the Questions Worth Asking
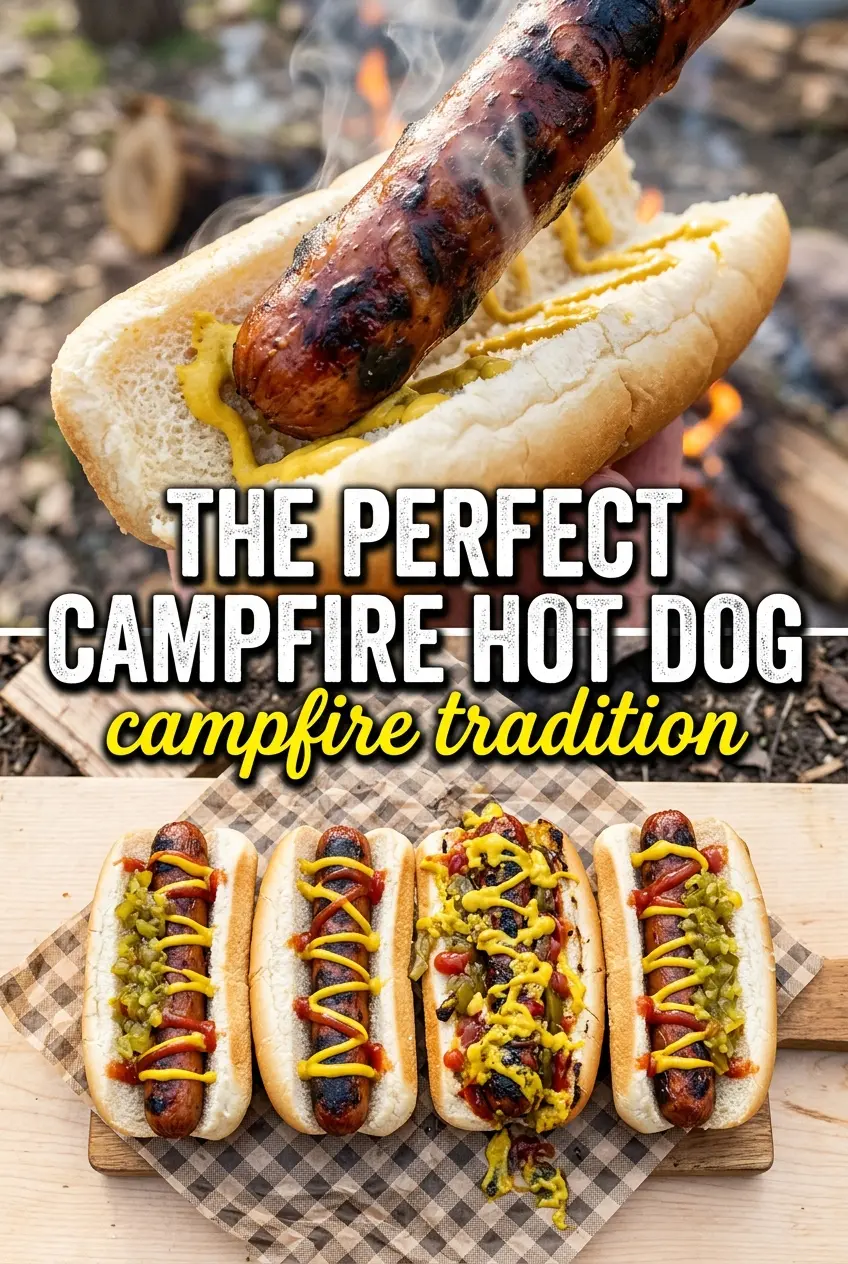
Camping Hot Dogs
Ingredients
Equipment
Method
- Skewer each hot dog lengthwise on a roasting stick or long fork. Keep the hot dogs evenly spaced so they heat at the same pace over the flames.
- Hold the hot dogs over campfire flames or coals and rotate frequently for 8-10 minutes until heated through and slightly charred. Use the visual cue of browned, blistered spots along the casing before pulling them off the fire.
- Toast the hot dog buns briefly over the fire if desired. Stop as soon as you see light browning on the cut sides to avoid burning.
- Place the roasted hot dogs into the buns. Immediately add condiments and toppings while the hot dogs are hot so everything melts and softens properly.