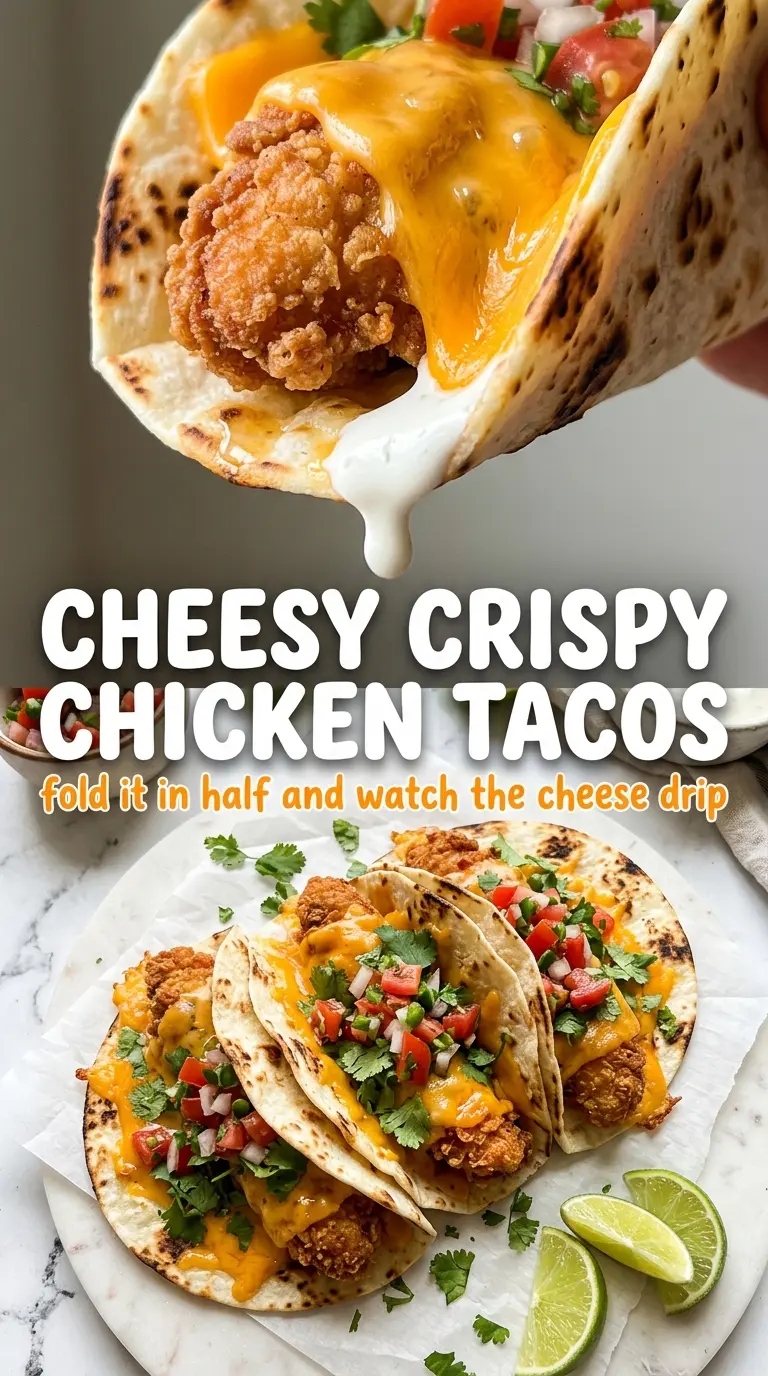
Crispy chicken tacos hit the table with the kind of crunch that makes people pause before the first bite. The chicken stays shattering on the outside, the cheese goes molten and stretchy in the middle, and the warm tortillas hold everything together without getting in the way. It’s the balance that keeps these tacos from feeling heavy: fried chicken for texture, melty Oaxaca or mozzarella for that pull, and fresh lettuce, onion, cilantro, and lime to wake the whole thing up.
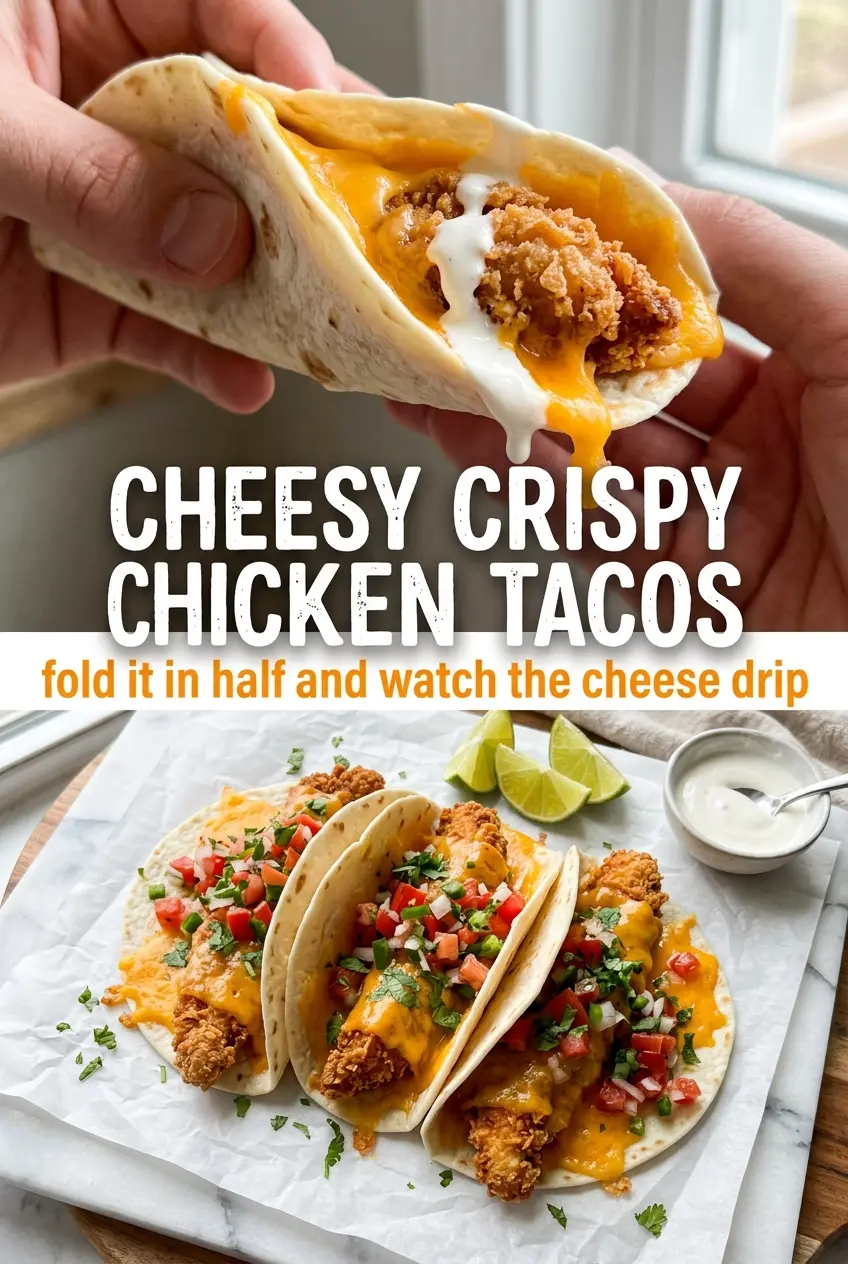
The part that makes this version work is the double layer of cheese and the quick skillet finish. The first bit of cheese melts under the hot chicken and helps glue the taco together; the second layer gives you that indulgent, gooey center when you fold it shut. Fry the chicken in batches and keep the oil hot enough to brown fast, or the coating will soak up oil and turn soft before you ever reach the tortilla.
Below, I’ve added the small details that matter most here: how to keep the crust crisp, what to do if your cheese won’t melt evenly, and a few easy swaps if you need to adjust for what’s in the kitchen.
The chicken stayed crisp even after the cheese melted, and the quick skillet step made the tacos hold together without getting soggy. I added lime at the end like you suggested and it made the whole thing taste brighter.
Save these cheesy crispy chicken tacos for the night you want shatteringly crisp chicken, gooey melted cheese, and a fast taco finish in one skillet.
The Trick That Keeps the Chicken Crisp After Frying
The biggest mistake with fried taco fillings is letting the coating steam itself soft before it ever reaches the tortilla. Once the chicken comes out of the oil, it needs a quick drain on paper towels and only a short pause before the tacos are assembled. If you pile the chicken into a bowl and cover it, the trapped steam will undo the crust you worked for.
The other thing that matters here is heat management. The oil should stay around 350°F so the flour coating browns before the chicken dries out, and the skillet finish should be hot enough to melt the cheese quickly without lingering long enough to scorch the tortilla. That fast, hot path is what gives you crisp edges and a molten center at the same time.
What the Flour, Cheese, and Tortilla Each Need to Do Here
- All-purpose flour — This is the base of the crisp coating, and it matters more than people think. It grabs onto the egg wash and fries into a thin, crackly shell. You can swap in a 1:1 gluten-free flour blend if needed, but the crust may come out a little less delicate.
- Oaxaca or mozzarella — You want a cheese that melts into long, stretchy threads without turning greasy. Oaxaca gives the best pull and a more authentic melt, while mozzarella is the easy substitute that still works well. Pre-shred it so it melts evenly; bagged shreds can contain anti-caking starch, which slows the melt a bit.
- Corn tortillas — Their slight chew and corn flavor stand up to the fried chicken better than soft flour tortillas here. Warm them before filling so they fold without cracking. If yours are brittle, keep them wrapped in a clean towel after heating so they stay pliable.
- Lime wedges — Don’t skip them. The lime cuts through the fried coating and the cheese, and that bright acidity is what keeps the tacos from feeling heavy after a few bites.
From Fryer to Skillet Without Losing the Crunch
Season and Coat the Chicken
Cut the chicken into bite-sized pieces so each piece cooks fast and stays tender inside. Season the chicken first, then dredge it in the flour mixture after the egg wash so the coating goes on in a thin, even layer. If the flour looks pasty or clumpy, the egg is too thick on the chicken; shake off the excess before it hits the flour.
Fry Until the Crust Turns Deep Gold
Slide the coated chicken into hot oil in batches and listen for a steady, lively sizzle. If the oil quiets down, it’s too cool and the crust will absorb grease instead of crisping. Pull the chicken when it’s golden and cooked through, then drain it right away; the crust firms up as it cools, so don’t wait for it to get crunchy in the pan.
Build the Taco in the Right Order
Warm the tortillas first so they bend without splitting, then put a little cheese down before the chicken. That bottom layer melts into the tortilla and helps anchor everything, while the cheese on top turns the filling gooey as the taco heats. Fold them gently; if you overfill, the center won’t melt evenly and the taco will open before the cheese does its job.
Use the Hot Skillet as the Final Melt
Lay the filled tacos seam-side down in a hot skillet for a minute or two per side, just until the cheese loosens and the tortillas take on a little color. You’re not trying to cook them again. You’re just finishing the melt and giving the outside a light toast, which is what makes these tacos feel cohesive instead of assembled at the last second.
Ways to Keep These Tacos Crisp, Lighter, or Built for a Crowd
Bake the chicken instead of frying
Toss the coated chicken with a little oil and bake it on a wire rack at 425°F until crisp and cooked through. You’ll lose some of the shattering crunch from frying, but you keep the same seasoning and get a cleaner, less hands-on method.
Make it gluten-free
Use a gluten-free all-purpose flour blend for the coating and stick with corn tortillas. The crust will still brown well, though it may be a little more fragile, so handle the chicken gently when you move it from the fryer to the skillet.
Turn it into a spicier taco
Add extra chili powder or a pinch of cayenne to the flour mixture if you want more heat. That spice clings to the crust instead of disappearing into the filling, so every bite gets a little kick.
Store the parts separately for later
Keep the fried chicken, tortillas, and toppings separate if you’re making these ahead. The chicken reheats best on a rack in a hot oven or air fryer, which brings the crust back before you assemble the tacos. If you store everything together, the tortillas soften fast and the chicken loses its edge.
Questions I Get Asked About This Recipe
Cheesy Crispy Chicken Tacos
Ingredients
Equipment
Method
- Cut the boneless chicken breasts into bite-sized pieces, then season with salt and pepper.
- In a shallow dish, combine all-purpose flour, garlic powder, and chili powder.
- Dip the chicken pieces in the beaten eggs, then dredge in the seasoned flour so each piece is coated.
- Heat vegetable oil for frying to 350°F in a Dutch oven.
- Fry the breaded chicken in batches at 350°F for about 6–8 minutes total, until golden and cooked through.
- Drain the fried chicken on paper towels until the coating looks crisp and less oily.
- Warm the small corn tortillas, then place a small portion of shredded Oaxaca or mozzarella cheese in the center of each.
- Add fried chicken on top, then add more shredded Oaxaca or mozzarella cheese and fold the tortillas in half.
- Warm the filled tacos in a hot skillet for 1–2 minutes per side until the cheese melts and you see it stretch slightly.
- Top each taco with shredded lettuce, diced onion, and cilantro, then serve with lime wedges.