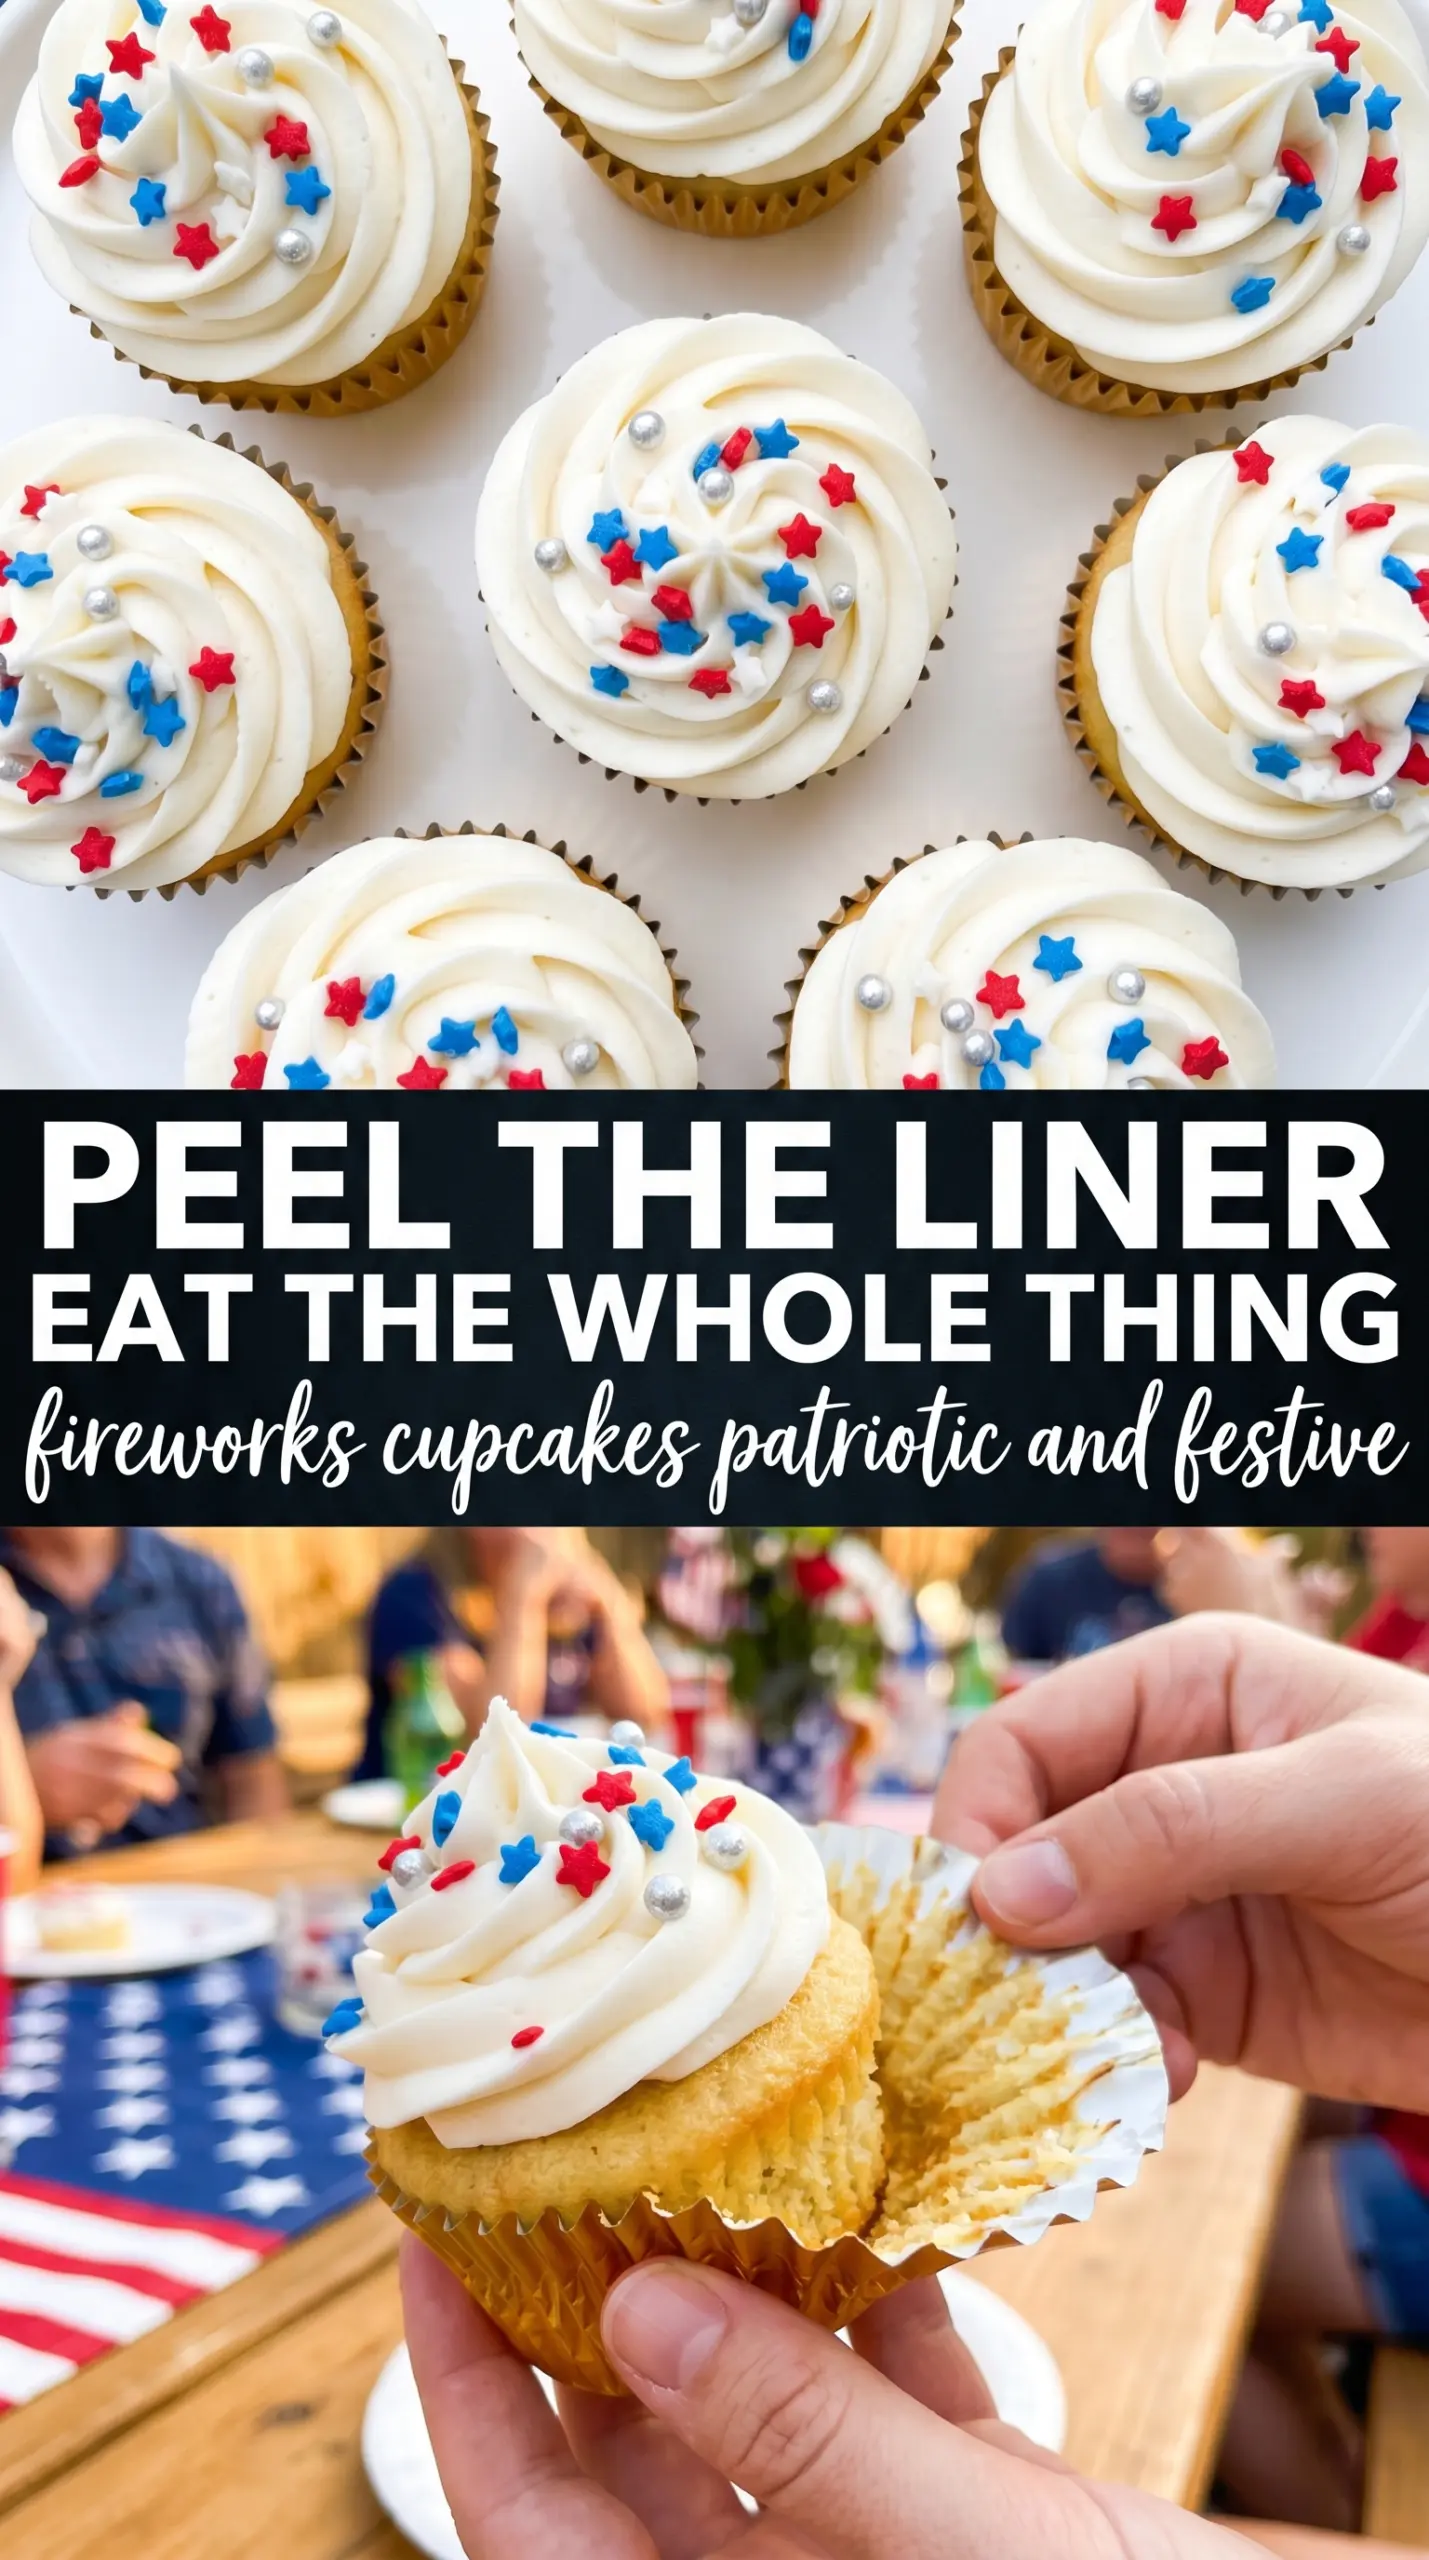
Tall swirls of vanilla buttercream and a shower of red, white, and blue star sprinkles turn these cupcakes into the kind of dessert people notice the second they hit the table. The peak of frosting matters here. It gives you that dramatic, bakery-style look, but the texture stays soft and cloudlike instead of heavy or greasy.
The trick is starting with a completely cooled cupcake and a buttercream that’s beaten long enough to go pale and airy. If the cupcakes are even a little warm, the frosting slips. If the buttercream is underbeaten, it pipes dull and dense instead of holding those sharp, festive ridges. Gel coloring keeps the red and blue bright without thinning the frosting, which is what lets the swirl stay clean.
Below, I’ve included the easiest way to get the tri-color piping to look intentional instead of messy, plus the small adjustment that helps the buttercream hold its shape if you’re making these ahead for a party.
The frosting held those tall swirls perfectly, and the colors stayed bright instead of bleeding together. I piped them the night before our party and they still looked sharp the next day.
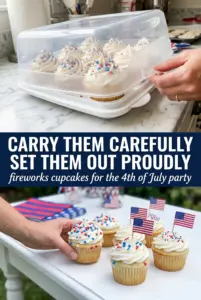
Save these Fireworks Cupcakes for the red, white, and blue dessert table when you want a tall buttercream swirl that looks party-ready with almost no decorating fuss.
The Frosting Has to Hold Its Shape Before the Sprinkles Go On
These cupcakes live or die by the buttercream. If the frosting is soft, the swirl slumps before you even finish decorating, and the sparkler pick won’t sit upright. Beat the butter until it’s fluffy first, then add the powdered sugar gradually so the texture stays smooth instead of dusty or grainy.
The other place people go wrong is piping onto cupcakes that are even slightly warm. Warm cake melts the base of the frosting and makes the whole top tilt. Cool the cupcakes all the way on a wire rack, then pipe in a slow upward spiral so the ridges stay defined all the way to the peak.
What the Buttercream, Gel Color, and Sprinkles Are Each Doing
- White or vanilla cake mix — This keeps the cupcake base light and reliable, which matters because the decorating already has enough going on. A homemade vanilla cupcake works too, but a box mix is the easiest way to get a soft crumb that won’t fight the frosting.
- Unsalted butter — Softened butter is what gives the buttercream its body. If it’s too cold, the frosting turns lumpy; if it’s melted, the swirl won’t hold. Room-temperature butter should press easily with a finger but still keep its shape.
- Heavy cream — This loosens the frosting just enough to pipe tall peaks without making it slack. Milk will work in a pinch, but the frosting won’t feel as rich or hold as cleanly.
- Gel food coloring — Gel color gives you bold red and blue without thinning the buttercream. Liquid food coloring can water it down, which makes the colors pale and the piping less stable.
- Star sprinkles — The star shape makes the theme look intentional, not just colorful. Add them right after piping so they stick before the buttercream crusts over.
- Sparkler picks or flag picks — These are the finishing touch, but only use food-safe decorative sparklers that are made for cakes. Insert them after the frosting is set on top so they don’t drag through the swirl.
Building the Swirl So the Colors Stay Separate
Mix the Buttercream Until It Turns Pale
Start with the butter and beat it until it looks fluffy and a little lighter in color. That’s the point where the frosting is ready to carry sugar and still pipe smoothly. Add the powdered sugar in stages so it doesn’t puff all over the counter, then beat in the vanilla and cream until the frosting looks satiny and holds soft peaks.
Split, Tint, and Load the Bag
Divide the frosting into three portions and leave one plain, tint one red, and one blue using gel color. The key is not overmixing once the color goes in, because too much beating can warm the buttercream and soften it. Spoon the colors side by side into the piping bag fitted with a large star tip so each squeeze gives you a striped swirl instead of a muddy blend.
Pipe the Peak and Finish Fast
Hold the bag straight over the center of each cupcake and pipe from the outside edge inward, then finish with a quick upward pull to form the peak. That motion gives the frosting height without flattening the ridges. Add the sprinkles immediately, while the buttercream is still tacky, and insert the sparkler pick with a gentle twist so the top stays neat.
How to Adapt These for Different Crowds and Decorating Styles
Dairy-Free Buttercream Swap
Use a plant-based butter that’s designed for baking and swap the heavy cream for unsweetened coconut cream or another thick non-dairy alternative. The texture will still pipe, but it won’t taste quite as rich as classic buttercream, so don’t skip the vanilla.
Gluten-Free Base
Bake your favorite gluten-free vanilla cupcake instead of the boxed mix. The frosting and decorations stay the same, but gluten-free cupcakes can be a little more fragile, so cool them completely before moving or decorating them.
No Piping Tip, No Problem
If you don’t have a large star tip, cut a wide corner from a sturdy piping bag and pipe a simple spiral. You’ll lose the sharp ridges, but the cupcakes still look festive once the sprinkles and sparkler picks go on.
Make-Ahead Decorating
You can bake the cupcakes a day ahead and frost them the next day, or frost them up to 24 hours in advance and store them uncovered in a cool place or lightly tented in the fridge. Add sparkler picks right before serving so they stay straight and clean.
Storage and Reheating
- Refrigerator: Store frosted cupcakes in a single layer in an airtight container for up to 3 days. The buttercream firms up in the fridge, so let them sit at room temperature before serving.
- Freezer: Unfrosted cupcakes freeze well for up to 2 months. Wrap them tightly and thaw at room temperature before decorating; frosted cupcakes are best fresh because the sprinkles can bleed and the buttercream can pick up freezer odors.
- Reheating: These don’t need reheating. If the cupcakes feel cold from the fridge, let them sit out for 30 to 45 minutes so the cake softens and the frosting loses its chill without melting.
Answers to the Questions Worth Asking

Fireworks Cupcakes
Ingredients
Equipment
Method
- Preheat oven to 350°F, then bake cupcakes according to package directions in lined muffin tins. Cool completely on a wire rack so the frosting won’t melt.
- Let the cupcakes cool fully before frosting, aiming for room temperature. This prevents buttercream from sliding off the tops.
- Beat softened butter until fluffy. Then gradually add powdered sugar, vanilla extract, and 3 tbsp heavy cream while mixing.
- Beat on high for 3 minutes until very light and fluffy. If the frosting feels too stiff for piping, beat in 1 more tbsp heavy cream.
- Divide buttercream into three portions, leaving one white and coloring one red and one blue with gel food coloring. Mix each portion just until the color is even.
- Load a piping bag fitted with a large star tip with all three colors side by side for a tri-color swirl. Keep the bag oriented so the colors stay layered as you pipe.
- Pipe a tall swirled peak of frosting onto each cooled cupcake. Apply steady pressure and pull straight up to form the dramatic peak.
- Shower each cupcake with red, white, and blue star sprinkles. Immediately insert a sparkler pick into the center so it stands upright like a firework.
- Serve right away for the best presentation of the sparkler pick and crisp sprinkle coverage. Store cupcakes for later only after frosting is set.