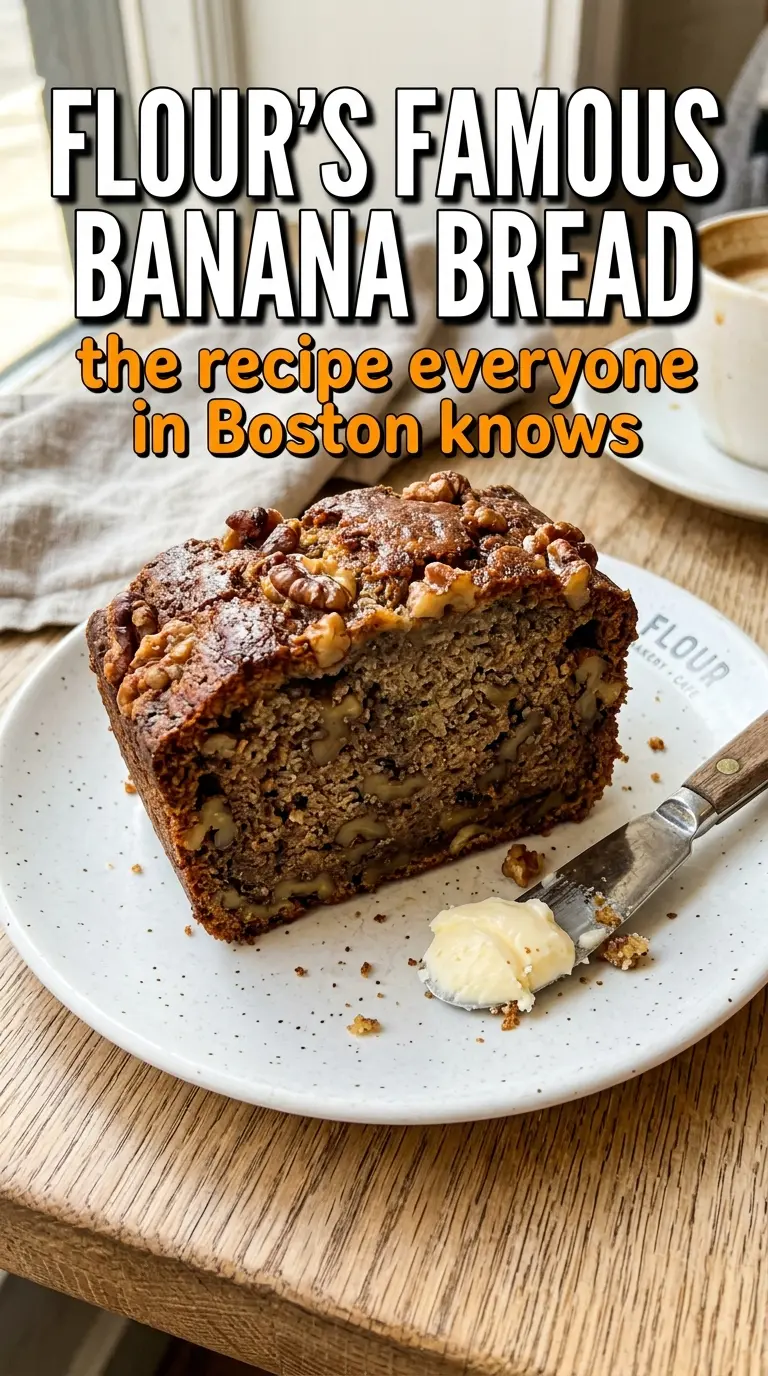
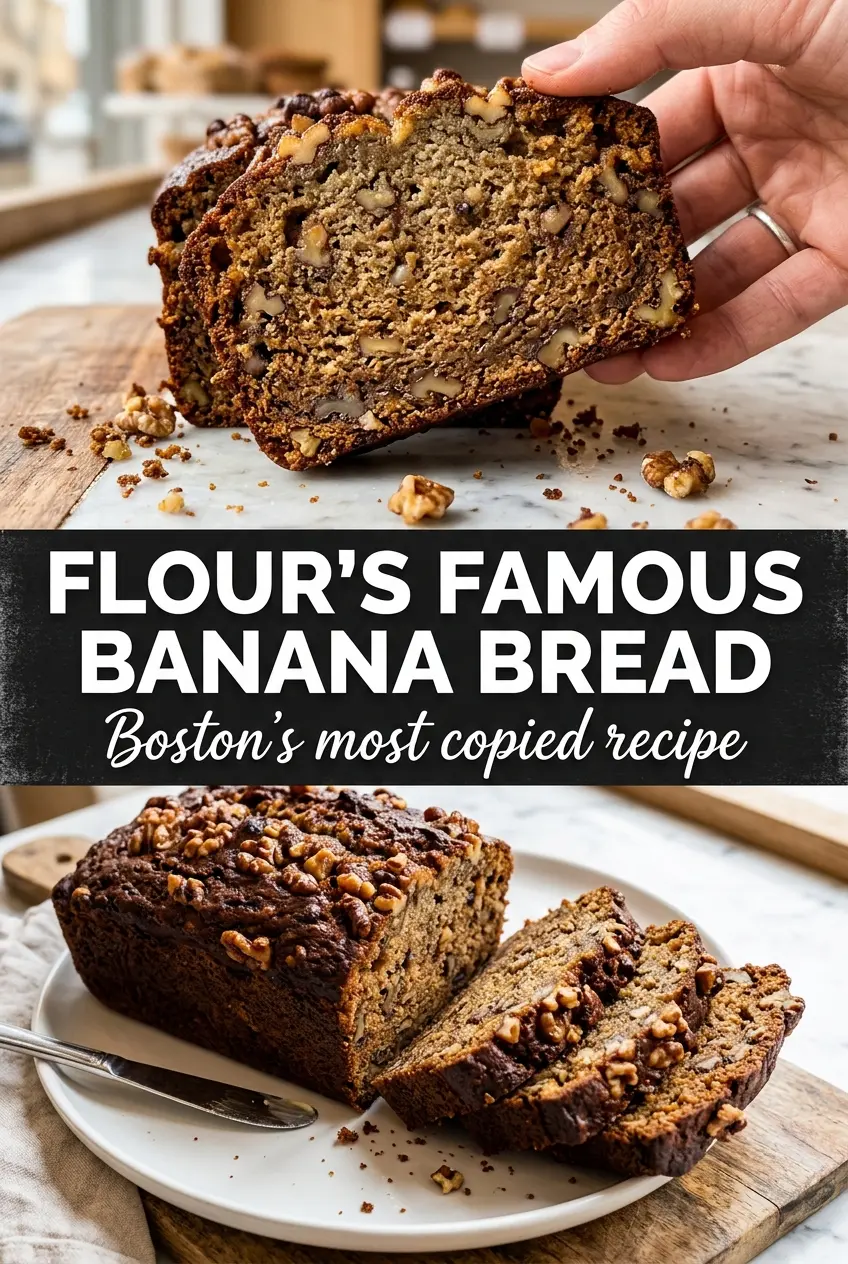
Bakery-style banana bread should taste like it came from a case at the best coffee shop in town: tall, deeply browned, and tender enough to pull apart in soft, moist layers. Flour’s Famous Banana Bread earns its reputation because it doesn’t bake up dense or flat. The crumb stays open and plush, the top turns a deep golden brown, and the walnuts on top give every slice a little crunch.
The difference is in the method as much as the ingredients. Beating the butter, sugar, and eggs until light builds structure before the bananas go in, which helps the loaf rise without turning cakey. Sour cream adds richness and keeps the texture supple, and the lower oven temperature gives the center time to set before the crust gets too dark. That’s how you get a banana bread that tastes professional, not just sweet.
Below, I’ve laid out the few details that matter most: how ripe the bananas should be, why the walnuts need to be toasted, and what to watch for so the loaf bakes through without drying out the middle.
The loaf came out with that deep bakery crust and the crumb stayed moist for days. Toasting the walnuts made a bigger difference than I expected, and my kids kept sneaking slices before it even cooled.
Save this bakery-style banana bread for the loaf with the deep golden crust and walnut topping.
The Batter Starts With a Long Beat, Not a Quick Mix
Most banana breads fail because the batter is treated like a muffin batter. That’s how you end up with a loaf that’s heavy in the middle and bland on top. This version depends on the butter and sugar being beaten until pale and fluffy, which traps air and gives the bread enough lift to stay tender without collapsing.
The other thing that matters is restraint once the flour goes in. Overmixing tightens the crumb and turns the loaf chewy in the wrong way. Fold just until the flour disappears, then stop. The bananas and sour cream already bring plenty of moisture, so the batter should look thick and a little rough, not whipped smooth.
- Browned top, soft center: The 325°F oven temperature lets the loaf bake through before the crust overbrowns.
- Butter and sugar: This is what creates the lift and that slightly plush, bakery-style crumb.
- Bananas: Use them when the peels are deeply speckled or mostly black. That extra ripeness gives the bread its strongest banana flavor and enough sweetness to keep the loaf from tasting flat.
- Walnuts: Toasting them first wakes up the flavor and keeps them from tasting raw against the soft crumb.
What Each Ingredient Is Actually Doing in This Loaf
All-purpose flour gives the loaf enough structure to hold its shape without turning tough. Cake flour would bake up too delicate here, and bread flour would push it toward chewiness. Sifting the dry ingredients helps distribute the baking soda evenly, which matters more than people think in a quick bread with a fairly short bake.
Room-temperature butter is nonnegotiable because cold butter won’t beat properly with the sugar. Sour cream does more than add tang; its fat and acidity keep the crumb moist and help the bread stay tender after it cools. If you’re out of sour cream, plain full-fat Greek yogurt works well, though the loaf will be a touch less rich. The bananas should be mashed but not pureed into liquid. A few small lumps are fine and actually help the bread bake with a better texture.
- All-purpose flour: The safest choice here. It gives the loaf enough body without making it dense.
- Sour cream: Full-fat is best. Low-fat versions work in a pinch, but the crumb won’t be as plush.
- Vanilla: It rounds out the banana flavor and keeps the loaf from tasting one-note.
- Walnuts: Lightly toast them before chopping. They’ll taste deeper and stay crisp longer in the batter.
Building the Loaf So It Bakes Tall Instead of Dense
Getting the Butter and Sugar Light Enough
Beat the butter and sugar on high speed until the mixture turns pale and looks fluffy enough to hold soft ridges. That usually takes about five minutes, and if it still looks grainy, keep going. This step matters because it is where the loaf gets most of its lift. If you rush it, the bread will still taste good, but it will bake up tighter and heavier.
Adding the Eggs and Bananas Without Breaking the Emulsion
Add the eggs one at a time and beat well after each one so the batter stays smooth and glossy. Once the sour cream, bananas, and vanilla go in, the mixture may look slightly curdled. That’s normal. The batter comes back together when the flour is folded in, so don’t chase a perfectly uniform look too early.
Finishing the Batter Gently
Fold in the flour mixture just until you stop seeing dry streaks. The more you stir at this point, the more likely the loaf is to bake up tough and tunnelled. Add the walnuts last and stop as soon as they’re distributed. Scrape the batter into the pan, and give it a few taps on the counter to settle any large air pockets.
Baking Until the Center Is Set, Not Dry
Bake until the top is a deep brown and a toothpick comes out clean from the center. Start checking near the 60-minute mark, because ovens vary and banana bread can go from underdone to dry in a short window. If the top is getting too dark before the middle is set, tent it loosely with foil for the last 10 to 15 minutes. The loaf should spring back lightly when pressed and pull from the sides of the pan.
How to Adapt This For Different Pans, Diets, and Leftover Loaves
Dairy-Free Banana Bread
Swap the butter for a good plant-based butter stick and use full-fat coconut yogurt in place of the sour cream. The loaf will still be tender, but the flavor will lose a little of the classic bakery richness. Keep the coconut yogurt plain so it doesn’t compete with the banana and walnut flavor.
Nut-Free Version
Leave out the walnuts and bake the loaf exactly the same way. You’ll lose the crunchy contrast on top, so if you want a little texture, sprinkle the top with coarse sugar before baking. The bread stays moist and still has that deep banana flavor.
Mini Loaves or Muffins
Divide the batter into smaller pans if you want quicker bake times and easier freezing. Mini loaves bake faster and give you more crust, while muffins will be a little less bakery-style and a little more snackable. Check them early, because the edges can dry out before the centers finish.
Storage and Reheating
- Refrigerator: Keeps for 4 days wrapped well. The crumb firms up a bit in the fridge, but it softens again once sliced and warmed.
- Freezer: Freezes well. Wrap the cooled loaf or individual slices tightly, then place in a freezer bag for up to 3 months.
- Reheating: Warm slices in a toaster oven or a 300°F oven for a few minutes until the edges are just heated through. The common mistake is microwaving too long, which makes the crumb rubbery instead of soft.
The Questions That Come Up With Bakery-Style Banana Bread
Flour's Famous Banana Bread
Ingredients
Equipment
Method
- Preheat oven to 325°F and grease and flour a 9x5 loaf pan so the loaf releases cleanly after baking.
- Sift together all-purpose flour, baking soda, and salt, then set the dry mixture aside to distribute the leaveners evenly.
- Beat unsalted butter and sugar on high speed for about 5 minutes until very light and fluffy, which helps build a tender, airy crumb.
- Add large eggs one at a time, beating well after each addition to keep the batter smooth.
- Mix in sour cream, mashed very ripe bananas, and vanilla extract until the batter looks cohesive and thick.
- Fold in the flour mixture gently until just combined to avoid overmixing and keep the crumb open and moist.
- Fold in chopped walnuts so they are evenly distributed without deflating the batter.
- Pour batter into the prepared loaf pan and bake for 60–70 minutes at 325°F until the top is deep brown and a toothpick comes out clean.