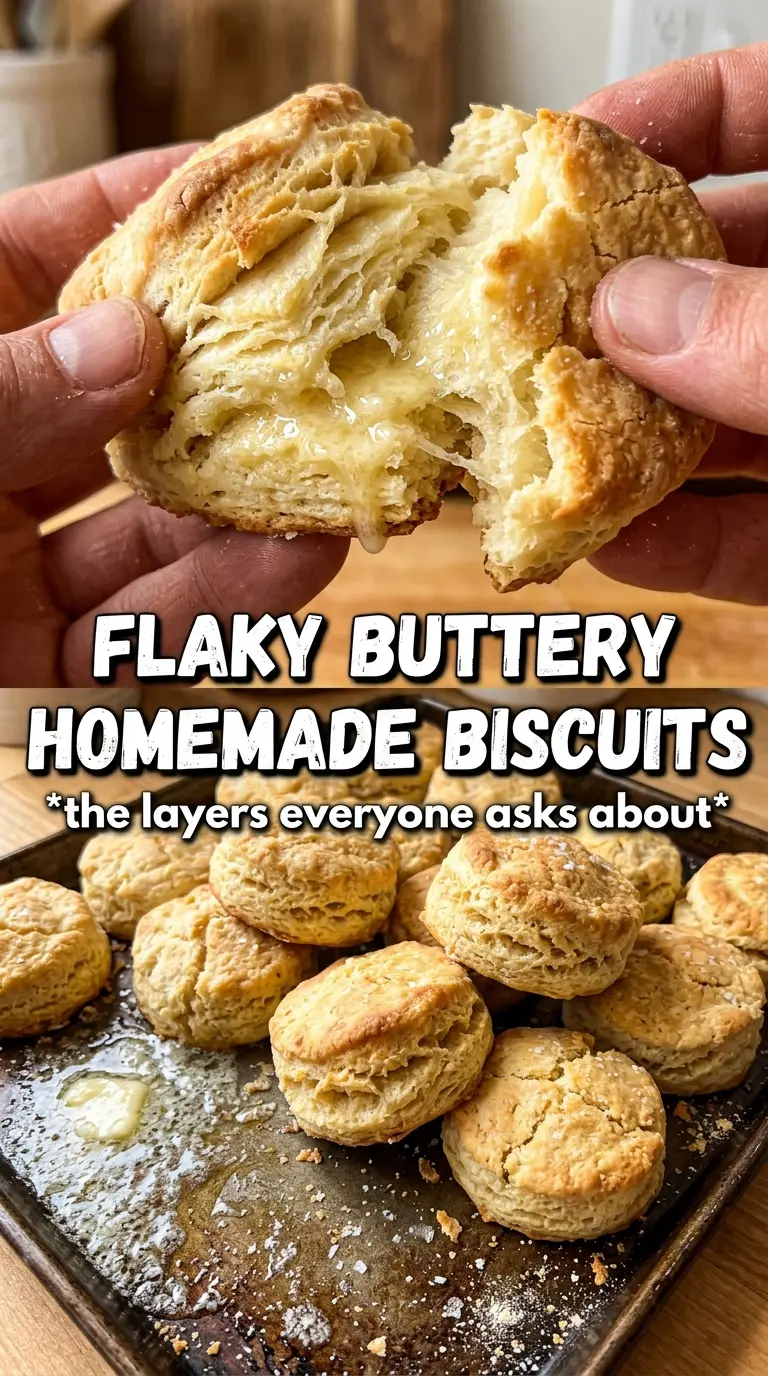
Tall, flaky homemade biscuits are what happen when you stop treating the dough like bread and start treating it like layered pastry. The best ones bake up with crisp golden tops, soft centers, and those buttery seams that pull apart in ragged, tender sheets. This version keeps the ingredient list short, but the texture depends on a few small moves that matter a lot.
Cold butter is the backbone here. Those little pieces melt in the oven and leave behind pockets of steam, which is what gives the biscuits their height and flake. The other part that makes the difference is restraint: mix only until the dough comes together, then fold it a few times to build layers without working the gluten too hard. That combination gives you biscuits that rise up instead of spreading out.
Below, I’m walking through the part that most biscuit recipes gloss over: how to keep the butter cold, how to cut the dough without sealing the edges, and how to recognize the right texture before the biscuits hit the oven.
The biscuits came out tall and flaky, and I finally stopped getting those dense hockey pucks. Cutting the butter in until I still had a few bigger bits made all the difference.
These homemade biscuits bake up tall, flaky, and buttery — save this recipe for the mornings when you want real layers, not dense little rounds.
The Cold Butter Mistake That Keeps Biscuits From Rising
The fastest way to flatten biscuits is to let the butter soften too much before the oven ever sees the dough. You want visible butter pieces in the flour mixture, not a smooth paste. Those bits melt in the oven and create steam, and that steam is what lifts the biscuit into layers instead of letting it bake into a crumbly puck.
The other trap is overworking the dough after the buttermilk goes in. Once the flour is hydrated, gluten starts forming, and too much stirring makes the biscuits tough. Folding the dough 3 to 4 times gives you height and structure without beating the tenderness out of it. If the dough looks a little shaggy, that’s better than overmixed and smooth.
- Cold butter — Cube it first, then chill it again if your kitchen is warm. The firmer the butter stays, the better the layers.
- Buttermilk — Its acidity reacts with the baking soda for extra lift and gives the biscuits a slight tang. Regular milk won’t behave the same way, though you can use milk plus a little lemon juice or vinegar in a pinch.
- Baking powder and baking soda — This recipe uses both for a reason. Baking powder gives the main rise, while baking soda helps with browning and works with the buttermilk.
What Each Ingredient Is Actually Doing in This Dish
- All-purpose flour — Standard flour gives you enough structure without making the biscuits heavy. Bread flour would tighten the crumb and push them toward chewy.
- Granulated sugar — Just a little softens the edges and helps the tops brown. Leave it out if you want a more savory biscuit, but don’t add much more or the biscuits start tasting like scones.
- Unsalted butter — Unsalted gives you control over the seasoning, and the butter itself brings the flavor that no oil substitute can match. If you only have salted butter, use it and reduce the added salt slightly.
- Cold buttermilk — Cold matters as much as the buttermilk itself. Warm liquid starts melting the butter before baking, and that steals the lift you’re trying to build.
- Melted butter for brushing — This isn’t cosmetic. It softens the crust just enough and adds a buttery finish that makes the tops taste like they came out of a good diner kitchen.
How to Build Layers Without Crushing the Dough
Mixing the Dry Ingredients First
Whisk the flour, baking powder, baking soda, salt, and sugar together until the bowl looks evenly blended. That step matters because the leaveners need to be distributed all the way through the flour, or you’ll get uneven rise and salty spots. A few extra seconds here keeps the whole batch consistent.
Cutting in the Butter
Add the cold butter and work it in until the mixture looks like coarse crumbs with a few larger pea-sized bits still visible. Those larger pieces are a good sign, not a problem. If the butter disappears completely, the biscuits lose their flaky layers and bake up closer to a muffin texture.
Bringing the Dough Together
Pour in the cold buttermilk and stir just until the dough holds together. The dough should look shaggy and a little rough, not smooth and polished. If you keep mixing after that point, the biscuits get tougher and lower, and there’s no oven trick that fixes it later.
Folding, Cutting, and Baking
Turn the dough onto a lightly floured surface, fold it over itself a few times, then pat it to 1-inch thickness. Cut straight down with a biscuit cutter and don’t twist the cutter, or you’ll seal the edges and block the rise. Brush the tops with melted butter and bake at 450°F until they’re deeply golden and the sides look set, about 12 to 15 minutes.
Three Ways to Make These Biscuits Work for Your Kitchen
Dairy-Free Biscuits
Use a firm plant-based butter and an unsweetened non-dairy milk mixed with 1 tablespoon lemon juice or vinegar to mimic buttermilk. The biscuits will still rise, but the flavor will be a little less rich and the crumb a touch less tender than the original.
Extra Flaky Layered Biscuits
Do one or two extra folds before patting the dough out. That builds more layers, which gives you a more laminated biscuit with stronger pull-apart texture. Don’t overdo it or the dough starts to fight back and the biscuits bake up tighter.
Smaller Biscuits for Sandwiches
Use a smaller cutter and keep the thickness at a full inch so the biscuits still rise high enough to split. Smaller biscuits brown a little faster, so start checking a minute or two early.
Storage and Reheating
- Refrigerator: Store baked biscuits in an airtight container for up to 3 days. They soften as they sit, especially around the edges.
- Freezer: Freeze baked biscuits tightly wrapped for up to 2 months, or freeze cut unbaked biscuits on a tray and bake from frozen with a few extra minutes.
- Reheating: Warm in a 300°F oven for 8 to 10 minutes. The microwave makes the crumb gummy, which is the quickest way to lose that flaky texture.
Questions I Get Asked About This Recipe
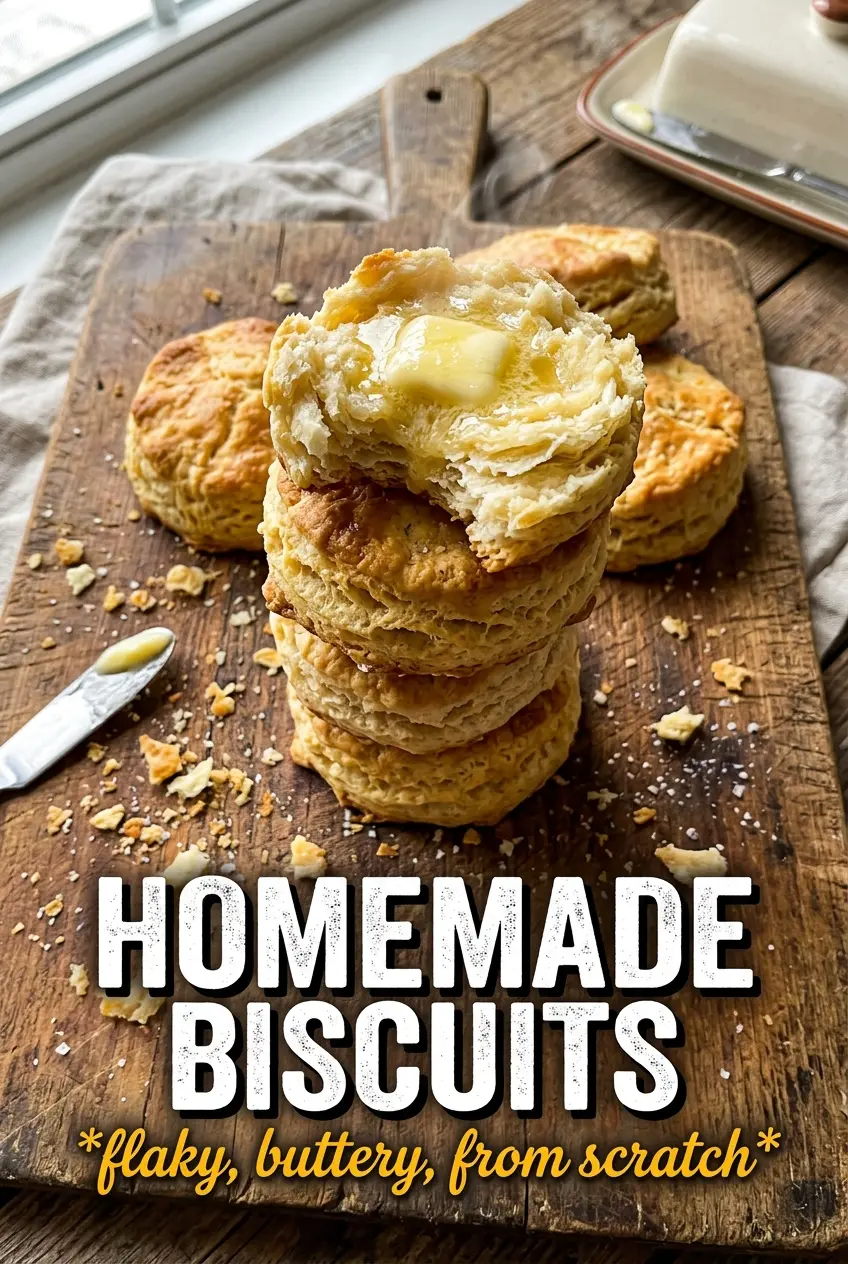
Homemade Biscuits
Ingredients
Equipment
Method
- Preheat oven to 450°F and line a sheet pan with parchment paper.
- Whisk all-purpose flour, baking powder, baking soda, salt, and granulated sugar together in a large bowl.
- Add cold cubed unsalted butter and cut it into the flour until the mixture resembles coarse pea-sized crumbs with some larger butter bits.
- Add cold buttermilk and stir just until the dough comes together—do not overmix.
- Turn the dough onto a lightly floured surface, fold it over on itself 3–4 times, then pat to 1-inch thickness.
- Cut with a biscuit cutter (no twisting), place on the sheet pan, and brush tops with melted butter.
- Bake at 450°F for 12–15 minutes until deeply golden, with tall flaky layers that pull apart when split.