Ice cream cake hits that sweet spot between nostalgic and practical: crisp Oreo crumb on the bottom, clean layers of vanilla and strawberry in the middle, and a fudge ribbon that stays distinct instead of disappearing into the ice cream. When it’s frozen long enough, the slices hold their shape and the topping stays soft enough to cut without fighting the pan.
The part that makes this version work is the layering order and the short freezes in between. The crust gets a head start so it stays compact, the vanilla layer firms up before the fudge goes on, and that brief freeze after the fudge keeps the chocolate from sinking straight through. Using slightly softened ice cream matters here; if it’s too hard, you’ll tear the layer underneath, and if it’s melted, the cake turns sloppy instead of cleanly stacked.
Below, I’ve included the details that matter most for a cake like this: how to keep the crust from crumbling, how to get neat layers, and what to do if you want to change the ice cream flavors without losing the look.
The layers froze up clean and the fudge stayed right where it belonged. I used the hot knife trick for slicing and the cake came out looking bakery-level.
Love the clean layers in this Oreo ice cream cake? Save it to Pinterest for birthdays, barbecues, and any day that needs a frozen dessert with a fudge stripe.
The Freezer Timing That Keeps the Layers Distinct
The biggest mistake with ice cream cake is rushing the freezes. If the vanilla layer isn’t firm before the fudge goes on, the sauce sinks and you lose that clean stripe in the middle. If the strawberry layer goes on too soon after the fudge, the colors blur together and the slice looks muddy instead of layered.
Use the freezer as part of the recipe, not as an afterthought. The short 15-minute freeze for the crust locks it in place, the one-hour freeze after the vanilla layer gives it enough structure to hold the fudge, and the long final freeze is what makes the cake slice cleanly instead of slumping on the plate.
- Press the Oreo crust firmly enough that it feels packed, not loose. A light hand leaves crumbs behind when you slice.
- Let the hot fudge cool for a few minutes before using it. Warm is fine; hot is what melts the vanilla layer.
- Cover the cake once the strawberry layer is in place. Exposed ice cream picks up freezer smell fast.
What Each Layer Is Doing in the Cake

- Oreo cookies — These give you a dark, crunchy base that tastes like cookies and cream instead of plain crumb. Generic chocolate cookies work in a pinch, but the Oreo filling helps the crust hold together once the butter hits it.
- Butter — This is what turns loose crumbs into a sliceable crust. Melted butter is enough here; there’s no need for softened butter because you’re not creaming anything, just binding.
- Vanilla ice cream — This layer acts like the clean middle band that sets the whole cake up visually. Slightly softened ice cream spreads without tearing the crust, but if it gets soupy you’ll lose the layer edges.
- Strawberry ice cream — The fruit flavor keeps the cake from tasting one-note, and the color makes every slice pop. If strawberry isn’t your thing, use another firm scoopable flavor with a similar texture, not a very soft mix-in-heavy one.
- Hot fudge sauce — This is the contrast point between the two ice cream layers. It needs to be cooled just enough to drizzle; if it’s straight from the pan, it melts a channel through the vanilla.
- Whipped topping or stabilized whipped cream — This finish adds height and helps the top look polished. Stabilized whipped cream holds best if the cake will sit out for a few minutes before serving.
Building the Cake Without Melting the Middle
Pressing the Crust
Combine the crushed Oreos and melted butter, then press the mixture into the bottom of a 9-inch springform pan with the bottom of a measuring cup or glass. Push it into an even layer all the way to the edges so the first scoop of ice cream doesn’t slide under the crust. The crust should look dark, compact, and slightly glossy from the butter. Freeze it until firm before you add anything cold and soft on top.
Spreading the Vanilla Layer
Spoon the slightly softened vanilla ice cream over the crust and spread it to an even thickness. Work quickly but don’t mash it down hard; that just drags crumbs into the layer below. If the ice cream starts to smear instead of spread, it’s too melted and needs a few minutes back in the freezer before you finish. Smooth the top as best you can, because every bump shows in the final slice.
Adding the Fudge Ribbon
Drizzle the cooled fudge over the vanilla layer in thin lines, then use a spoon or offset spatula to spread it gently. You want a ribbon, not a mud puddle. Freeze the cake again for a short stretch so the fudge firms up before the strawberry layer goes on. That pause is what keeps the layers defined.
Finishing with Strawberry and Topping
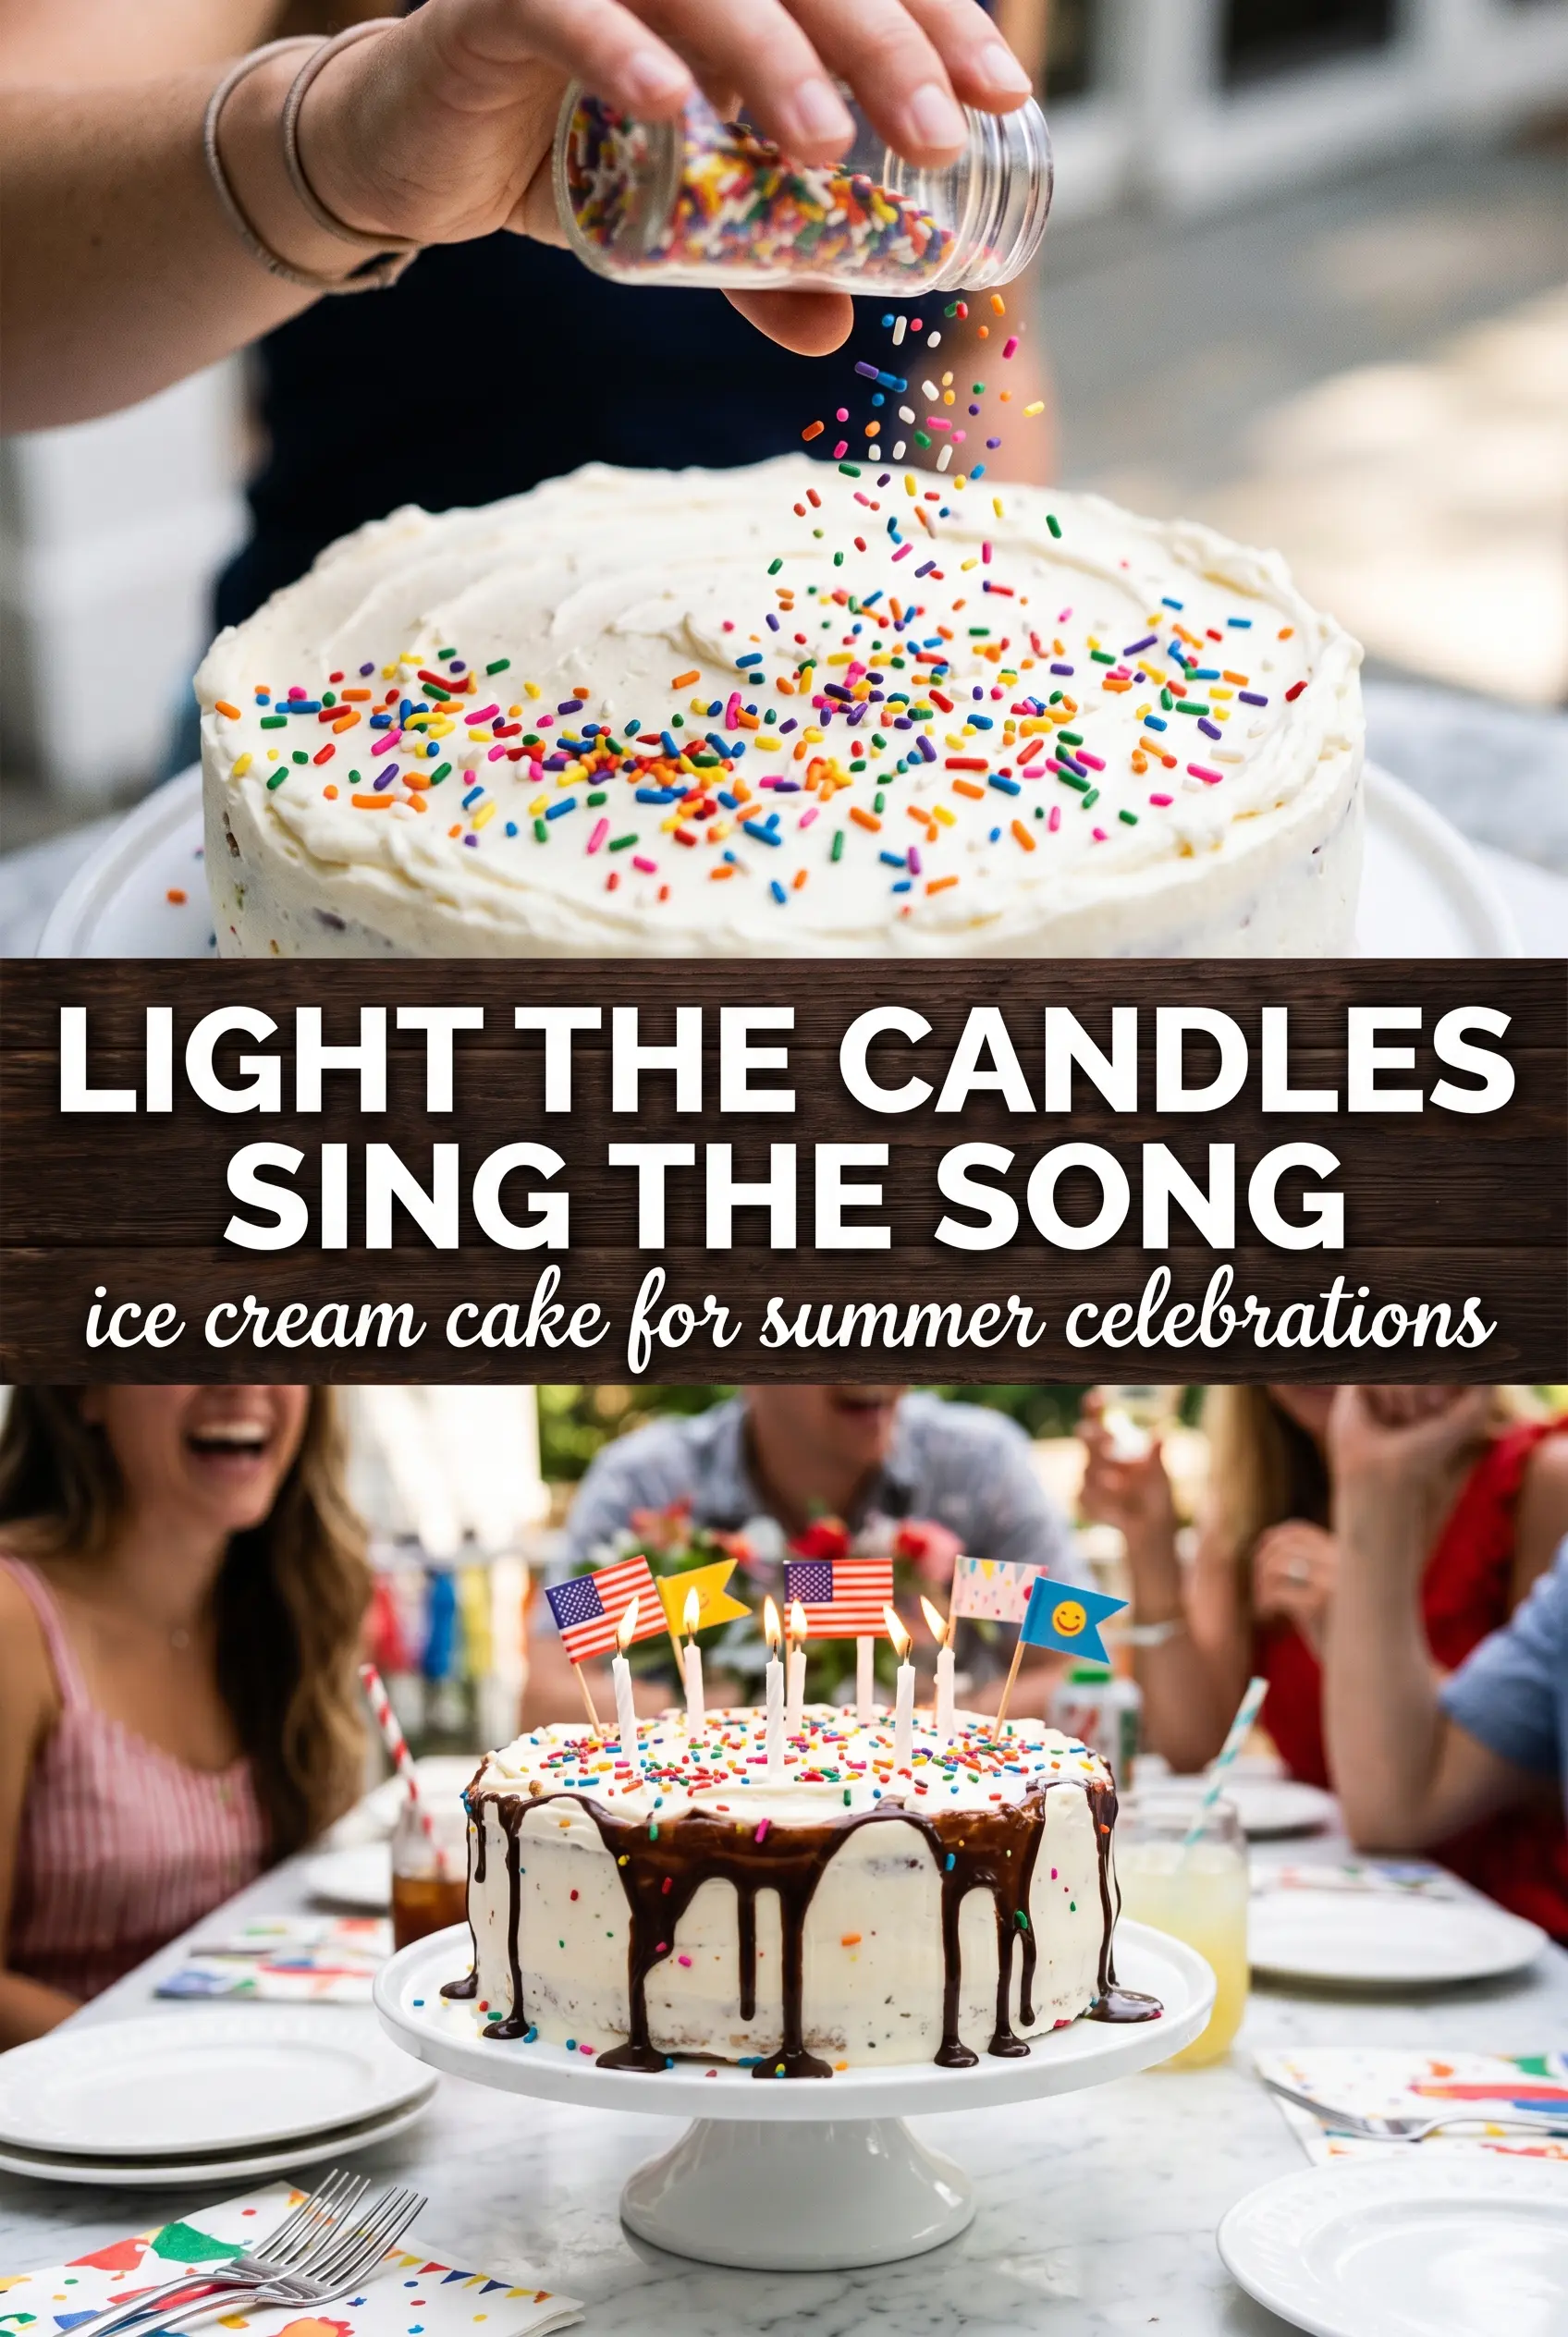
Spread the strawberry ice cream over the set fudge layer, then cover the pan and freeze until the cake is completely firm. When it’s time to serve, run a warm knife around the edge of the springform before releasing it, then move the cake to a serving plate while it’s still frozen solid. Pipe the whipped cream around the top edge and add sprinkles last so they stay bright and don’t bleed color into the cream.
Three Ways to Adapt the Cake Without Losing the Look
Make it gluten-free
Use certified gluten-free chocolate sandwich cookies for the crust and keep the rest of the ingredients the same. The texture stays close to the original, though some gluten-free cookies crumble a little more, so pack the crust firmly and don’t skip the first freeze.
Swap the flavors for a birthday theme
Keep the crust and fudge, then change the ice cream flavors to match the party. Chocolate and mint gives a deeper, cooler cake; cookies and cream plus vanilla makes it richer; cherry or raspberry adds a sharper fruit note. Stick with ice cream that freezes smoothly, not one loaded with big soft candy pieces.
Use homemade whipped cream on top
If you’d rather skip whipped topping, pipe stabilized whipped cream on the cake just before serving. Plain whipped cream tastes lighter, but it softens faster, so add a little powdered sugar or use a stabilizer if the cake needs to sit out. Without that extra support, the swirls start to slump as soon as the room warms up.
Make it ahead for a crowd
This cake holds up well when made a day ahead, and the texture is often easier to slice after an overnight freeze. Add the whipped cream and sprinkles closer to serving time so the topping looks fresh. If it sits too long after decorating, the cream softens and the sprinkles can bleed into it.
Storage and Reheating
- Refrigerator: Not recommended for long storage. The cake softens fast and the layers lose their clean edges.
- Freezer: Store tightly wrapped for up to 1 week for best texture. After that, the ice cream can pick up freezer burn and the crust gets drier.
- Reheating: This cake isn’t reheated. For neat slices, let it sit at room temperature for 5 to 10 minutes, then cut with a hot knife wiped clean between slices.
Questions I Get Asked About This Recipe
Ice Cream Cake
Ingredients
Equipment
Method
- Mix the crushed Oreos with the melted butter, then press firmly into the bottom of a 9-inch springform pan and level the surface for an even base. Freeze for 15 minutes until set.
- Spread the slightly softened vanilla ice cream in an even layer over the Oreo crust, smoothing the top. Freeze for 1 hour until firm.
- Drizzle the slightly cooled hot fudge sauce over the vanilla layer, aiming for an even ribbon across the surface. Freeze for 15 minutes to lock it in.
- Spread the slightly softened strawberry ice cream over the fudge layer and smooth the top. Cover with plastic wrap and freeze for at least 4 hours or overnight until completely solid.
- Run a warm knife around the edge, release the springform, and transfer the cake to a serving plate. Keep the top covered if your kitchen is warm to prevent softening.
- Pipe whipped cream swirls around the top edge and scatter sprinkles across the center so the colors show clearly in each slice. Slice with a hot knife and serve immediately.