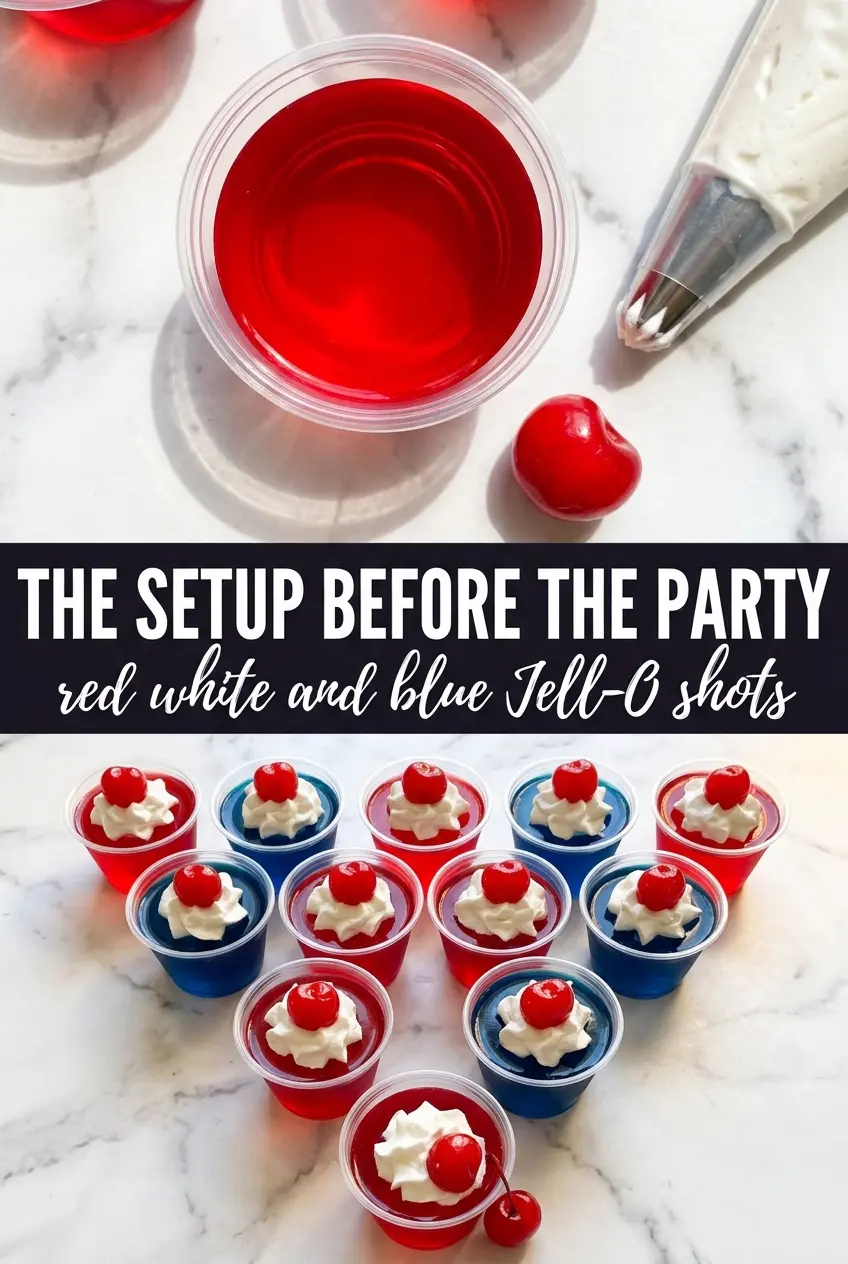
These red, white, and blue Jell-O shots set up cleanly into three distinct layers, and each one holds its color instead of bleeding into the next. The first bite is cold and glossy with a little give from the gelatin, then the vodka comes through just enough to keep them tasting like a party rather than a bowl of candy. They look fussy from the outside, but the method is straightforward once you know how to let each layer firm up before the next one goes in.
The trick is patience between layers and a little control over temperature. The red and blue Jell-O need to cool before they hit the cups, or they’ll melt the layer underneath. The white middle works because sweetened condensed milk gives it body and opacity, while unflavored gelatin helps it set firmly enough to support the top layer without turning cloudy or runny.
Below, I’m walking through the exact timing that keeps the layers sharp, plus the small prep details that make these easier to serve at a crowd table. If you’ve ever had layered shots blur together or slide apart, the fix is in here.
The layers set up perfectly, and the white middle stayed bright instead of getting murky. I chilled each layer like you said and the shots came out clean enough that people thought I bought them.
These layered red, white, and blue Jell-O shots hold their stripes best when each layer chills completely before the next one goes on.
Save these layered Jell-O shots for your next patriotic party
The Layering Trick That Keeps These Jell-O Shots Clean
The part that trips people up is pouring the next layer while the one below it is still warm. That’s how you get streaks, melting, and a middle that turns cloudy instead of bright white. Each layer needs to be set all the way to the touch before the next goes on, and the liquid for the new layer should be cooled to room temperature so it lands gently instead of blasting through the one underneath.
These shots also set up best in small clear cups with enough depth to show the layers. A flat tray in the fridge keeps them level, which matters more than people think. If the cups tilt even a little, the layers can set at an angle and look messy when served.
- Cherry or strawberry Jell-O — Either one gives you that bright red layer with a clean set. Strawberry is a little softer in flavor, while cherry is sharper and reads more classic.
- Berry blue Jell-O — Blue Jell-O is mostly here for color and contrast, so the standard box works fine. Don’t swap in a sugar-free version unless you’re prepared for a slightly different texture and a less glossy finish.
- Unflavored gelatin — This is what makes the white layer firm enough to sit between the colored layers. You can’t replace it with extra condensed milk and get the same result; the layer would stay too soft.
- Sweetened condensed milk — This gives the middle layer its opaque look and creamy sweetness. Evaporated milk won’t do the same job because it doesn’t have the same sugar and thickness.
- Cold vodka — Cold vodka helps the mixtures cool faster and keeps the set cleaner. If you want a softer shot, replace part of the vodka with cold water, but the layers will taste milder and set a touch faster.
What Each Ingredient Is Actually Doing in This Recipe
- Primary ingredient (the star) — Quality matters most. Choose the best you can find.
- Cooking medium (oil, butter, or broth) — This carries flavors and prevents dryness.
- Seasonings (salt, pepper, spices, herbs) — Layer flavors so nothing overpowers. Build depth gradually.
- Aromatics (garlic, onion, herbs) — Cook with fat to bloom flavors. Become the foundation.
- Supporting ingredients — Complement the main ingredient without overpowering it.
- Sauce or liquid (if applicable) — Brings flavors together. Balance richness with acid.
- Acid (lemon, vinegar, wine, or other) — Brightens and prevents flat-tasting results.
- Final finish (garnish, glaze, or sauce) — Prevents one-dimensional taste and adds visual appeal.
Building the Layers Without Melting the One Underneath
Mix the Red Base Until It’s Fully Dissolved
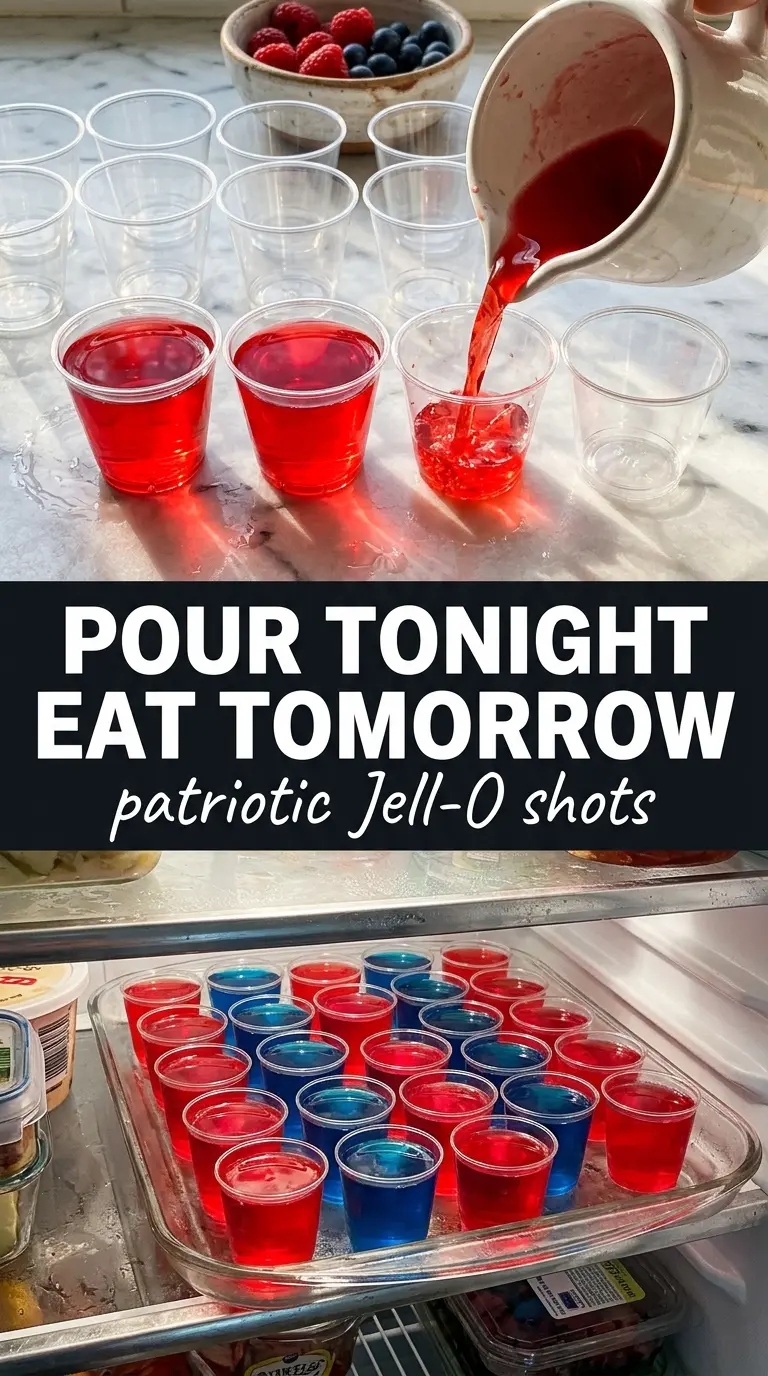
Stir the cherry or strawberry Jell-O into the boiling water for a full two minutes until every grain disappears. Then add the cold vodka and let the mixture sit just long enough to lose some heat without starting to set. Pour it into the cups about one-third full, then move them straight to the fridge on a level tray.
Let the First Layer Set All the Way
After about 45 minutes, the red layer should be firm enough that a fingertip nudges the surface without leaving a liquid dent. If it still feels loose, wait longer. Pouring the middle layer too soon is the fastest way to blur the colors together, and once that happens, there’s no clean fix.
Make the White Center Smooth and Opaque
Whisk the sweetened condensed milk, boiling water, and unflavored gelatin until the mixture is fully dissolved and smooth. Let it cool a bit before adding the cold water, then spoon it gently over the red layer instead of pouring hard from a height. A spoon helps spread the liquid without disturbing the set surface underneath.
Finish With the Blue Top Layer
Once the white layer is set, dissolve the blue Jell-O the same way, then add the cold vodka and let it cool to room temperature. If the blue mixture is even a little warm, it can soften the white layer and make the top edge cloudy. Pour slowly over the back of a spoon if you want the cleanest stack, then chill until the tops are firm and glossy.
How to Adapt These Patriotic Jell-O Shots for Different Crowds
Make Them Nonalcoholic for a Mixed Crowd
Replace the vodka with cold water in both colored layers. The shots will set a little firmer and taste more like classic Jell-O, but the layers will still look sharp and festive. This is the cleanest way to make a tray everyone can enjoy without changing the method.
Use Raspberry or Lime Instead of Cherry
Any red Jell-O flavor works as long as the color reads clearly against the white layer. Raspberry is a little softer and fruitier; lime gives a brighter, sharper finish if you want more contrast with the blue. Keep the liquid amounts the same so the layers still set the same way.
Make a Larger Batch for a Bigger Party
Double everything and use a second tray of cups instead of trying to stack too many in one container. Overcrowding the fridge can make the cups wobble while they set, which distorts the layers. The recipe scales cleanly as long as each cup still gets the same ratio of red, white, and blue.
Storage and Serving Timing
- Refrigerator: Keep covered and chilled for up to 3 days. After that, the layers can start to weep a little and lose their clean edges.
- Freezer: Don’t freeze these. Gelatin changes texture after freezing and thawing, and the layers can turn spongy or separate.
- Serving: Serve them straight from the fridge. If they sit out too long, the edges soften first and the layers stop looking crisp.