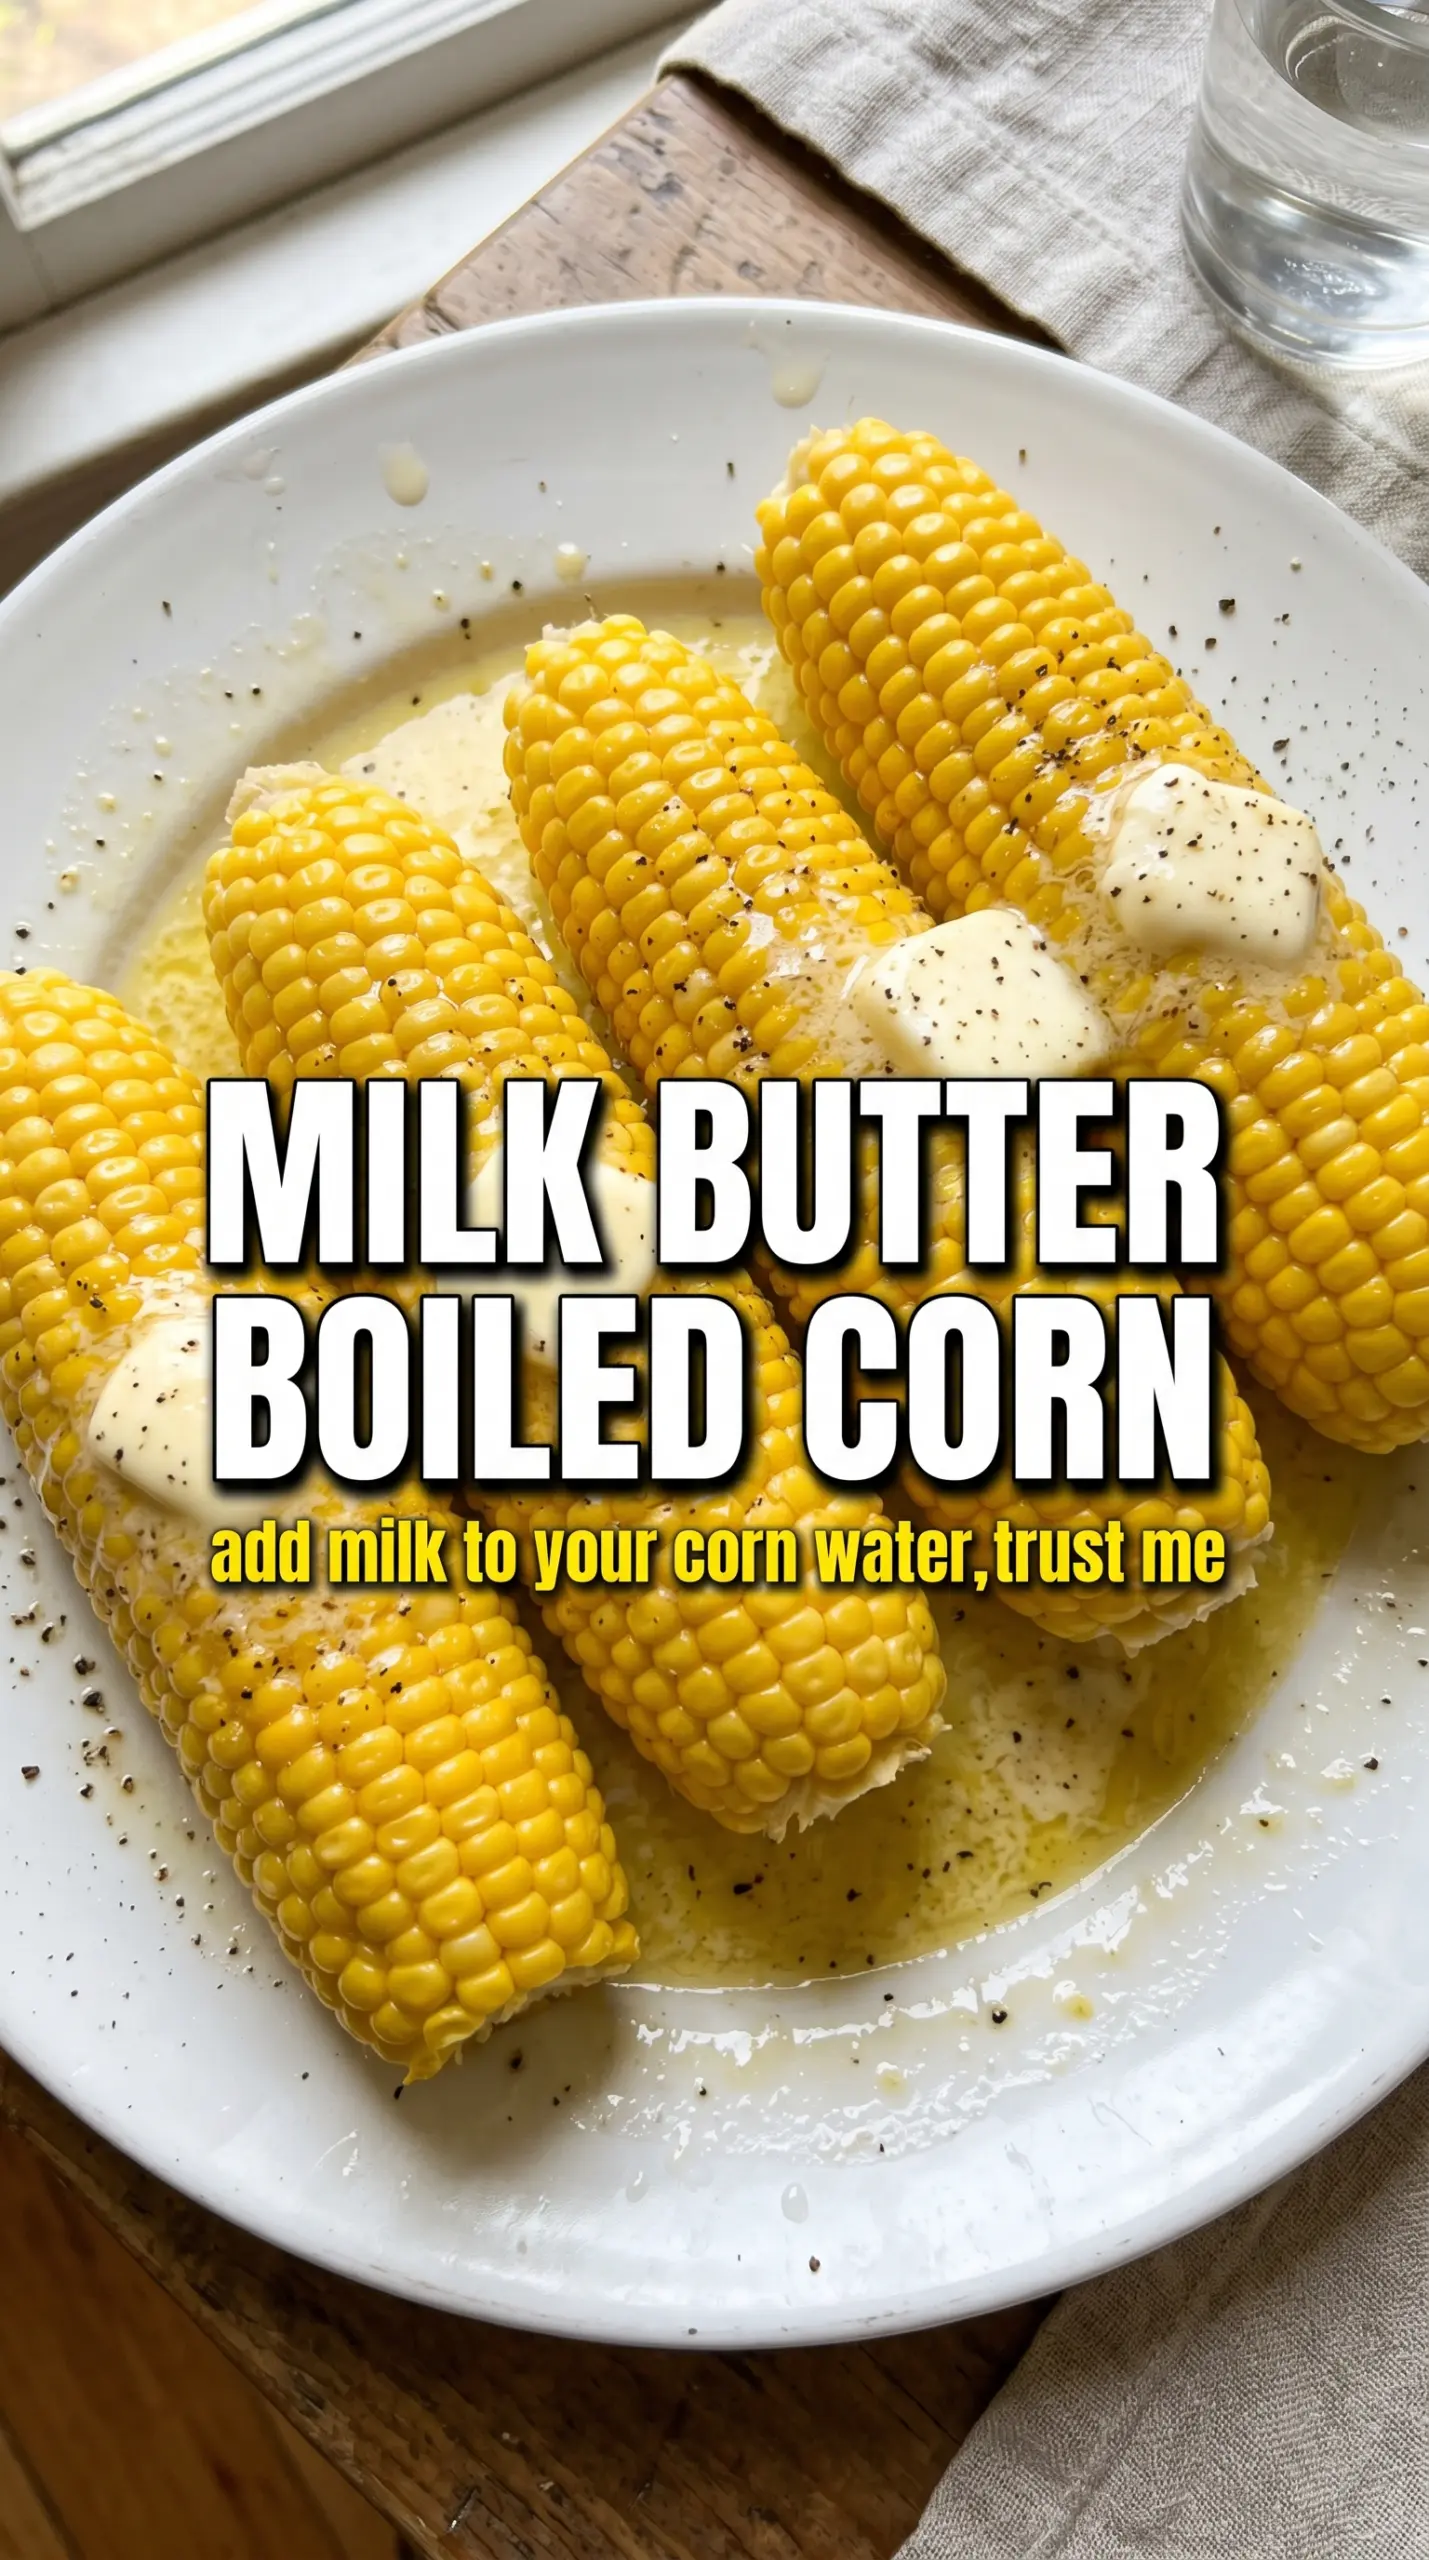
Corn on the cob turns almost luxurious when it’s cooked in milk and butter instead of plain water. The kernels stay tender and plump, but they pick up a mellow sweetness and a soft buttery richness that tastes built in, not added at the table. It’s the kind of side dish that disappears fast because every ear comes out glossy, fragrant, and seasoned all the way through.
The trick is keeping the pot at a gentle boil, not a hard one. Whole milk softens the water and helps the corn cook evenly without turning the liquid violent enough to knock the kernels around or make the butter separate. A little sugar rounds out the corn’s natural sweetness, and the salt seasons the cob itself instead of just the serving plate.
Below, I’ll walk you through the exact milk-and-butter ratio that gives the best texture, plus a few practical ways to adjust the method if you’re cooking for a crowd or working with especially fresh sweet corn.
The corn came out tender and sweet, and the milk butter bath gave it this rich, almost creamy coating without making it taste heavy. I cooked it for 22 minutes and it was perfect — even my picky kid asked for a second ear.
Milk butter boiled corn is the side dish people remember — pin it for the nights you want sweet corn that tastes rich all the way through.
The Part Most People Miss: Gentle Heat Keeps the Milk from Turning Fussy
Milk changes the way corn cooks, but it also changes the heat management. If the pot comes up too aggressively, the dairy can foam over, scorch on the bottom, or separate slightly around the edges. That’s why the recipe starts with the liquid fully melted and then settles into a medium boil once the corn goes in. You want motion in the pot, not a rolling eruption.
The other mistake is under-salting the cooking liquid. Corn absorbs seasoning best while it’s simmering, and if the water tastes bland, the finished ears will taste flat no matter how much butter you add later. The sugar isn’t there to make the corn sweet in a dessert sense; it just helps amplify the corn’s own natural sweetness, especially if the ears aren’t peak-season perfect.
- Whole milk — This is what gives the cooking liquid its creamy body. Lower-fat milk works in a pinch, but it won’t round out the corn the same way or give the broth that rich, pale look.
- Unsalted butter — Cubing it helps it melt fast and evenly. Salted butter can work, but then you need to dial back the added salt or the finished corn can taste too sharp.
- Granulated sugar — Just a tablespoon is enough to nudge the flavor without making the corn taste sweetened. Skip it only if your corn is peak-sweet and you want a cleaner, more savory finish.
- Fresh corn — This method rewards good corn. The fresher the ears, the better the final texture, because the kernels stay juicy and firm instead of turning starchy in the pot.
What Each Ingredient Is Actually Doing in This Corn Dish
- Fresh corn (the star vegetable) — Use the freshest corn available. Peak season (summer) tastes best.
- Butter (the flavor carrier) — This clings to corn and carries seasonings. Room temperature spreads easier.
- Seasonings (salt, pepper, spices) — Apply generously. Build flavor boldly so it stands out.
- Optional cheese (cotija, parmesan, or cheddar) — This adds umami depth. Crumble for even distribution.
- Acid (lime juice or vinegar) — This prevents the dish from tasting one-dimensional. Essential for fresh flavor.
- Herbs and aromatics (cilantro, garlic, or chili powder) — These add personality. Balance so nothing overpowers.
- Proper cooking (gentle heat, don’t overboil) — Overcooked corn becomes mushy. Stop while still tender-crisp.
- Grilling or foil method (if using) — This adds flavor through caramelization. Creates smokiness and depth.
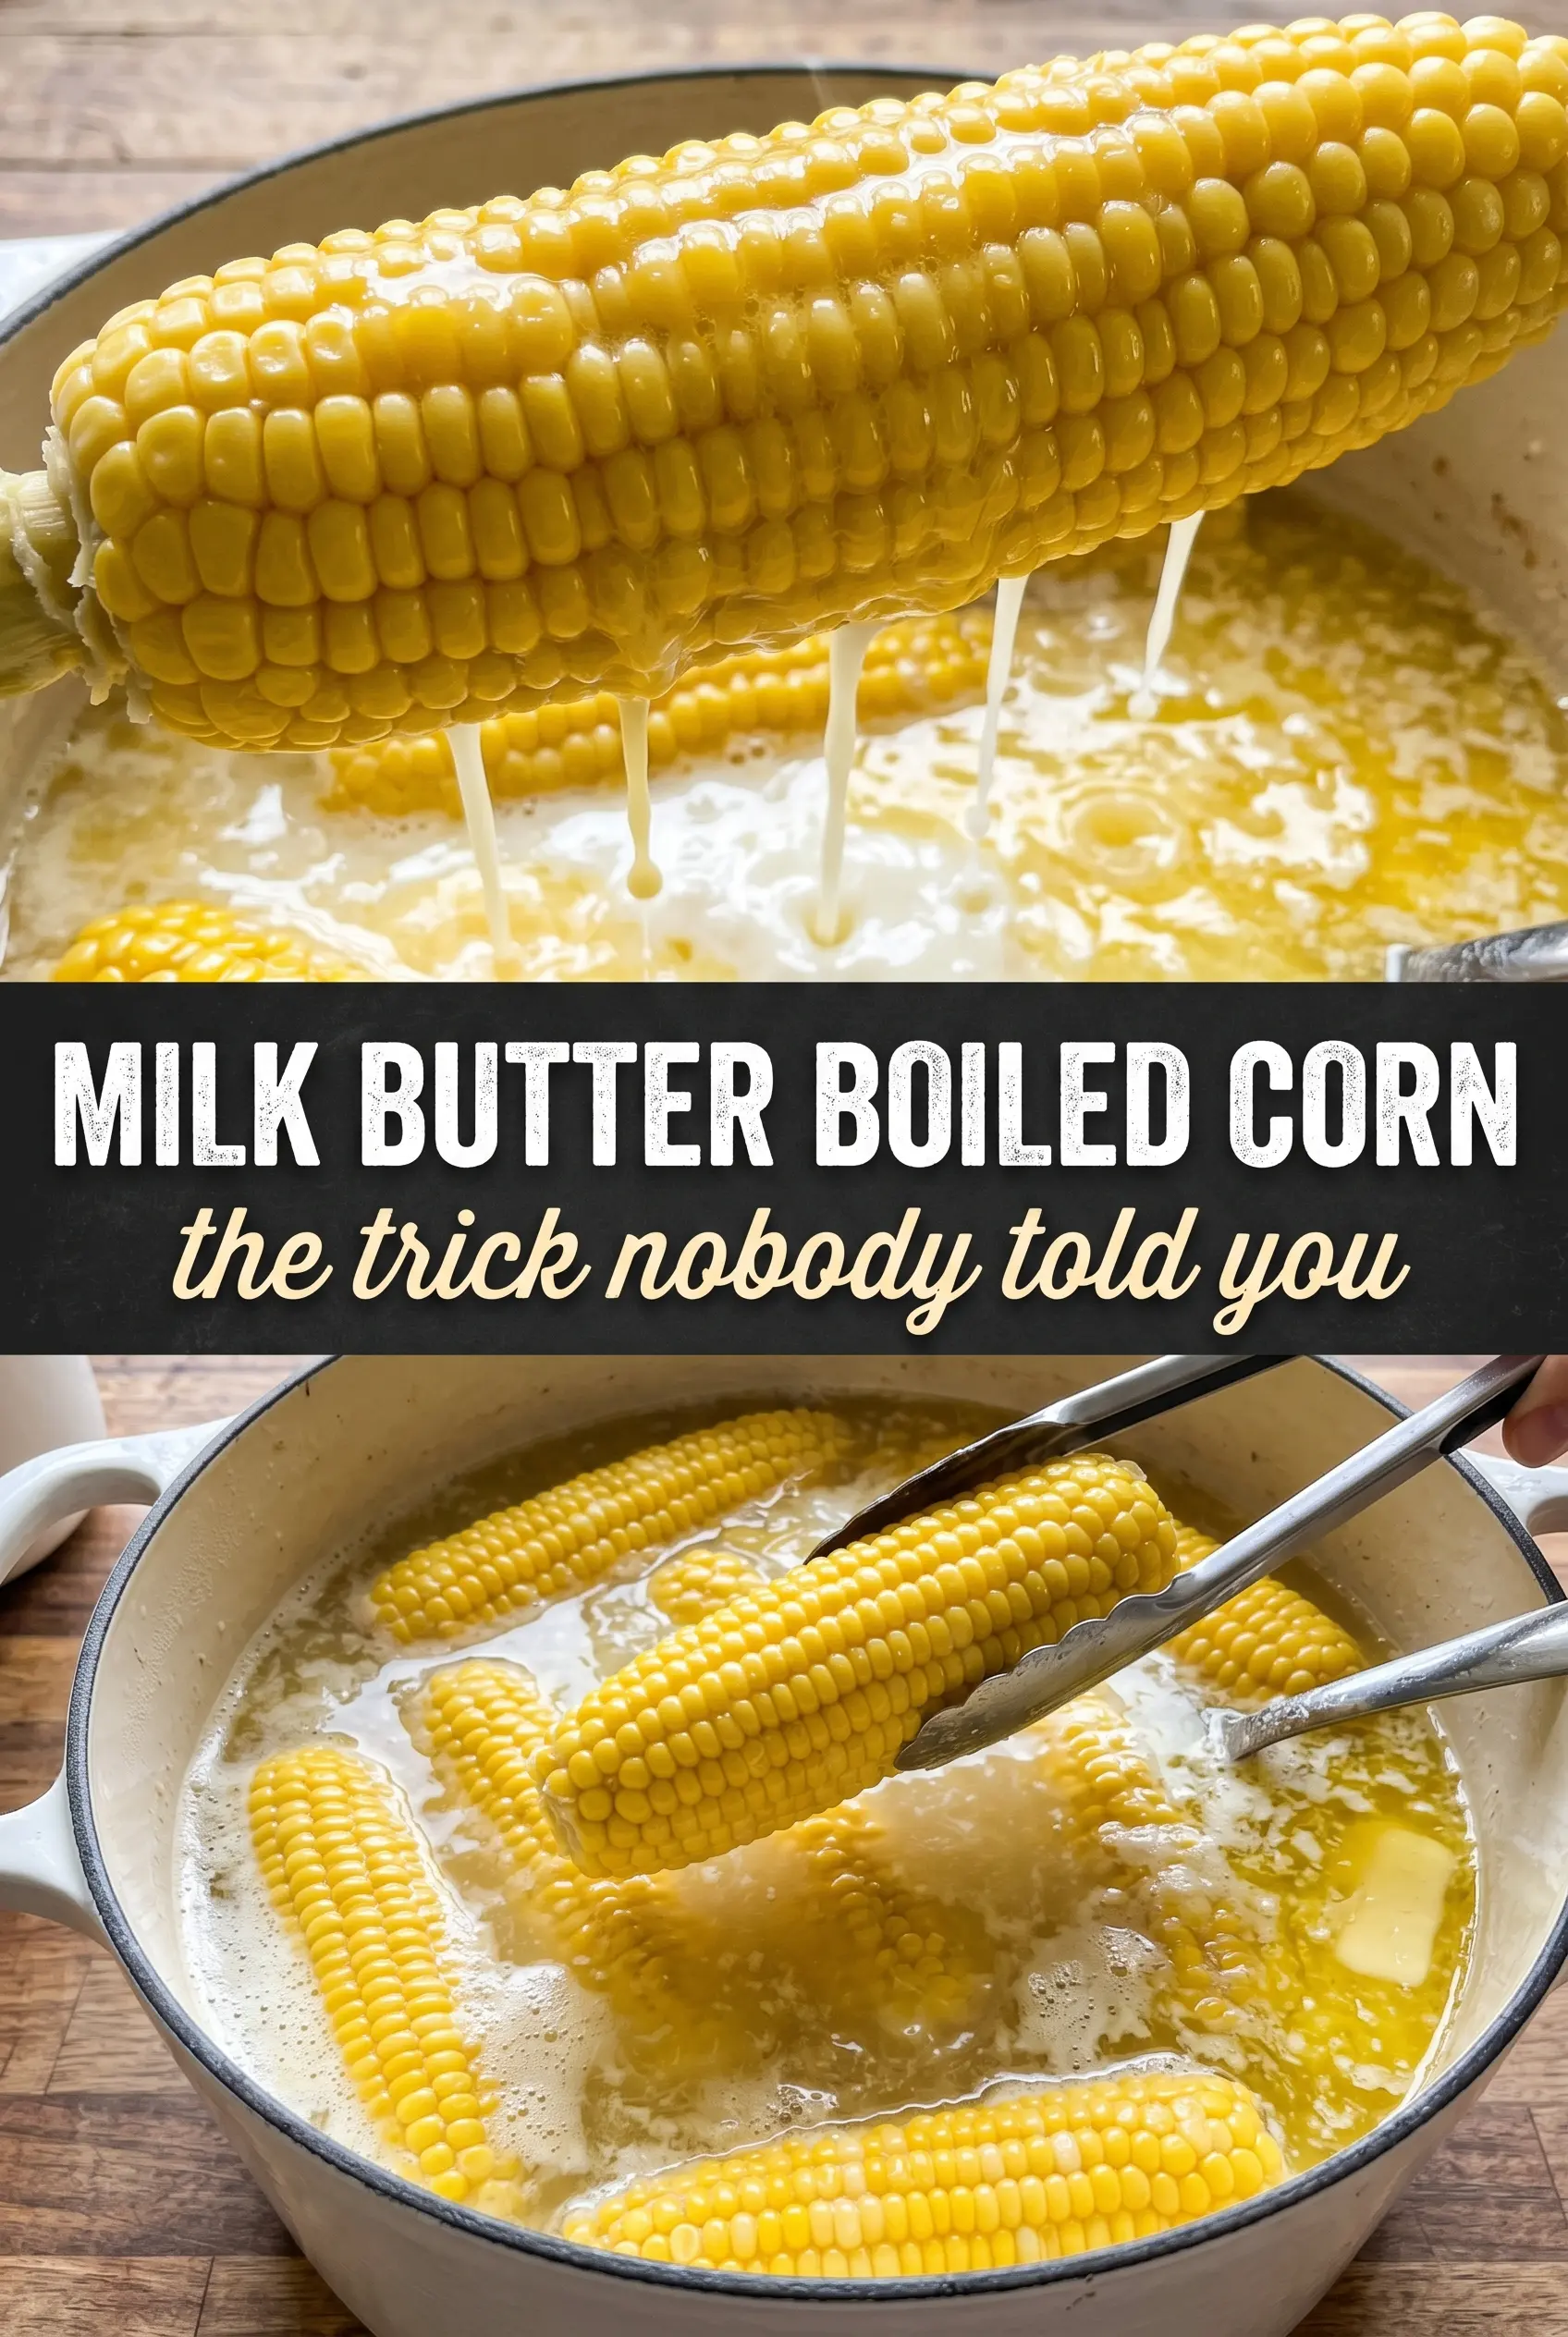
How to Cook the Corn So It Stays Tender and Never Waterlogged
Build the Milk Butter Bath First
Start with the water, milk, butter, sugar, and salt in a large pot and bring it just to a gentle boil. Stir while the butter melts so the milk and fat combine instead of sitting in slick layers on top. If the heat is too high at this stage, the pot can foam up fast and spill before the corn even goes in.
Give the Corn Room to Move
Add the husked ears and lower the heat to medium right away. The liquid should stay lively but controlled, with only small bubbles breaking around the edges. If the pot is packed too tight, the corn steams in spots and cooks unevenly, so use a wide enough pot that the ears can lay in a loose layer.
Cook Until the Kernels Look Plump, Not Wrinkled
Cover the pot and cook for 20 to 25 minutes. The corn is done when the kernels look full and glossy and a fork slips in easily without resistance. Don’t chase a hard boil to speed things up; that’s how the milk gets temperamental and the texture turns muddy instead of silky.
Drain Briefly and Serve Hot
Lift the corn out with tongs and let the excess liquid drip off for a moment before serving. A quick drain keeps the butter bath from pooling on the plate, but don’t let the ears sit too long or they’ll cool down and lose that fresh-from-the-pot sweetness. Finish with a pat of butter and flaky salt while the kernels are still steaming.
How to Adapt This for Bigger Batches and Different Diets
Dairy-Free Corn That Still Tastes Rich
Swap the whole milk for unsweetened oat milk or a rich unsweetened almond milk, and use a plant butter that melts cleanly. The flavor will be a little less lush, but the corn still comes out tender and well-seasoned. Skip any thin, watery milk alternative here, or the bath loses the body that makes this recipe stand out.
When You’re Cooking for a Crowd
Double the liquid and use the widest pot you own so the ears can cook in a single layer or close to it. Crowding slows the boil and leaves some ears softer than others. If you need to hold the corn, keep it in the warm liquid for a short window only; after too long, it turns a little dull and loses its snap.
Fresh Summer Corn vs. Store Corn
Very fresh corn needs the full 20 minutes less often than older ears, so start checking around 18 minutes. Older corn benefits from the full simmer because the milk bath helps soften the kernels and bring back some juiciness. The method works both ways, but the timing should match the age of the corn, not just the clock.
Storage and Reheating
- Refrigerator: Store cooked corn in an airtight container for up to 3 days. The kernels stay tasty, but they lose a little of that just-cooked juiciness.
- Freezer: It freezes, but the texture softens after thawing, so I only freeze it if I plan to cut the kernels off the cob later for soups or chowders.
- Reheating: Warm it gently in a covered skillet with a splash of water or a little butter over low heat. High heat dries the kernels out fast and makes the milk-butter flavor disappear.
Answers to the Questions Worth Asking
Milk Butter Boiled Corn on the Cob
Ingredients
Equipment
Method
- Combine water, whole milk, cubed butter, sugar, and salt in a large pot over medium-high heat and stir until the butter is melted and the liquid reaches a gentle boil.
- Add the corn ears and reduce heat to medium so the milk-butter liquid stays from boiling too vigorously.
- Cover the pot and cook for 20–25 minutes, stirring once or twice if needed, until the corn is tender and deeply flavored.
- Remove corn using tongs and let excess liquid drip off for a few seconds.
- Serve immediately with an extra pat of butter and flaky salt; no additional seasoning needed.