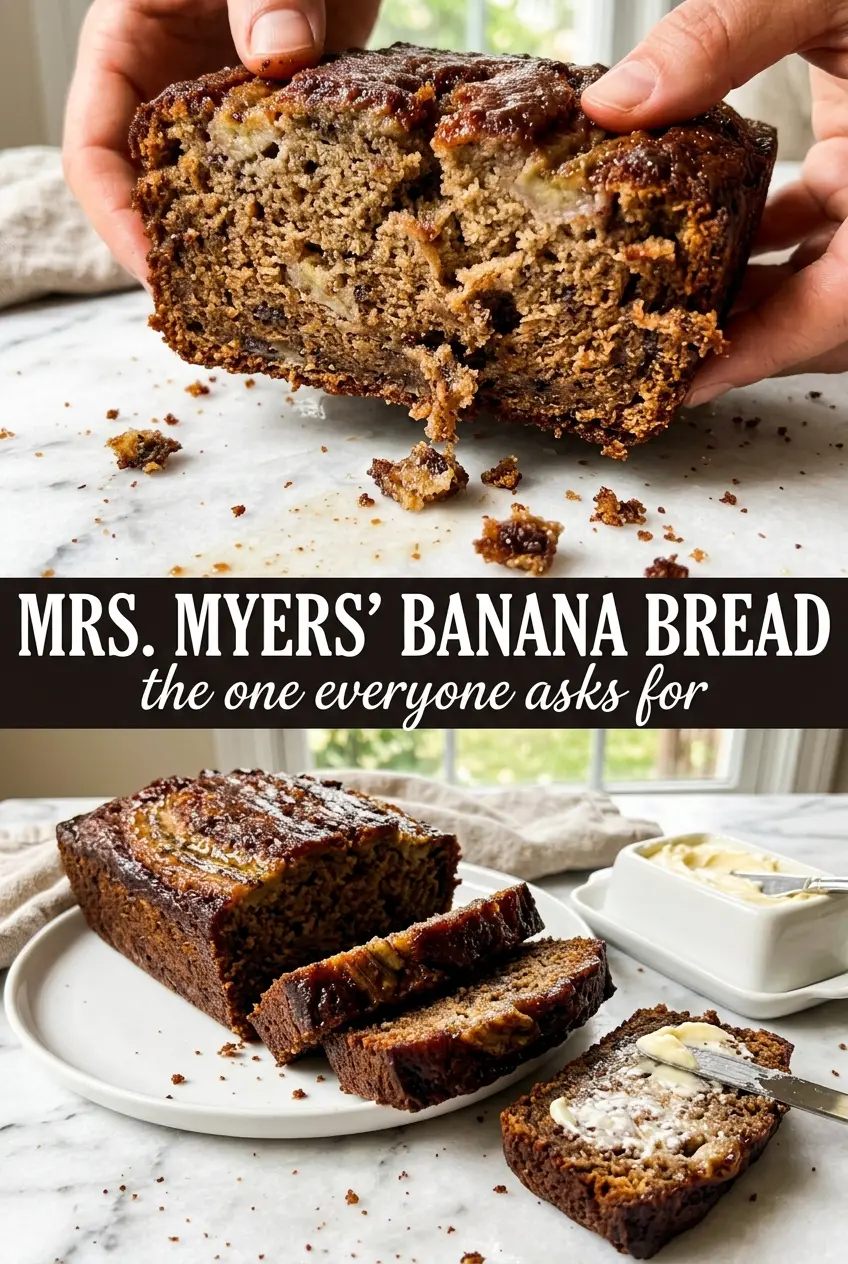
Mrs. Myers’ banana bread bakes up with a deep golden top, a soft crack right down the center, and a crumb that stays moist for days without turning heavy. It tastes like the kind of loaf that lives on a kitchen counter under a tea towel, ready to be sliced thick for breakfast or a late afternoon snack. The flavor is simple and familiar, but the texture is what keeps people coming back.
What makes this version work is the balance between the mashed bananas, the creamed fat and sugar, and just enough milk to keep the batter from baking up dry. The bananas bring sweetness and moisture, but the loaf still needs that first step of creaming to build a little structure. That is what keeps it from sinking into a dense, gummy center. Using shortening gives a more old-fashioned, tender crumb, while butter adds a little more flavor, so either one works depending on the kind of loaf you want.
Below you’ll find the small details that matter most: how ripe the bananas should be, why the batter should be folded instead of beaten, and how to tell when the loaf is done without overbaking the middle.
The top baked up beautifully cracked and the center stayed moist without being gummy. I used butter, and the loaf sliced cleanly after cooling just like you said.
Save Mrs. Myers’ Banana Bread for the kind of banana loaf that stays moist, slices cleanly, and tastes even better the next day.
The Trick to a Banana Bread That Rises Instead of Sinking
Banana bread can go wrong in two opposite ways: it bakes up dense and heavy, or it rises beautifully and collapses in the middle. The difference usually comes down to how the batter is mixed and how wet the bananas are. This loaf needs enough structure from the creamed fat, sugar, and eggs to hold the bananas, but once the flour goes in, the batter should be handled gently. Overmixing develops the gluten and turns the crumb tight and chewy instead of soft.
The other trap is overripe bananas that are more liquid than fruit. You want very ripe bananas with dark spots and a strong banana smell, but not banana puree that looks watery in the bowl. If your bananas are extra large and loose, the loaf can take longer to set in the center. That is when the edges brown before the middle is done.
- Shortening or butter — Shortening gives the most classic old-fashioned texture: tender, fine-crumbed, and soft. Butter adds better flavor and still works well here, but the loaf may brown a touch faster.
- Bananas — Three ripe bananas is the sweet spot. Less than that and the loaf tastes flat; much more and it can get too wet for a clean slice.
- Milk — The milk loosens the batter just enough after the flour goes in. If your bananas are especially soft and juicy, use only the amount called for and don’t add extra.
- All-purpose flour — This gives the loaf its shape. Cake flour is too soft here, and whole wheat flour will make the crumb heavier unless you replace only part of it.
What Each Ingredient Is Actually Doing in This Banana Bread or Baked Good
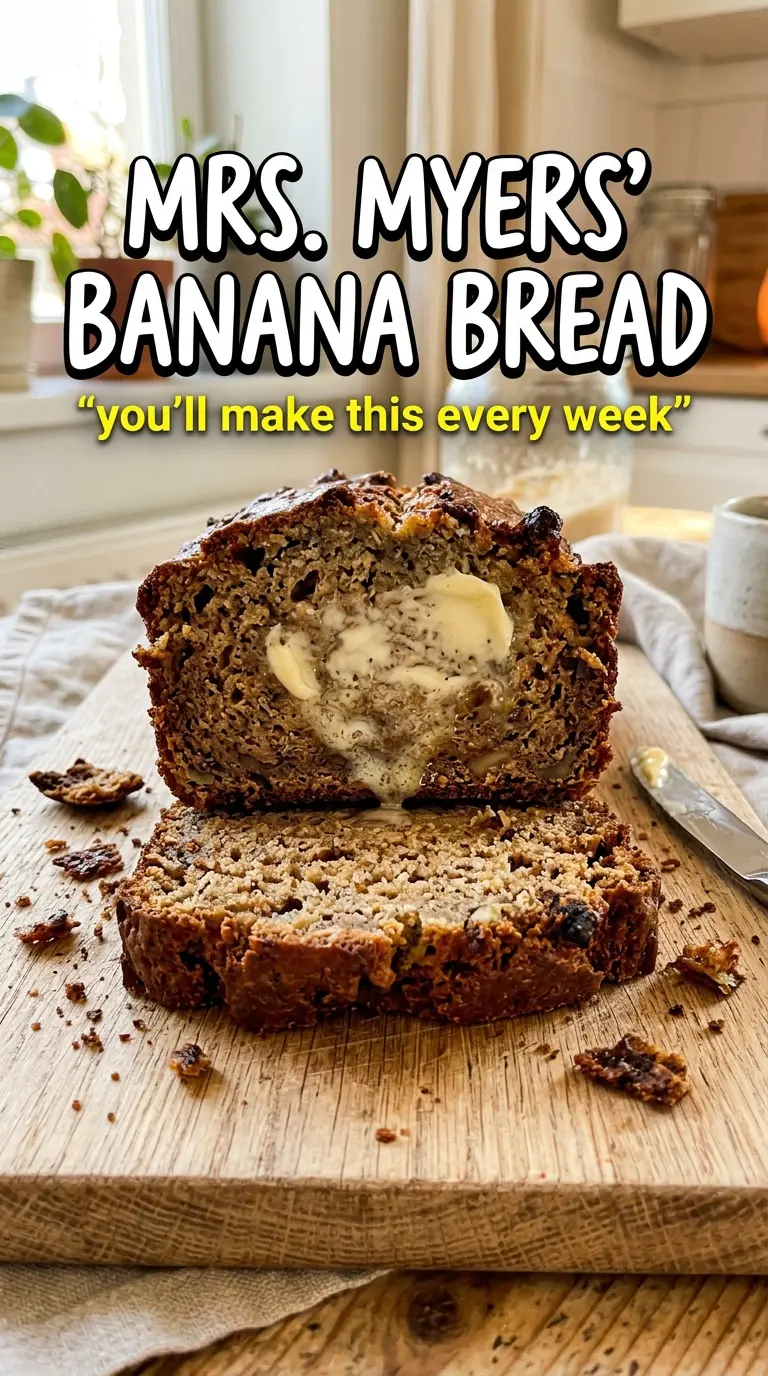
- Bananas (the moisture and sweetness) — Use very ripe bananas for maximum sweetness. Overripe is actually better here.
- Flour (the structure base) — Don’t overmix or the baked good becomes tough. Mix just until dry ingredients are incorporated.
- Sugar (the sweetness) — Ripe bananas are already sweet, so adjust sugar slightly if desired. Don’t reduce too much or it becomes dry.
- Butter or oil (the richness) — This creates tender crumb. Oil makes moister baked goods; butter adds richness.
- Eggs (the binder and lift) — These hold everything together and help the baked good rise. Use room temperature eggs.
- Leavening (baking soda or powder) — This creates rise and light texture. Too much makes it taste bitter.
- Vanilla extract (the flavor enhancer) — This brings out banana flavor. Use quality vanilla extract.
- Optional mix-ins (nuts, chocolate, or dried fruit) — These add texture and prevent one-dimensional flavor.
Building the Batter the Old-Fashioned Way
Creaming the Fat and Sugar
Start by beating the softened shortening or butter with the sugar until the mixture looks pale and fluffy, not just combined. That step traps air and gives the loaf its lift before the bananas go in. If the fat is too cold, it will stay lumpy; if it is melted, the loaf will bake up greasy and flat.
Adding the Eggs and Bananas
Add the eggs one at a time and beat well after each so the batter stays smooth and emulsified. Stir in the mashed bananas and vanilla only until they disappear into the mixture. At this stage the batter should look thick and a little rough, but not separated.
Folding in the Dry Ingredients
Sift the flour, baking soda, and salt together, then fold them in with the milk alternating between the two. That keeps the batter from getting overworked and helps the soda distribute evenly. Stop as soon as you no longer see dry flour; a few small streaks are better than stirring until the batter tightens up.
Baking Until the Center Sets
Scrape the batter into a greased and floured 9×5 loaf pan and bake at 350°F until the top is deep golden brown and a toothpick comes out clean. If the top browns too quickly before the center is done, tent it loosely with foil during the last stretch of baking. Let it cool in the pan for 15 minutes, then turn it out and wait until it is fully cool before slicing if you want neat, clean cuts instead of a crumbly middle.
Three Ways to Adapt This Banana Bread Without Losing the Texture
Use butter for a richer loaf
Swap the shortening for softened butter and the loaf will have a deeper flavor and a slightly more golden crust. The texture stays tender, but butter browns faster, so keep an eye on the top near the end of baking.
Make it dairy-free
Use shortening instead of butter and replace the milk with an unsweetened non-dairy milk. Almond, oat, or soy milk all work, but keep the amount the same so the batter doesn’t get too loose.
Add nuts without weighing down the crumb
Fold in up to 3/4 cup chopped walnuts or pecans at the very end. That adds crunch and a little bitterness to balance the sweetness, but adding much more can make the loaf dense and harder to slice cleanly.
Turn it into muffins
Divide the batter into lined muffin cups and bake at 350°F until the tops spring back and a tester comes out clean, usually around 18 to 22 minutes. You lose the crackly loaf top, but you gain faster baking and easy grab-and-go portions.
Storage and Reheating
- Refrigerator: Store the cooled loaf in an airtight container for up to 4 days. The crumb stays moist, though the top will soften a bit.
- Freezer: Banana bread freezes well. Wrap slices or the whole loaf tightly in plastic wrap, then foil, and freeze for up to 3 months.
- Reheating: Warm slices in the microwave for 10 to 15 seconds or in a 300°F oven for a few minutes. Don’t overheat it or the bread will dry out and lose that soft, old-fashioned texture.
Questions I Get Asked About This Recipe
Mrs. Myers' Banana Bread
Ingredients
Equipment
Method
- Preheat oven to 350°F and grease and flour a 9x5 loaf pan with a light, even coating.
- Mash the bananas until smooth, then set aside so they can be mixed in quickly.
- Cream shortening or butter with sugar until light and fluffy, scraping the sides as needed for even texture.
- Add eggs one at a time, beating well after each until the mixture looks glossy and combined.
- Stir in mashed bananas and vanilla until just combined.
- Sift all-purpose flour, baking soda, and salt together.
- Fold the dry ingredients into the banana mixture alternating with milk, mixing just until no streaks of flour remain.
- Pour batter into the prepared pan and bake for 60–70 minutes at 350°F, until a toothpick comes out clean and the top is a deep golden brown.
- Cool in the pan for 15 minutes, then turn out and rest fully before slicing for the cleanest cut.