Dense, fudgy peanut butter banana bars hit that sweet spot between snack and dessert, with enough structure to slice cleanly but enough softness to feel like a treat. The banana keeps them moist, the peanut butter gives them body, and the chocolate drizzle on top finishes everything with a little shine and a little contrast. They’re the kind of bars that disappear fast from the pan because they taste even better after they’ve cooled and settled.
What makes this version work is the balance between wet and dry ingredients. Too much banana and the bars turn gummy; too much flour and they bake up dry and cakey. Here, the oats help give the bars a hearty, chewy bite while the flour keeps the center set. The peanut butter does double duty too — it adds flavor, but it also helps the bars hold together without needing a mixer or any complicated technique.
Below, I’ve included the small details that matter most: how smooth the bananas should be, when to stop mixing, and why the bars need to cool all the way before slicing. If you’ve ever had banana bars collapse in the middle or turn sticky in the pan, this version fixes that.
The bars came out thick and fudgy, not cakey at all, and the chocolate drizzle set up beautifully once they cooled. I used maple syrup and the peanut butter flavor still came through strong — my kids ate half the pan before dinner.
Save these peanut butter banana bars for the day you want a fudgy, no-mixer snack with a chocolate drizzle on top.
The Secret to Bars That Stay Fudgy Instead of Turning Dry
The biggest mistake with banana bars is baking them until they look fully done in the center. By the time the middle looks dry, they’ve usually gone too far and lost that dense, almost brownie-like texture. Pull them when the edges are set and the center still has a few moist crumbs on the tester. They’ll finish setting as they cool in the pan.
Another thing that matters here is the mix of oats and flour. Oats bring chew and a hearty crumb, but they don’t provide the same structure flour does. If you skip the flour or add extra banana to use up one more ripe fruit, the bars will turn soft in a way that slices poorly and tastes underbaked even when they aren’t.
- Ripe bananas — The bananas should be heavily speckled and mash almost into a puree. Under-ripe bananas won’t give you enough sweetness or that soft, fudgy texture.
- Creamy peanut butter — Use a regular creamy peanut butter, not a natural one that separates heavily. Natural peanut butter can work, but stir it very well first so the fat and solids are fully combined or the batter can bake unevenly.
- Honey or maple syrup — Either one works here. Honey gives a slightly thicker, rounder sweetness, while maple syrup brings a softer finish and a hint of caramel flavor.
- Rolled oats — These give the bars their chew and help absorb the banana moisture. Quick oats can work in a pinch, but the texture will be softer and less hearty.
What Each Ingredient Is Actually Doing in These Bars
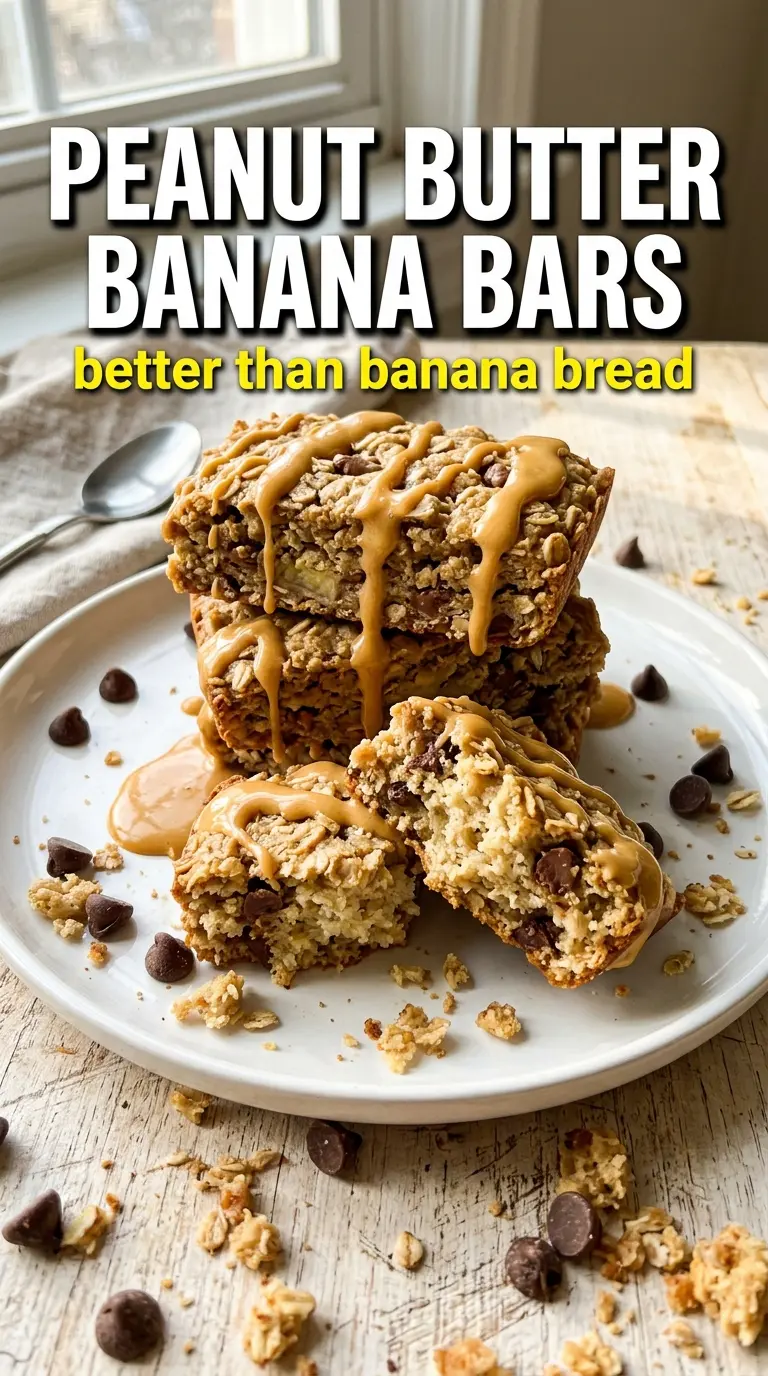
- Bananas — They’re the moisture source and the main reason the bars stay soft after baking. Mash them until no big lumps remain so the bars bake evenly instead of hiding wet pockets in the middle.
- Eggs — These bind the batter and help the bars rise just enough to hold their shape. Without them, the texture gets too dense and crumbly.
- Flour — This is the ingredient that gives the bars sliceable structure. All-purpose flour is the easiest choice here; a gluten-free 1:1 blend works well if it contains xanthan gum.
- Baking powder — You only need a little, but it keeps the bars from becoming leaden. It gives a slight lift without making them cakey.
- Cinnamon — This doesn’t shout, it rounds out the banana and peanut butter. It’s worth keeping in because it makes the bars taste deeper without competing with the chocolate.
- Chocolate chips — Fold them in at the end so they stay in distinct pockets. If you stir them too early or too aggressively, they’ll streak through the batter instead of giving you those melted bites.
Building the Batter So the Bars Bake Evenly
Start with the Wet Ingredients
Mash the bananas until they’re smooth, then whisk in the peanut butter, sweetener, eggs, and vanilla until the mixture looks glossy and uniform. Any banana chunks left behind will create soft spots in the finished bars, so take a minute here to break them down completely. The batter should look thick but pourable before the dry ingredients go in.
Fold the Dry Ingredients In Last
Add the oats, flour, baking powder, cinnamon, and salt, then stir only until the dry streaks disappear. If you keep mixing after that, the flour tightens the batter and the bars bake up tougher than they should. Fold in the chocolate chips at the end so they stay evenly distributed without overworking the batter.
Bake Until the Center Is Just Set
Spread the batter into an even layer in your lined pan and smooth the top so the middle doesn’t dome. Bake until the edges are firm and the center gives only a slight wobble; a toothpick should come out with a few moist crumbs, not wet batter. If the top starts to darken too quickly, the oven is running hot, and the bars should come out before they dry out.
Cool Before You Slice
This is the part people skip, and it changes everything. The bars need time to cool completely in the pan so the structure can set and the chocolate drizzle won’t melt right off. If you cut them while they’re warm, they’ll seem too soft and can fall apart even though the recipe worked exactly as written.
Three Ways to Adjust These Bars Without Ruining the Texture
Make Them Gluten-Free
Swap the all-purpose flour for a 1:1 gluten-free baking blend that includes xanthan gum. The bars will still hold together, but the crumb may be a touch softer and more delicate. Keep the oats certified gluten-free if you need the whole batch to be gluten-free.
Use Almond Butter Instead of Peanut Butter
Almond butter works, but the bars will taste milder and a little less nostalgic. Use a smooth, well-stirred jar so the batter stays consistent, and expect the finished bars to be slightly less salty and a bit softer in flavor.
Make Them Dairy-Free
This recipe is already dairy-free if you use dairy-free chocolate chips. If you drizzle with melted chocolate, choose a dairy-free bar or chips and melt them gently so they stay smooth. The texture and bake time stay the same.
Skip the Chocolate Drizzle
These bars don’t need the drizzle to taste good, but it does add a finished look and a sweeter top note. If you leave it off, the bars lean more snack-like and less dessert-like, which works well for breakfast or lunchbox portions.
Storage and Reheating
- Refrigerator: Store in an airtight container for up to 5 days. They’ll firm up a bit in the fridge, which makes them even easier to slice.
- Freezer: These freeze well. Wrap individual bars tightly and freeze for up to 2 months, then thaw at room temperature or in the fridge.
- Reheating: You don’t need to reheat them, but a 10-second microwave warm-up makes the chocolate soft again. Don’t heat them too long or the bars lose their fudgy texture and turn gummy.
Answers to the Questions Worth Asking
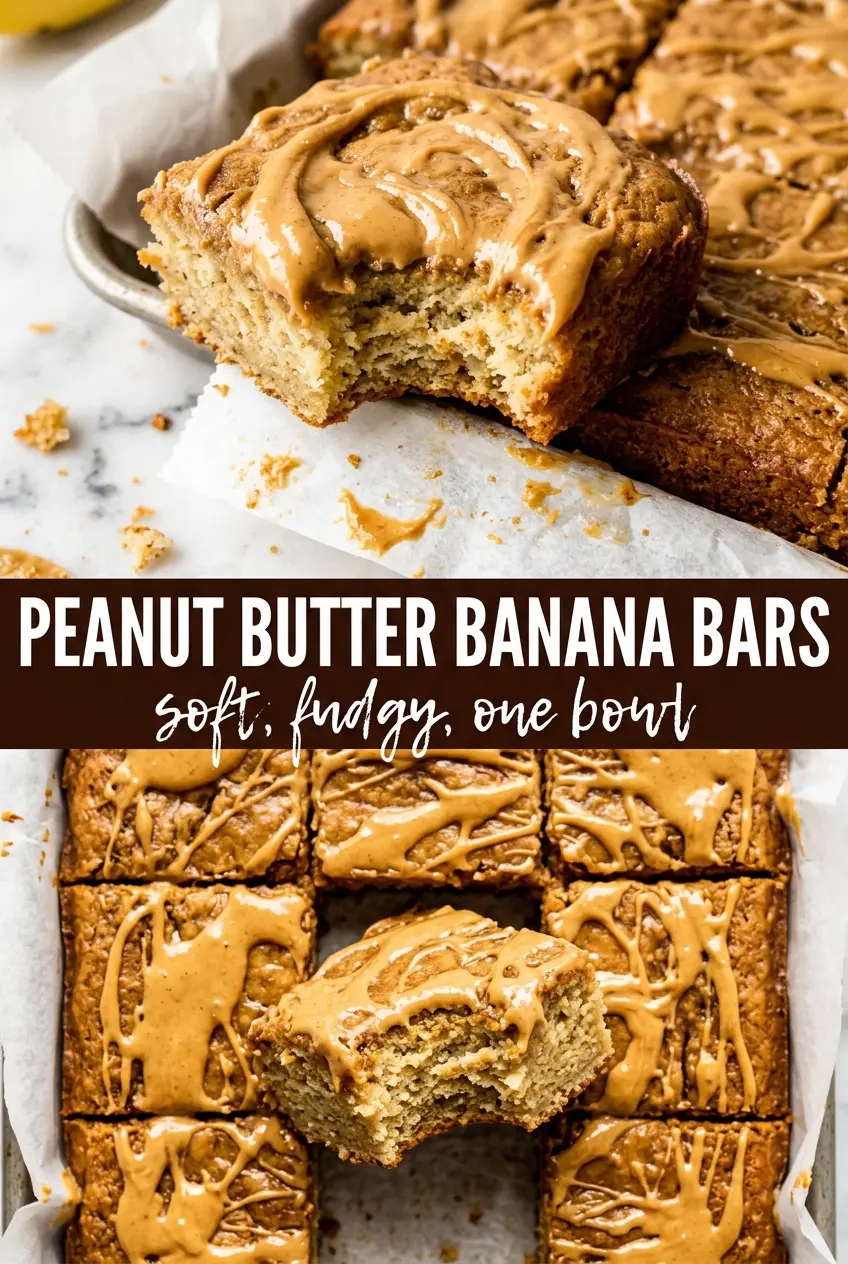
Peanut Butter Banana Bars
Ingredients
Equipment
Method
- Preheat the oven to 350°F and line an 8x8 or 9x13 baking pan with parchment paper for easy lifting. Use a parchment-overhang so the bars release cleanly after cooling.
- Mash the ripe bananas until completely smooth, then whisk in the peanut butter, honey or maple syrup, eggs, and vanilla extract until fully combined. Stop when the mixture looks uniform with no banana lumps.
- Stir in rolled oats, all-purpose flour, baking powder, cinnamon, and salt until just combined, then fold in the chocolate chips. Mix only until the dry streaks disappear so the bars stay dense.
- Spread the batter evenly into the prepared pan and smooth the top. Press lightly to level, then make sure the corners are filled.
- Bake for 22–25 minutes at 350°F until the edges are set and a toothpick inserted in the center comes out with just a few moist crumbs. Look for a lightly golden top that springs back slightly.
- Cool completely in the pan before slicing. This prevents crumbling and keeps the fudgy interior intact.
- Drizzle with melted peanut butter or chocolate over the cooled bars, then slice into bars. For visible swirls and a glossy finish, drizzle in a zigzag while the drizzle is still pourable.