Silky turkey gravy has a way of turning the rest of the plate into the main event. The texture should be glossy and spoon-coating, with enough body to cling to mashed potatoes without turning gluey, and enough savory depth to taste like it came straight from the roasting pan. This version gets there without lumps, raw flour taste, or that pale, underseasoned finish that makes gravy feel like an afterthought.
The trick is using the fat from the pan drippings first, then letting the roux cook long enough to lose its pasty edge before any liquid goes in. Warm stock matters here because cold stock can seize the roux and make whisking harder than it needs to be. A little soy sauce deepens the color and adds the kind of background savoriness that makes people go back for a second spoonful without quite knowing why.
Below, I’ve included the timing cues that keep the gravy smooth, the one step that keeps it from tasting floury, and a few ways to adapt it if you don’t have enough drippings from the roast.
I used the drippings from my roast and the gravy came out smooth on the first try. It thickened in about 10 minutes and had that deep, savory taste that went perfectly over turkey and mashed potatoes.
Save this turkey gravy for the holiday table — it’s silky, pan-made, and thickens into that spoon-coating finish everyone notices.
The Reason Gravy Goes Lumpy Before It Ever Gets Smooth
Most gravy problems start before the stock is added. If the flour never cooks in the fat long enough, the sauce tastes dusty and raw. If the liquid goes in too fast, the roux grabs it in patches and you spend the rest of the time chasing lumps around the pan.
The answer is to build the base patiently, then add warm stock in a thin stream while whisking constantly. That gives the flour time to hydrate evenly, which is what turns a roux into a smooth gravy instead of a flour paste. The simmer at the end matters too, because that is when the gravy sheds its rough edge and tightens into the right consistency.
- Cook the roux past the pale stage — a few minutes of whisking over medium heat takes away the raw flour taste and gives the gravy a deeper color.
- Warm stock makes the whisking easier — cold liquid can shock the roux and make the texture stubborn.
- Deglazed pan juices add the real turkey flavor — don’t leave them behind if you want gravy that tastes like the roast, not just broth.
What Each Ingredient Is Doing in This Gravy

The drippings are the backbone here. If you have enough turkey fat from the pan, use it — that’s where the roasted flavor lives. If you don’t, butter works cleanly and gives you a reliable starting point, though the gravy will taste a little less like the bird itself.
Flour is what turns that fat into a roux, which thickens the gravy and keeps it stable. All-purpose flour is the right choice because it cooks smoothly and gives you enough body without turning heavy. Warm stock matters more than brand name; a decent boxed stock is fine if you’ve got good pan juices folded in with it.
- Turkey pan drippings or butter — use the drippings when you have them, but measure the fat only, not the watery juices, or the roux won’t build correctly.
- Warm stock and deglazed juices — these carry the browned flavor from the roasting pan and keep the gravy from tasting flat.
- Fresh thyme — dried thyme can work in a pinch, but use less; fresh thyme stays brighter and keeps the gravy from tasting dusty.
- Soy sauce — this is the quiet fix for gravy that tastes a little thin. It deepens color and adds savory depth without making the gravy taste like soy sauce.
Building the Roux and Finishing the Gravy
Separating the Fat from the Juices
Pour the pan drippings into a measuring cup and let them sit for a minute so the fat rises to the top. You want the fat for the roux, not the watery juices, because water and flour don’t cook into a smooth base. If you don’t have enough fat to reach 1/4 cup, top it off with butter and move on.
Cooking the Roux Until It Smells Nutty
Whisk the flour into the fat over medium heat and keep it moving for 3 to 4 minutes. It should look foamy at first, then turn a shade deeper and smell a little nutty, not pasty. If it starts browning too fast, lower the heat immediately; scorched roux gives the whole gravy a bitter edge.
Whisking in the Stock Without Breaking the Texture
Add the warm stock and the deglazed pan juices gradually, whisking as you go so the roux loosens evenly. The mixture will look thin at first, then turn smooth once the flour hydrates. If you dump in all the liquid at once, the outside of the roux sets before the center can blend, which is how lumps happen.
Simmering to the Right Spoon-Coating Thickness
Add the thyme and soy sauce, then let the gravy simmer for 8 to 10 minutes. It’s ready when it lightly coats the back of a spoon and leaves a clean trail if you drag a finger through it. Season with salt and pepper at the end, then strain if you want a perfectly polished finish for serving.
How to Adapt This Gravy When the Pan Drippings Are Thin
When You Only Have a Little Turkey Fat
Use whatever drippings you have, then add butter to reach the full 1/4 cup. That keeps the roux ratio stable, which matters more than using drippings alone, and the gravy still gets its turkey flavor from the pan juices and stock.
Making It Gluten-Free
Use a gluten-free all-purpose flour blend that includes a binder like xanthan gum. The texture will be slightly different, but the method stays the same: cook it in the fat first, then whisk in the warm liquid slowly so it stays smooth.
Adding More Depth Without More Drippings
A splash of extra soy sauce or a small spoonful of Worcestershire can help if the gravy tastes too light, but use it sparingly. You want background savoriness, not a sauce that tastes like a condiment.
Storage and Reheating
- Refrigerator: 3 to 4 days. It will thicken as it chills.
- Freezer: Freezes well for up to 2 months. Cool it completely, then store it in a sealed container with a little headspace.
- Reheating: Warm it slowly over low heat and whisk in a splash of stock if it has tightened up. High heat can make it scorch on the bottom before the texture loosens again.
The Questions That Come Up Right When the Gravy Hits the Stove
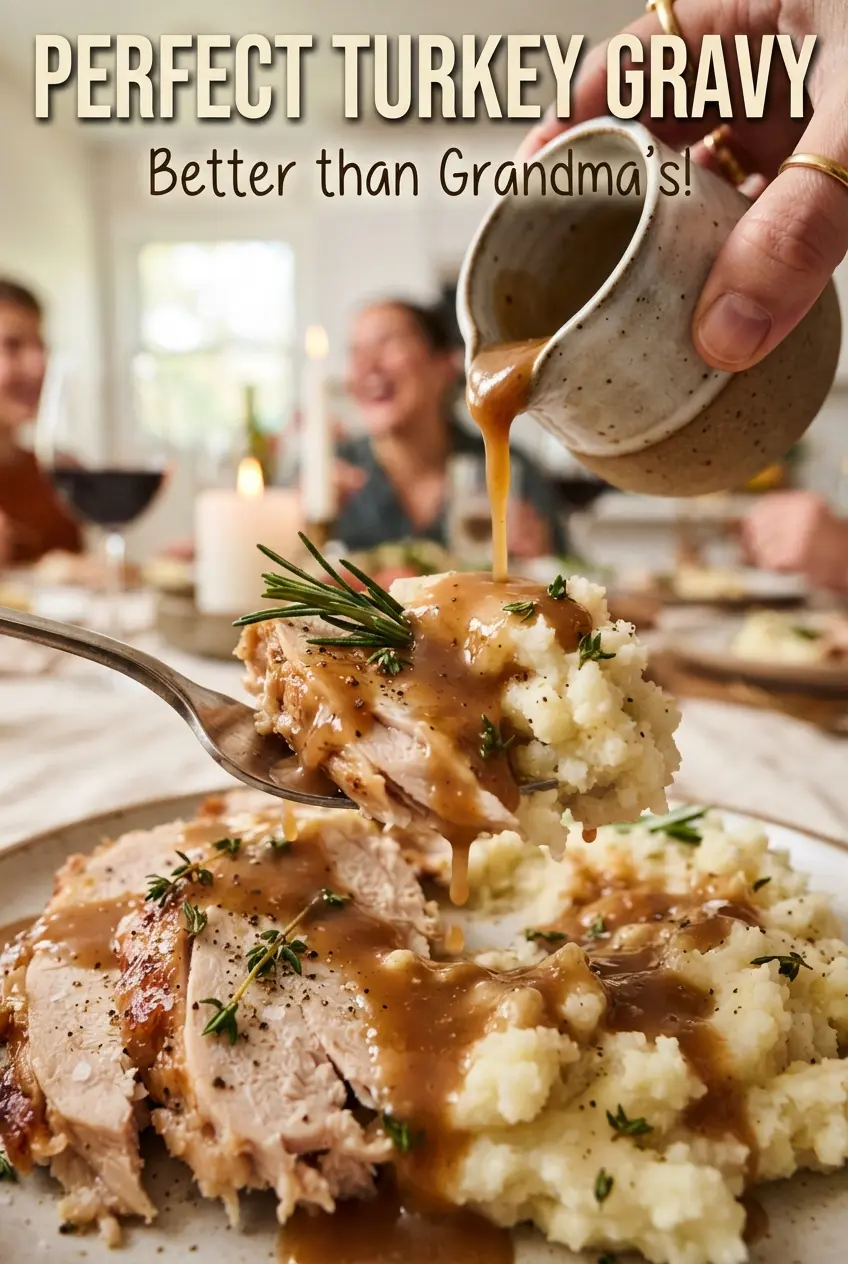
Perfect Turkey Gravy
Ingredients
Equipment
Method
- Pour the roasting pan drippings into a measuring cup and let the fat rise to the top, so it separates from the juices.
- Spoon 1/4 cup of the fat into a saucepan over medium heat and whisk in the all-purpose flour.
- Cook the roux 3-4 minutes, whisking continuously, until golden brown with a nutty aroma.
- Gradually whisk in the warm turkey or chicken stock and the defatted pan juices until the gravy is smooth.
- Add the fresh thyme leaves and soy sauce, then simmer 8-10 minutes until thick enough to coat a spoon with a glossy surface.
- Season with salt and pepper to taste, then strain if desired for the smoothest texture.
- Serve hot, with steam visible and a ladle-sheen that clings to the spoon.