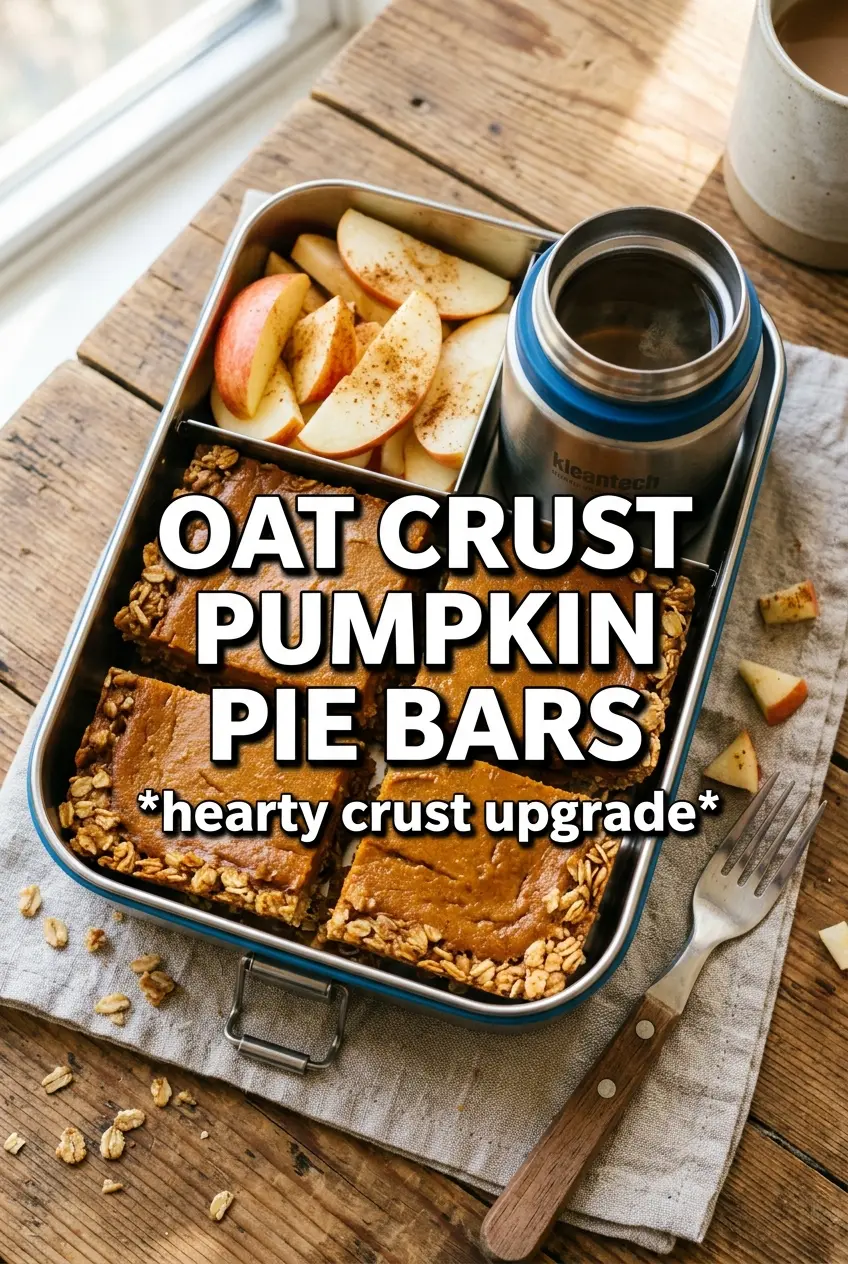
Golden oat crumble on the bottom, a smooth pumpkin pie layer in the middle, and a sandy, buttery topping that bakes into crisp little clusters — these pumpkin pie bars hit the same notes as pie, but they slice cleaner and travel better. The oat crust gives every bite a sturdier, toastier base than a standard pastry shell, and that matters when you want something you can pick up with your hand instead of wrestling with a fork.
The trick is baking the crust before the filling goes in. That short head start keeps the base from turning soggy under the pumpkin mixture, and it gives the oats time to toast so the bars taste nutty instead of raw. Cold butter is worth protecting here too; it creates the crumbly texture on top and helps the crust hold its shape once the bars cool.
Below you’ll find the timing that keeps the filling set without drying out, plus a few swaps that work when you need to change the flour or make these a little more your own.
The oat crust stayed crisp under the pumpkin filling, and the bars cut so neatly after chilling. I brought them to a potluck and people kept asking if they were pie or bars because the texture was spot on.
Save these pumpkin pie bars with oat crust for when you want all the comfort of pie with a sturdier, sliceable dessert.
The Main Reason the Bottom Stays Crisp Instead of Going Soft
Bars like this fail for one simple reason: the filling goes onto a raw crust and the oats never get a chance to toast. Pumpkin filling is wet, and once it hits an unbaked base, it steams the bottom instead of letting it set into something sturdy. That first bake on the crust changes the texture completely. It firms the base, deepens the oat flavor, and gives the bars enough structure to lift out of the pan cleanly.
The other place people run into trouble is overbaking the filling until the center cracks hard. You want the middle to look set around the edges with a slight wobble in the center when it comes out. It finishes as it cools, and chilling is what gives you those neat squares instead of a spoonable dessert.
What Each Ingredient Is Actually Doing in This Dish
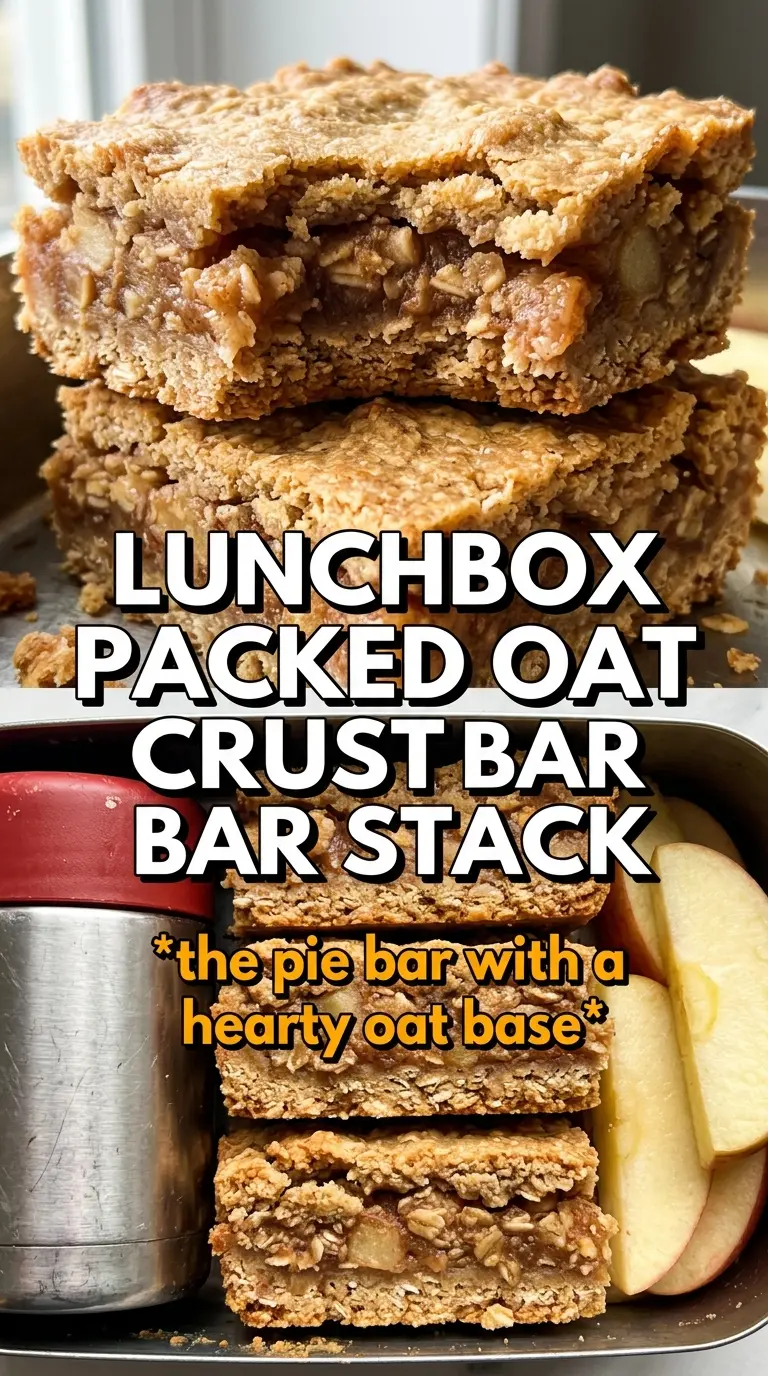
- Rolled oats — These give the crust its chew and toasted, nutty flavor. Quick oats can work in a pinch, but they make a finer, softer crumb. Rolled oats keep enough texture to stand up under the pumpkin layer.
- All-purpose flour — It binds the oat mixture so the crust presses into the pan and holds together after baking. You can swap in a 1:1 gluten-free baking blend if needed, but the texture will be a little more delicate.
- Brown sugar — This sweetens the crust and helps it bake into a slightly caramelized, sandy crumble. Light or dark brown sugar both work; dark brown sugar gives a deeper molasses note.
- Cold butter — Cold butter is what makes the crust and topping crumbly instead of pasty. If it starts to soften before you cut it in, pop the bowl in the fridge for a few minutes. That extra chill pays off in better texture.
- Pumpkin puree — Use plain pumpkin puree, not pumpkin pie filling. The canned filling already has sugar and spices mixed in, which throws off the balance here.
- Evaporated milk — This gives the filling its rich, custardy body without making it heavy. Regular milk won’t set the same way, and cream makes the bars richer but also denser.
- Pumpkin pie spice, cinnamon, and ginger — The spice blend brings warmth, while the extra cinnamon and ginger sharpen the flavor so the filling doesn’t taste flat. If your spice cabinet is old, replace the pumpkin pie spice first; stale spice is the fastest way to end up with dull bars.
The Order That Gives You a Clean Slice Every Time
Cutting the Butter Into the Oats
Mix the oats, flour, brown sugar, cinnamon, and salt first, then work in the cold butter until the mixture looks like damp sand with a few pea-size bits still visible. Those bits melt during baking and create crisp little pockets in the crust and topping. If you overmix until everything looks like paste, the bars bake up dense instead of crumbly.
Pressing and Prebaking the Base
Reserve one cup of the mixture for the topping, then press the rest firmly into the parchment-lined pan. Firm pressure matters here; a loose crust falls apart when you cut the bars. Bake it just until it looks set and slightly darker at the edges. It doesn’t need to brown deeply yet, just enough to take on structure before the filling goes in.
Mixing the Filling Without Overworking It
Whisk the pumpkin puree, evaporated milk, eggs, sugar, spices, salt, and vanilla until smooth and uniform. Stop once it looks combined. Whisking aggressively adds extra air, which can cause the filling to puff and crack as it bakes. Pour it over the hot crust while it’s still warm from the oven so the layers bake together cleanly.
Finishing the Bake
Scatter the reserved crumble over the filling, then bake until the topping is golden and the center has just a slight wobble. If the top browns before the middle sets, tent it loosely with foil for the last few minutes. Let the pan cool completely, then refrigerate it for at least an hour before slicing. Warm bars cut messily; chilled bars give you those tidy bakery-style squares.
How to Adapt These Bars for Different Kitchens and Different Crowds
Gluten-Free Swap
Use a 1:1 gluten-free flour blend in place of the all-purpose flour. The crust will still hold together, but it may be a touch more tender when warm, so chilling before slicing matters even more.
Dairy-Free Version
Swap the butter for a solid plant-based butter stick and use canned coconut milk in place of the evaporated milk. The flavor shifts slightly, but the bars still bake up creamy and sliceable.
Extra-Spiced Filling
Add an extra 1/4 teaspoon of ginger or a pinch of cloves if you want a sharper spice edge. That makes the filling taste more like classic pumpkin pie without changing the texture.
Storage and Reheating
- Refrigerator: Store covered for up to 5 days. The crust stays best on days 1 through 3, then softens a little at the bottom.
- Freezer: These freeze well. Wrap individual bars tightly and freeze for up to 2 months. Thaw in the refrigerator so the filling stays smooth instead of weeping.
- Reheating: Eat them chilled or let them come to room temperature. If you warm them, use a low oven for just a few minutes. A microwave makes the filling soft and can turn the crust soggy.