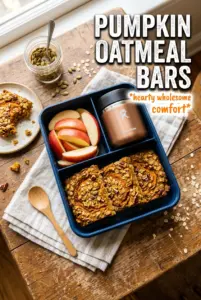
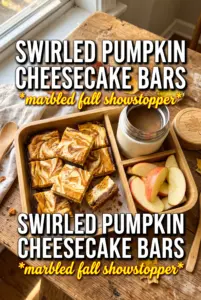
Soft, chewy, and topped with a crackly cinnamon sugar crust, these pumpkin snickerdoodle bars hit that sweet spot between a classic cookie and a dense bakery-style bar. The pumpkin keeps the center tender without making the bars cakey, and the cinnamon-sugar top bakes into a thin, golden layer that gives each square a little crunch before you get to the soft middle.
The trick here is keeping the pumpkin from taking over the texture. A small amount of blotted puree adds flavor and moisture, but not so much that the bars turn wet or bready. Melted butter gives you that rich, chewy base without the extra air you’d get from creaming, and cream of tartar brings the tang that makes snickerdoodles taste like snickerdoodles instead of just cinnamon bars.
Below, I’ve included the one prep step that keeps the crumb from going gummy, plus a couple of swaps if you need to work with what’s already in your pantry.
The bars stayed chewy for days and the cinnamon sugar top baked into the prettiest little crackly crust. I blotted the pumpkin like you said and the center was soft, not wet or cakey.
These pumpkin snickerdoodle bars bake up chewy with that crackly cinnamon sugar lid, and the blotted pumpkin keeps the center from turning heavy.
The Trick to Keeping Pumpkin Bars Chewy Instead of Cakey
The difference between a chewy bar and a fluffy, cake-like one comes down to moisture and mixing. Pumpkin puree brings a lot of water to the batter, and if it goes in straight from the can, it can loosen the dough enough to push the texture in the wrong direction. Blotting it dry first gives you pumpkin flavor without the extra steam that makes bars puff.
The other thing that matters is how long the flour gets worked. Once the dry ingredients go in, stop as soon as the last streaks disappear. Overmixing develops gluten and gives you a tighter crumb. These bars should feel soft and slightly springy at the center, not bouncy like sheet cake.
- Pumpkin puree — Use plain puree, not pumpkin pie filling. Blotting it between paper towels removes the excess moisture that would otherwise make the bars dense in a wet way.
- Cream of tartar — This is what gives snickerdoodles their gentle tang and their classic bite. You need it in both the batter and the topping for the right flavor.
- Melted butter — Melted butter makes these bars richer and denser in the best way. It also helps the batter spread easily in the pan, which is part of what keeps the texture chewy.
- Cinnamon — Use a good, fresh cinnamon here because it carries the whole topping. If yours tastes dull, the bars will too.
What Each Ingredient Is Doing in the Pan
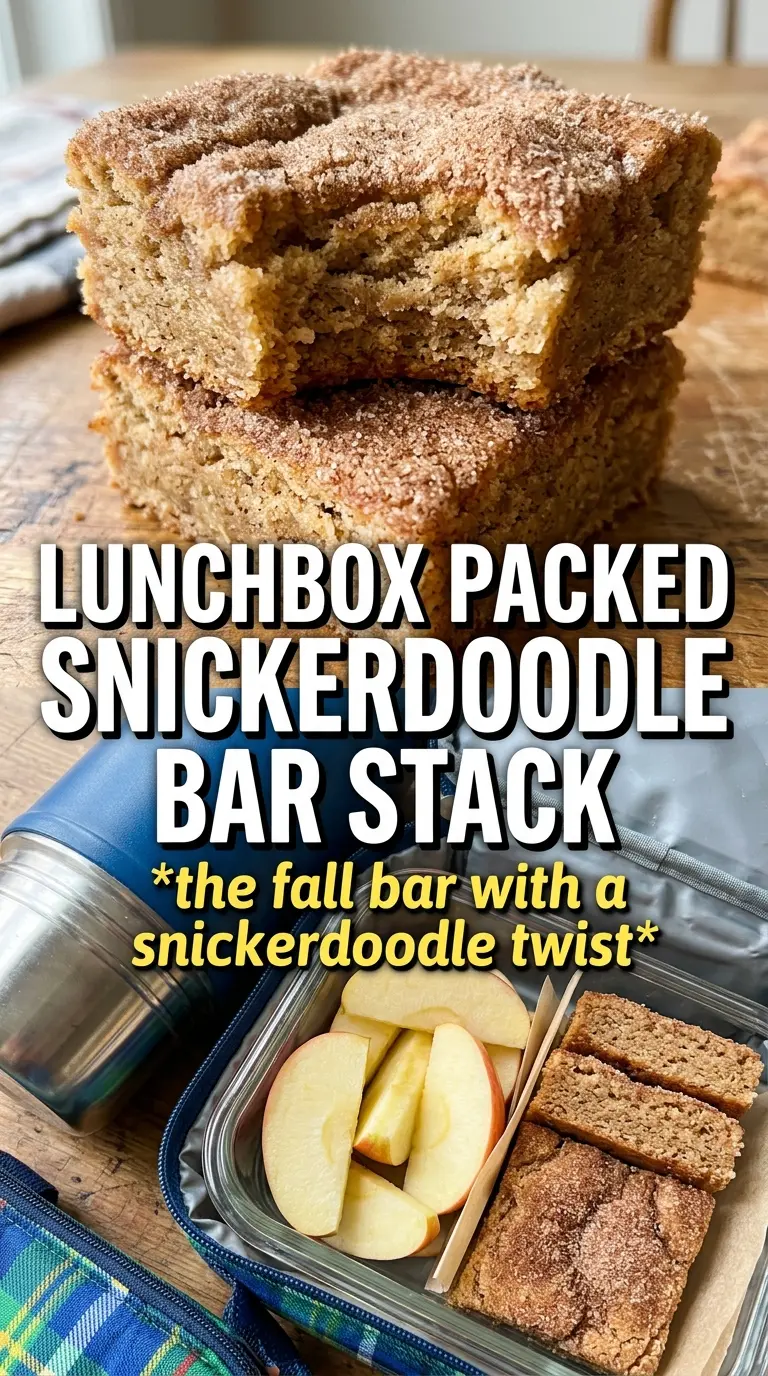
- All-purpose flour — This gives the bars enough structure to hold clean squares after cooling. A 1:1 gluten-free baking blend works here if it contains xanthan gum.
- Baking powder and baking soda — Together they give the bars just enough lift without making them fluffy. That small amount of rise keeps the texture soft around the edges and chewy in the center.
- Butter — Unsalted butter lets you control the seasoning, and melting it means no creaming step and no airiness. Slightly cooling it first keeps the eggs from scrambling when you mix everything together.
- Eggs — They bind the batter and help the bars set cleanly. Room temperature eggs blend more smoothly into the butter-sugar mixture.
- Vanilla — It rounds out the pumpkin and cinnamon so the bars taste fuller, not flat. The amount here matters more than you’d think.
- Granulated sugar — This is doing two jobs: sweetening the batter and creating that crisp cinnamon-sugar top. Brown sugar would make the bars softer and a little more caramel-like, but you’d lose some of the classic snickerdoodle texture.
Building the Batter, Topping, and Bake Time
Whisk the Dry Ingredients First
Whisk the flour, leavening, spices, cream of tartar, and salt until the mixture looks evenly speckled. That step matters because cinnamon and nutmeg clump easily, and clumps leave bitter pockets in the finished bars. You want the spice distributed before it ever touches the wet ingredients.
Mix the Butter Base Without Overbeating It
Stir the melted butter and sugar together until the mixture looks thick and glossy, then add the blotted pumpkin, eggs, and vanilla. The batter may look a little loose at this stage, and that’s normal. Once the flour goes in, it thickens fast, so stop mixing as soon as it comes together.
Watch the Edges, Not the Clock Alone
Spread the batter evenly in the pan and cover the top with the cinnamon sugar mixture all the way to the corners. Bake until the edges are set and the center no longer looks shiny-wet, but still has a slight softness when you nudge the pan. If you wait for a dry center, the bars will bake past chewy and turn dry as they cool.
Let Them Cool Before You Cut
This is the hardest part, because they smell fantastic when they come out. Still, the bars need a full cool-down so the crumb can finish setting. Cut too early and the middle smears; wait until they’re fully cool and you’ll get neat squares with a soft, even bite.
Three Ways to Make These Bars Work for Your Pantry
Gluten-Free Version
Swap in a 1:1 gluten-free flour blend that includes xanthan gum. The bars will still be chewy, but they’ll be a little more delicate when warm, so give them the full cooling time before slicing.
Dairy-Free Version
Use a plant-based butter stick, not a soft tub spread. The stick version behaves more like regular butter and gives you the same dense, chewy texture instead of a greasy finish.
Extra-Spiced Bars
Add another 1/2 teaspoon cinnamon and a pinch of ground cloves if you want the pumpkin to stand out more. This pushes the bars toward a warmer, more bakery-style spice note without changing the texture.
Storage and Reheating
- Refrigerator: Store in an airtight container for up to 5 days. The top stays lightly crisp on day one, then softens a bit after chilling.
- Freezer: These freeze well. Wrap the cut bars individually and freeze for up to 2 months, then thaw at room temperature.
- Reheating: Warm a bar in the microwave for 10 to 15 seconds if you want the center softer. Too long and the sugar top turns sticky instead of crisp.
Answers to the Questions Worth Asking
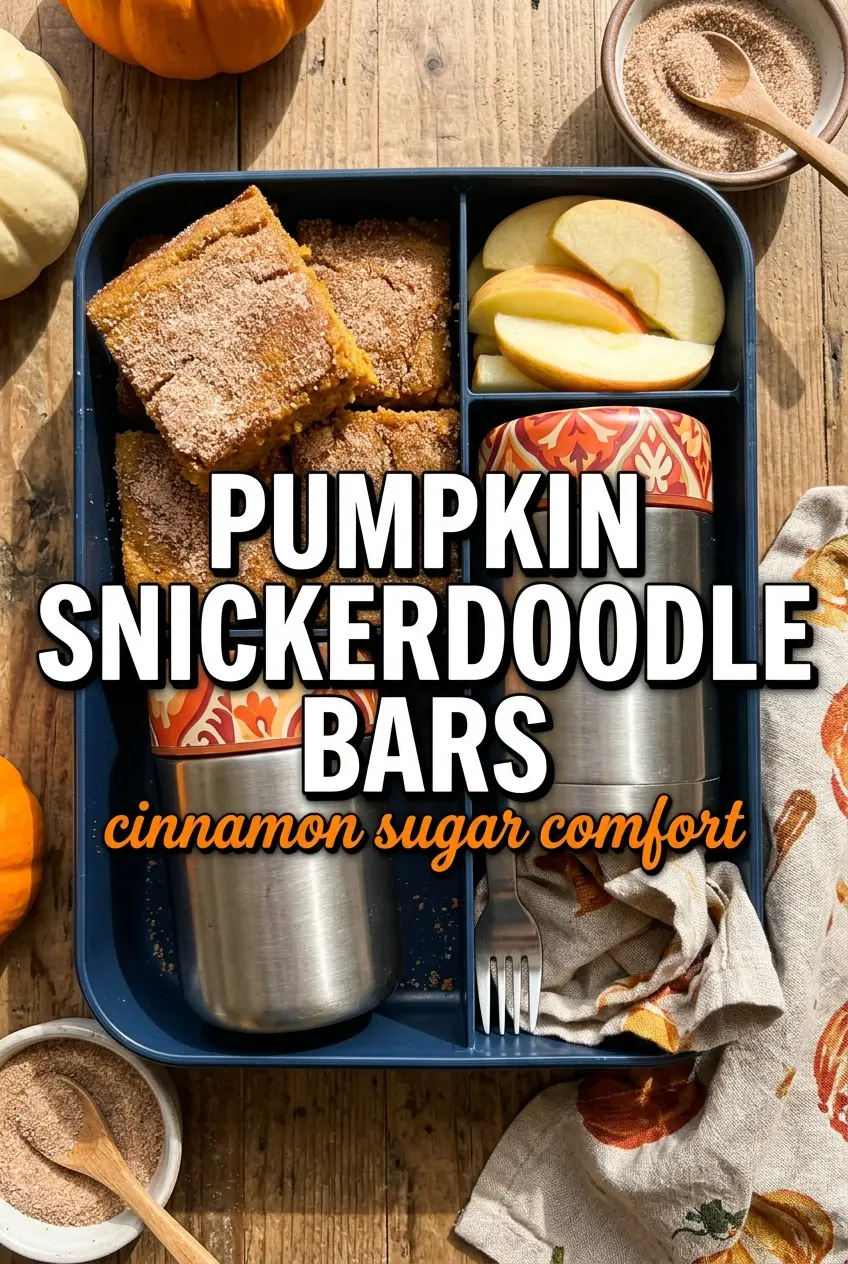
Pumpkin Snickerdoodle Bars
Ingredients
Equipment
Method
- Preheat the oven to 350F and grease a 9x13 pan so the bars release cleanly after baking.
- Whisk together all-purpose flour, baking powder, baking soda, cinnamon, cream of tartar, nutmeg, and salt until evenly combined.
- Whisk melted butter and granulated sugar until smooth, then stir in blotted pumpkin puree, eggs, and vanilla extract.
- Fold in the flour mixture until just combined, then spread the batter evenly in the prepared pan.
- Mix the cinnamon sugar top ingredients (granulated sugar, cinnamon, and cream of tartar).
- Sprinkle the cinnamon sugar topping generously over the entire surface so it forms a caramelized crust as it bakes.
- Bake for 25-30 minutes at 350F until the bars are just set; avoid overbaking to keep a chewy texture.
- Cool completely before cutting so the centers finish setting and the bars slice cleanly.