Tri-tip earns its spot in the rotation because it gives you a deep, seasoned crust and a juicy pink center without the long wait of a bigger roast. When it’s sliced against the grain, every piece stays tender enough for a crowd, but it still feels like something special enough for a weekend dinner or a backyard cookout.
The key is treating tri-tip like a roast that wants steak-like handling. A dry spice rub builds the crust, olive oil helps it cling, and the short rest before cooking takes the chill off the meat so the outside doesn’t overcook before the center comes up to temperature. The other thing that matters is the grain: tri-tip changes direction across the cut, and slicing it the right way is what keeps it from chewing like shoe leather.
Below, I’m walking through both the grill and oven method, plus the small details that keep the meat juicy and the slices clean. If you’ve ever ended up with a good crust but a tough bite, the fix is here.
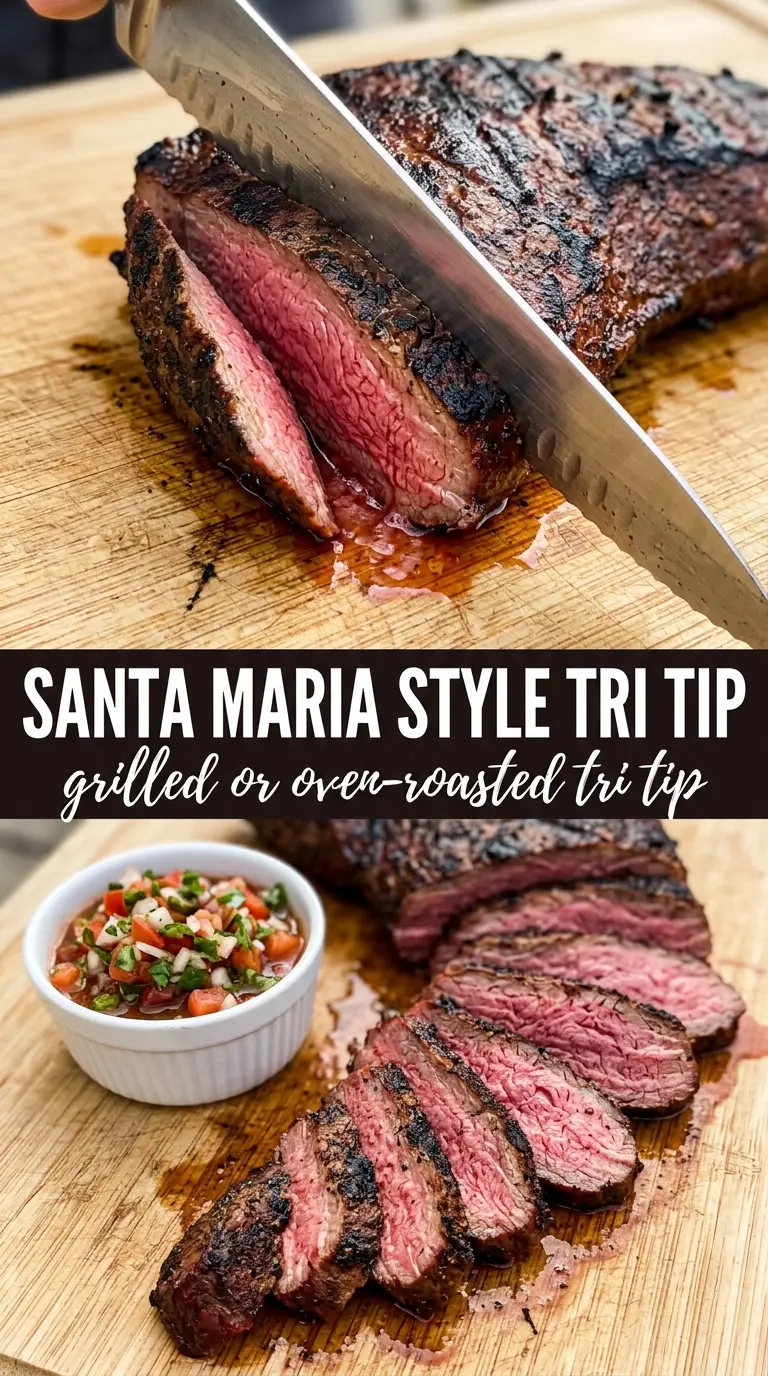
The rub formed a great crust on the grill, and letting it rest before slicing kept every piece juicy. I cooked it to 132°F and it came out exactly medium-rare all the way through.
Save this grilled or oven-roasted tri-tip for the nights when you want a crusty exterior, pink center, and a roast that slices up beautifully.
The Part That Keeps Tri-Tip Tender Instead of Chewy
Tri-tip is one of those cuts that can go from excellent to frustrating in a few extra minutes. The meat is lean enough that overcooking dries it out fast, and the grain runs in more than one direction, which means even a perfectly cooked roast can still eat tough if you slice it carelessly.
The target temperature matters more than the clock here. Pulling it at 130-135°F gives you a medium-rare center after resting, and that rest is not optional — the juices settle back into the meat instead of spilling onto the board. If you cook past that range, the outer slices can turn gray and the center loses the rosy, beefy bite that makes tri-tip worth serving.
- Don’t chase a dark crust at the expense of the center. High heat builds the outside fast, but tri-tip finishes best when you move it to gentler heat after the sear.
- Slice against the grain, then rotate if the grain changes direction. That’s the difference between tender and stringy.
- Use temperature, not guesswork. Tri-tip varies in thickness, so a thermometer keeps you from serving it too early or too late.
What the Rub Is Doing Before the Meat Even Hits the Heat
The rub here is straightforward, but every ingredient earns its place. Salt seasons the meat all the way through and helps the surface dry enough to brown. Pepper and paprika build a darker crust, garlic powder gives that roasted beef aroma, and oregano adds a subtle Santa Maria-style edge without taking over.
Olive oil is the glue. It helps the seasoning cling and gives the surface better contact with the grill grates or skillet. If you don’t have paprika, smoked paprika works well, but it will pull the flavor more toward barbecue. Fine table salt can work in a pinch, but kosher salt is easier to control and coats the roast more evenly.
- Tri-tip roast — This cut has enough marbling to stay juicy, but it still needs careful timing because it dries out faster than fattier roasts.
- Olive oil — A thin coating helps the seasoning stick and promotes browning. Neutral oil also works if that’s what you have.
- Kosher salt — It seasons the meat cleanly and gives the crust structure. Table salt is saltier by volume, so use less if you swap it in.
- Paprika and oregano — These are the flavor markers that make the roast taste finished, not just salted. Fresh oregano isn’t necessary here; dried holds up well.
Building the Crust Without Overcooking the Center
Mixing and Coating the Roast
Stir the rub together first so the seasoning lands evenly instead of in clumps. Rub the tri-tip with olive oil, then coat it generously on all sides, pressing the seasoning into the surface so it sticks. Letting it sit at room temperature for about 30 minutes helps it cook more evenly; if it goes straight from the fridge to high heat, the outside races ahead of the middle.
Grill Method: Sear, Then Move Off the Fire
Start the roast over high heat for about five minutes per side to develop a good crust and get some char. After that, move it to indirect heat and cook until the center reaches 130-135°F. If the outside is darkening too quickly, slide it farther from the flame; tri-tip rewards control more than aggression.
Oven Method: Hot Skillet, Then Roast
For the oven version, sear the tri-tip in a hot skillet first so the surface browns before it ever goes into the oven. Then roast at 425°F until it reaches 130-135°F, which usually takes 20-25 minutes depending on thickness. If you skip the skillet step, you’ll still cook the meat, but you’ll lose the crust that makes this cut so satisfying.
The Rest and Slice
Let the roast rest for 15 minutes before cutting into it. That pause matters because the juices redistribute and the temperature evens out; cut too soon and the board gets the best part of the meat. Find the grain, slice across it, and keep the slices thin enough that each bite stays tender.
How to Adapt This Tri-Tip for a Different Setup
No grill, all oven
The skillet-then-oven method gives you almost the same crust and a little more control over doneness. Use a heavy pan that holds heat well, and don’t overcrowd it with other food or the roast will steam instead of sear.
Dairy-free and naturally gluten-free
This recipe already fits both of those needs without any special swaps. The only thing worth watching is cross-contamination if you’re serving it with a sauce or side dish that contains dairy or gluten.
Smokier Santa Maria-style flavor
Add a little extra paprika and a pinch of coarse black pepper if you want a deeper barbecue note. If you have red oak or a grill with strong smoke, that flavor plays beautifully with the simple spice rub.
Storage and Reheating
- Refrigerator: Store sliced tri-tip in an airtight container for up to 4 days. It stays best when you keep the juices with the meat.
- Freezer: Freeze tightly wrapped slices for up to 2 months. Thaw in the fridge so the texture doesn’t get mealy.
- Reheating: Warm it gently in a covered skillet with a splash of broth or in a low oven. High heat dries out the lean slices fast, so avoid blasting it in the microwave unless you want uneven edges and a gray center.
Answers to the Questions Worth Asking

Tri Tip - Grilled or Oven-Roasted
Ingredients
Equipment
Method
- Mix kosher salt, black pepper, garlic powder, paprika, onion powder, and dried oregano in a bowl to form a dry spice rub. Aim for even color so every edge gets coated.
- Rub the tri-tip roast with olive oil, then coat generously with the spice rub so the entire surface looks evenly dusted. Press lightly to help the seasoning adhere.
- Let the seasoned tri-tip sit at room temperature for 30 minutes to take the chill off. The surface may look slightly tacky as the rub begins to hydrate.
- For grilling, sear the tri-tip over high heat for 5 minutes per side until deeply browned. You should see a crust forming on the exterior.
- Move the tri-tip to indirect heat and cook until the center reaches 130–135°F for medium-rare. Pull it when it’s in range so carryover doesn’t push it past medium-rare.
- For oven-roasting, sear the tri-tip in a hot skillet until well browned on the outside. You should hear active sizzling as a crust starts to form.
- Roast at 425°F for 20–25 minutes until the center reaches 130–135°F for medium-rare. Check for doneness near the low end of the time range to avoid overcooking.
- Let the tri-tip rest for 15 minutes before slicing to keep the juices in the meat. The temperature will rise slightly during this rest.
- Slice the tri-tip against the grain for tender bites and serve. Each slice should show a pink center under the crusty seasoned exterior.