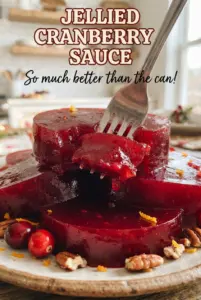
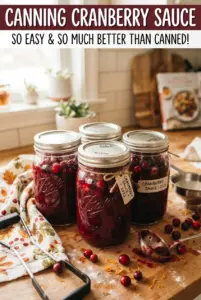
Glossy cranberry sauce in a jar has a way of making itself useful all year long. It keeps that bright, tart-sweet snap of fresh cranberries, but the simmered berries turn tender enough to spoon over turkey, swirl into yogurt, or serve beside sharp cheese without feeling one-note. The best part is the texture: whole berries stay intact just enough to give you a sauce that looks beautiful in the jar and still feels fresh when you open it months later.
This version leans on orange juice and zest for a clean citrus lift, while bottled lemon juice keeps the acidity where it needs to be for safe water-bath canning. The sugar isn’t just there for sweetness; it helps the sauce gel lightly and balances the cranberries’ bite. You don’t cook the berries until they’re completely broken down. Stop when most have burst and the sauce looks slightly loose, because it thickens a bit more as it cools in the jar.
Below you’ll find the canning process laid out step by step, plus the one thing that makes the difference between a good seal and a jar you can’t trust on the shelf. If you’ve ever wanted cranberry sauce that tastes homemade long after the holidays are over, this is the batch to put up.
The sauce thickened up beautifully and the orange note came through without taking over. I canned 12 jars and every lid sealed on the first try.
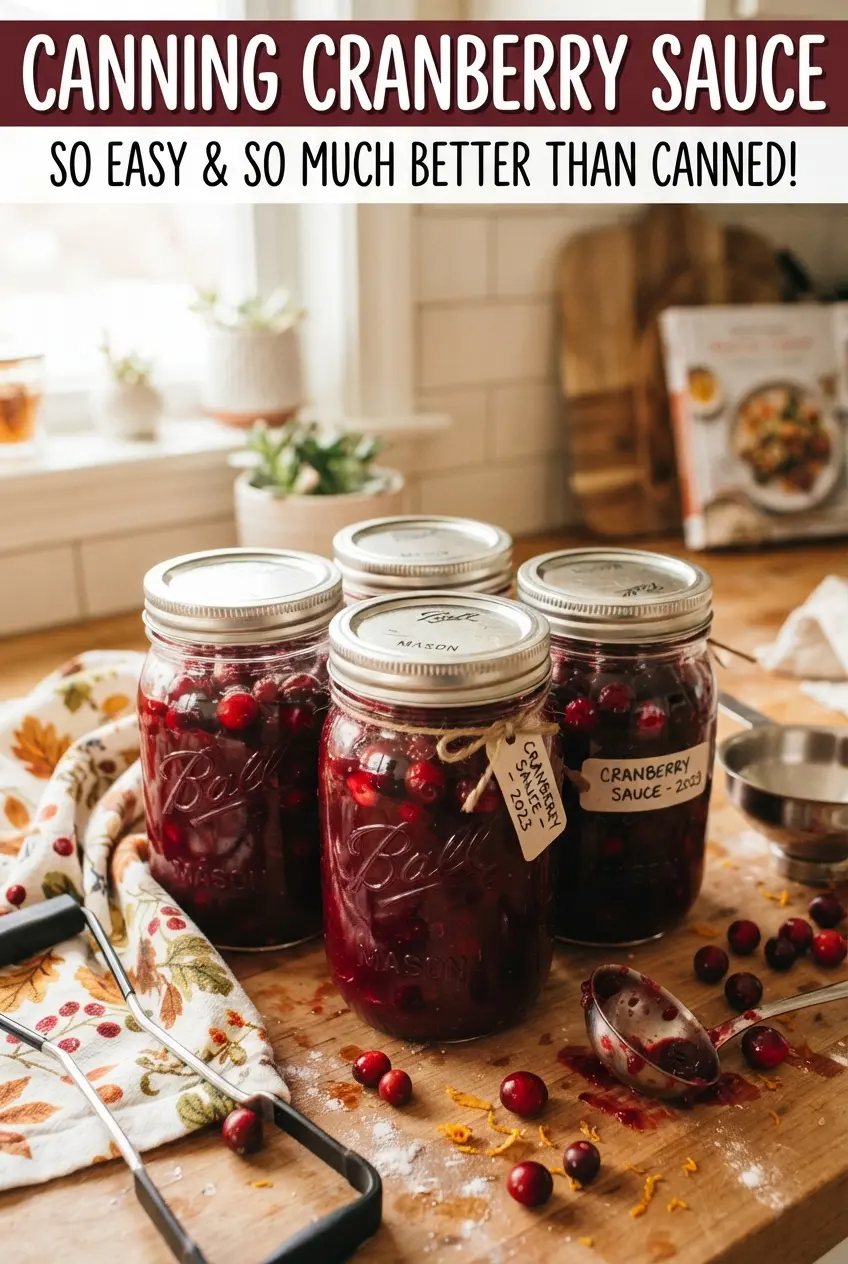
Save these glossy jars of canned cranberry sauce for the pantry staples you actually look forward to opening.
The Part That Keeps the Sauce Bright After Canning
The biggest mistake with cranberry sauce for canning is overcooking it on the stove. Cranberries break down fast, and once the sauce gets too thick in the pot, it can turn pasty in the jar after processing. You want a gentle boil, not a hard, angry one, and you want to stop as soon as the berries have burst and the liquid looks lightly syrupy.
Bottled lemon juice matters here because it gives you a consistent acid level for safe canning. Fresh lemon juice varies more than people think, and this isn’t the place to guess. Orange juice adds flavor and sweetness, but it doesn’t replace the lemon juice, so keep both in the recipe.
- Cranberries — Fresh cranberries give you the best texture for whole-berry sauce. Frozen cranberries work too; use them straight from frozen and expect a slightly longer cook time.
- Sugar — This balances the tart fruit and helps the sauce set softly. Cutting it too far changes both flavor and texture.
- Orange juice and zest — The juice cooks into the base, while the zest goes in at the end so the citrus stays bright instead of muddy.
- Bottled lemon juice — This is the safety piece for water-bath canning. Use bottled, not fresh, because the acid level has to be reliable.
Getting the Jars Filled Before the Sauce Cools Too Much
Heating the Jars First
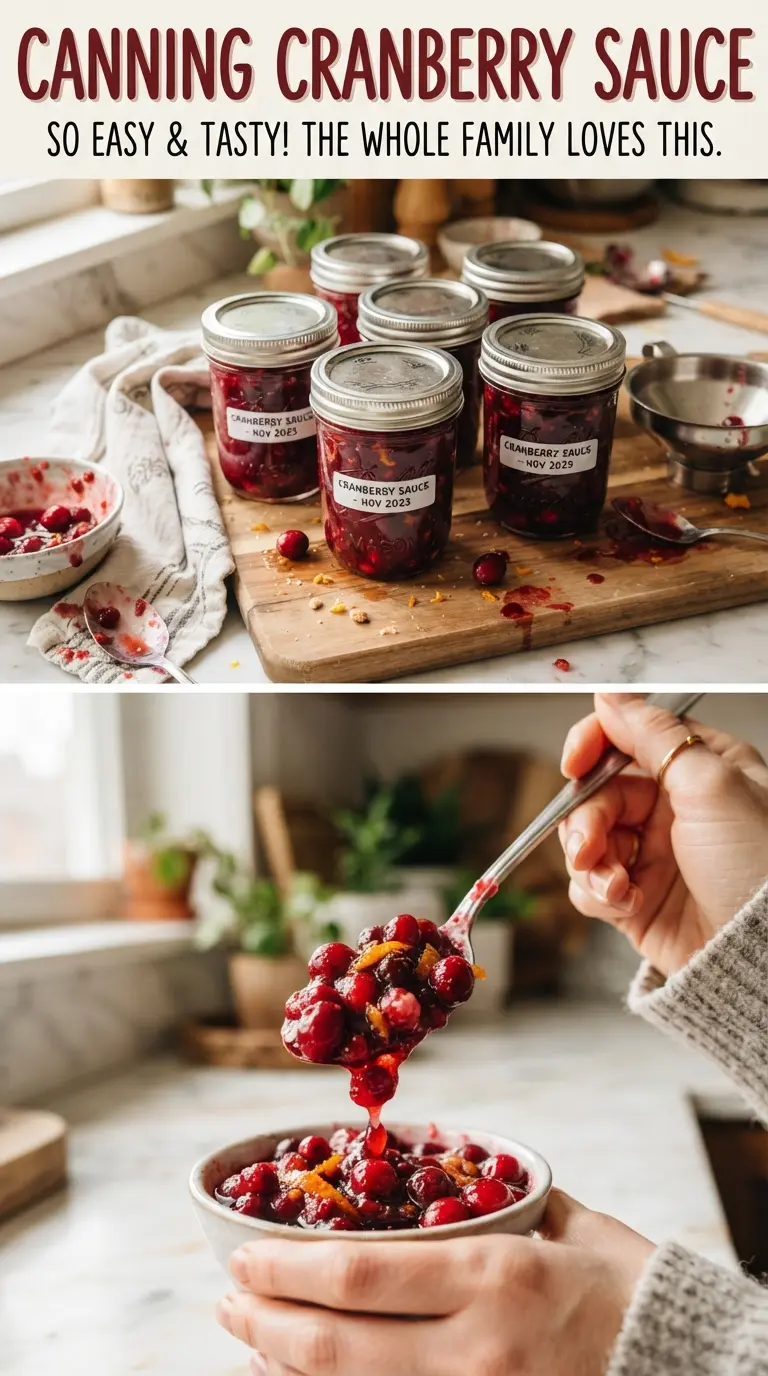
Wash the jars, lids, and bands, then keep the jars hot in simmering water while the sauce cooks. Hot jars help prevent thermal shock when you ladle in the boiling sauce, and they also keep the filling from cooling too quickly before the lids go on. Cold jars are a common reason home canners rush, and rushing is how you miss headspace or leave sticky residue on the rims.
Cooking the Cranberry Base
Bring the sugar, water, and orange juice to a full boil first so the sugar dissolves completely. Add the cranberries and lemon juice, then keep the boil gentle enough that the berries pop without splashing all over the stove. After 10 to 12 minutes, most berries should have burst and the sauce should look slightly loose, because it will continue to thicken after it comes off the heat.
Jarring and Processing
Stir in the orange zest at the end, then ladle the sauce into hot jars with 1/4-inch headspace. Wipe the rims carefully; even a thin film of cranberry syrup can stop a seal. Apply the lids fingertip tight, process in a boiling water bath for 15 minutes, then turn off the heat and rest the jars in the canner for 5 minutes before lifting them out to cool undisturbed for 24 hours.
What to Change When You Want a Different Jar on the Shelf
Use frozen cranberries without thawing
Frozen berries work well in this recipe, and you don’t need to thaw them first. They may take a minute or two longer to burst, but the final sauce looks and tastes the same. This is the easiest swap when fresh cranberries aren’t in season.
Make it lower-sugar only if you’re not canning it
For a fresh refrigerator version, you can cut the sugar a bit and keep the same cooking method. For shelf-stable canning, don’t reduce the sugar unless you’re following a tested low-sugar canning formula, because it affects both preservation and texture.
Swap the orange for a warmer spice note
If you want a less citrus-forward sauce, reduce the orange zest and add a cinnamon stick while the sauce cooks, then remove it before jarring. The result is deeper and more holiday-like, but you lose some of the brightness that keeps the cranberries from tasting heavy.
Storage and Reheating
- Refrigerator: Once opened, store the jar in the fridge and use it within 2 to 3 weeks. The sauce firms up a little more when chilled.
- Freezer: This sauce can be frozen in freezer-safe containers if you want a non-canned batch, but leave headspace because it expands. The texture softens slightly after thawing.
- Reheating: Warm only the portion you need over low heat or in the microwave at short intervals. High heat can make it sputter and can push the sauce from glossy to gluey.
Answers to the Questions Worth Asking
Canning Cranberry Sauce
Ingredients
Equipment
Method
- Wash 12 half-pint jars, lids, and bands, and keep the jars hot in simmering water until you’re ready to fill them. Keep the simmer steady so the glass stays hot when you ladle in the cranberry sauce.
- Bring sugar, water, and orange juice to a boil in a large pot, stirring until the sugar is fully dissolved. Maintain a real boil before you add the fruit.
- Add fresh cranberries and bottled lemon juice, then boil gently for 10-12 minutes until the berries burst and the sauce thickens. Look for a glossy texture that coats a spoon.
- Stir in orange zest and cook for a brief additional moment just to distribute it through the sauce. The zest should look evenly speckled throughout.
- Ladle the hot cranberry sauce into the hot jars, leaving 1/4-inch headspace. Wipe the rims clean to prevent sealing issues.
- Apply lids and bands fingertip tight so the jars can vent during processing. Tighten only to snug, not fully torqued.
- Process in a boiling water bath canner for 15 minutes, adjusting the time for altitude. Start counting once the water returns to a full boil.
- Turn off the heat and rest the jars in the canner for 5 minutes. This short rest helps prevent sudden temperature changes.
- Lift the jars out and cool undisturbed for 24 hours. You should hear the lids seal as they cool.
- Check that the lids have sealed, then store sealed jars in a cool dark place for up to 1 year. Any unsealed jars should be refrigerated and used first.