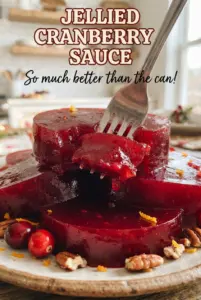
Jellied cranberry sauce lands on the table looking polished and a little old-school, but the best version is bright, clean, and firm enough to slice without collapsing. When it’s done right, it holds the shape of the mold and still tastes like fresh cranberries instead of canned sweetness. The texture is the whole point: smooth, glossy, and just tart enough to keep each bite interesting.
The trick is cooking the cranberries until every berry bursts, then pressing the mixture through a fine-mesh strainer so the pectin does the work of setting the sauce. That extra boil after straining concentrates the puree and gives you a sliceable finish once it chills. Lemon juice sharpens the flavor, and the pinch of salt keeps the sweetness from tasting flat.
Below, I’ll walk through the part that matters most: how long to cook it before straining, how to tell when the sauce is thick enough, and what to do if you want to use a loaf pan or an actual can for that classic molded shape.
I was skeptical it would slice cleanly, but it set up beautifully overnight and had that classic shiny texture without tasting too sweet. The lemon kept it bright, and even my mom asked for the mold I used.
This jellied cranberry sauce slices cleanly, sets glossy, and brings that bright tart edge that makes a holiday plate taste finished.
The Reason Jellied Cranberry Sauce Sets Up Instead of Staying Loose
The biggest mistake with jellied cranberry sauce is stopping the cook too early. Cranberries need enough time to burst fully so their natural pectin can work, and the mixture needs that second boil after straining to tighten up. If you skip that final reduction, you end up with something spoonable instead of sliceable.
The other trap is trying to judge the set while it’s still warm. It will look thinner than you want in the pot, and that’s normal. The real test is the chill: once it has sat in the refrigerator for at least six hours, it should release from the mold and hold neat slices on a plate.
- Whole cranberries — Fresh cranberries give you the best pectin and the cleanest set. Frozen cranberries work too; use them straight from frozen and expect the same cooking time.
- Sugar — This isn’t just for sweetness. Sugar helps the sauce gel and gives it that glossy finish. Cutting it much lower can make the texture less stable.
- Lemon juice — The acidity brightens the cranberry flavor and sharpens the final taste. Bottled lemon juice works in a pinch, but fresh tastes cleaner here.
- Lightly oiled mold or pan — The shape is only as good as your release. A thin film of neutral oil or cooking spray helps the sauce turn out in one piece instead of tearing at the edges.
What Each Ingredient Is Actually Doing in This Recipe
- Primary ingredient (the star) — Quality matters most. Choose the best you can find.
- Cooking medium (oil, butter, or broth) — This carries flavors and prevents dryness.
- Seasonings (salt, pepper, spices, herbs) — Layer flavors so nothing overpowers. Build depth gradually.
- Aromatics (garlic, onion, herbs) — Cook with fat to bloom flavors. Become the foundation.
- Supporting ingredients — Complement the main ingredient without overpowering it.
- Sauce or liquid (if applicable) — Brings flavors together. Balance richness with acid.
- Acid (lemon, vinegar, wine, or other) — Brightens and prevents flat-tasting results.
- Final finish (garnish, glaze, or sauce) — Prevents one-dimensional taste and adds visual appeal.
How to Cook It Down, Strain It Smooth, and Get That Molded Slice
Boiling the Cranberries Until They Burst
Combine the cranberries, sugar, and water in a saucepan and bring it to a full boil. You want to hear active bubbling and see the berries split open, not just soften around the edges. Stir now and then so the sugar dissolves and nothing sticks on the bottom. If you pull it too soon, you won’t get enough body for a clean set.
Pressing Out the Smooth Puree
Set a fine-mesh strainer over a bowl and work the mixture through with the back of a spoon. Scrape the underside as you go; a lot of the thickest puree hangs there and you want all of it. Leave the skins behind. They add bitterness and gritty bits that fight the smooth, glossy texture this recipe is known for.
The Final Boil That Gives It Shape
Return the strained puree to the pot with the lemon juice and salt. Boil it for 3 to 4 minutes, stirring, until it looks slightly more concentrated and coats the spoon a little more heavily. Don’t wander off here — this is the point where the sauce thickens enough to become sliceable after chilling.
Chilling in a Mold
Pour the mixture into a lightly oiled loaf pan, mold, or clean can and smooth the top. Chill it for at least 6 hours, though overnight gives you the cleanest release. Run a knife around the edge before inverting it, then give the pan a firm shake if it doesn’t drop right away. If you use a can, set it on the plate and press the bottom gently to help it release.
How to Adapt This for Different Tables and Different Pans
Loaf Pan for Easy Slicing
A loaf pan gives you tidy slices without any special equipment. Lightly oil it first, then line it only if you want extra insurance for removal. The result is less dramatic than a molded can shape, but it serves neatly and cuts into even pieces.
Lower-Sugar Version
You can reduce the sugar a little, but don’t cut it by half unless you’re willing to lose some set and sheen. Sugar supports the texture here, so a smaller reduction is safer than a big one. The sauce will taste tarter and look a little less glossy.
Frozen Cranberries
Frozen cranberries work without thawing and are often the easiest swap in the freezer aisle. They may take an extra minute or two to burst, but the finished sauce sets the same way. Don’t add extra water to compensate; the berries already bring enough moisture as they cook.
Dairy-Free and Gluten-Free by Default
This recipe already fits both dairy-free and gluten-free eating as written. The one thing to watch is any pan spray or serving accompaniments you add later. Keep the mold lightly oiled with plain neutral oil if you want to stay fully dairy-free.
Storage and Reheating
- Refrigerator: Store covered for up to 7 days. The texture stays firm, though the surface may weep slightly after a few days.
- Freezer: It can be frozen, but the texture softens a bit after thawing. Freeze tightly wrapped in slices or in the whole mold, then thaw in the refrigerator overnight.
- Reheating: This isn’t a dish you reheat. Serve it chilled or at cool room temperature for the cleanest slices and the best set.
Answers to the Questions Worth Asking
Jellied Cranberry Sauce
Ingredients
Equipment
Method
- Bring cranberries, sugar, and water to a boil over medium-high heat, then reduce to a steady simmer and cook for 10 minutes until all the berries burst. Visual cue: the mixture looks thick and the berries split open throughout.
- Press the hot mixture through a fine-mesh strainer, scraping to push all the pulp through, and discard the skins. Visual cue: you should end up with a smooth, glossy ruby puree.
- Return the strained puree to the pot with lemon juice and salt, then boil for 3 to 4 minutes while stirring. Visual cue: it turns slightly more opaque and coats the spoon lightly.
- Pour the hot sauce into a lightly oiled mold, loaf pan, or clean can. Visual cue: the surface settles level with a shiny, even color.
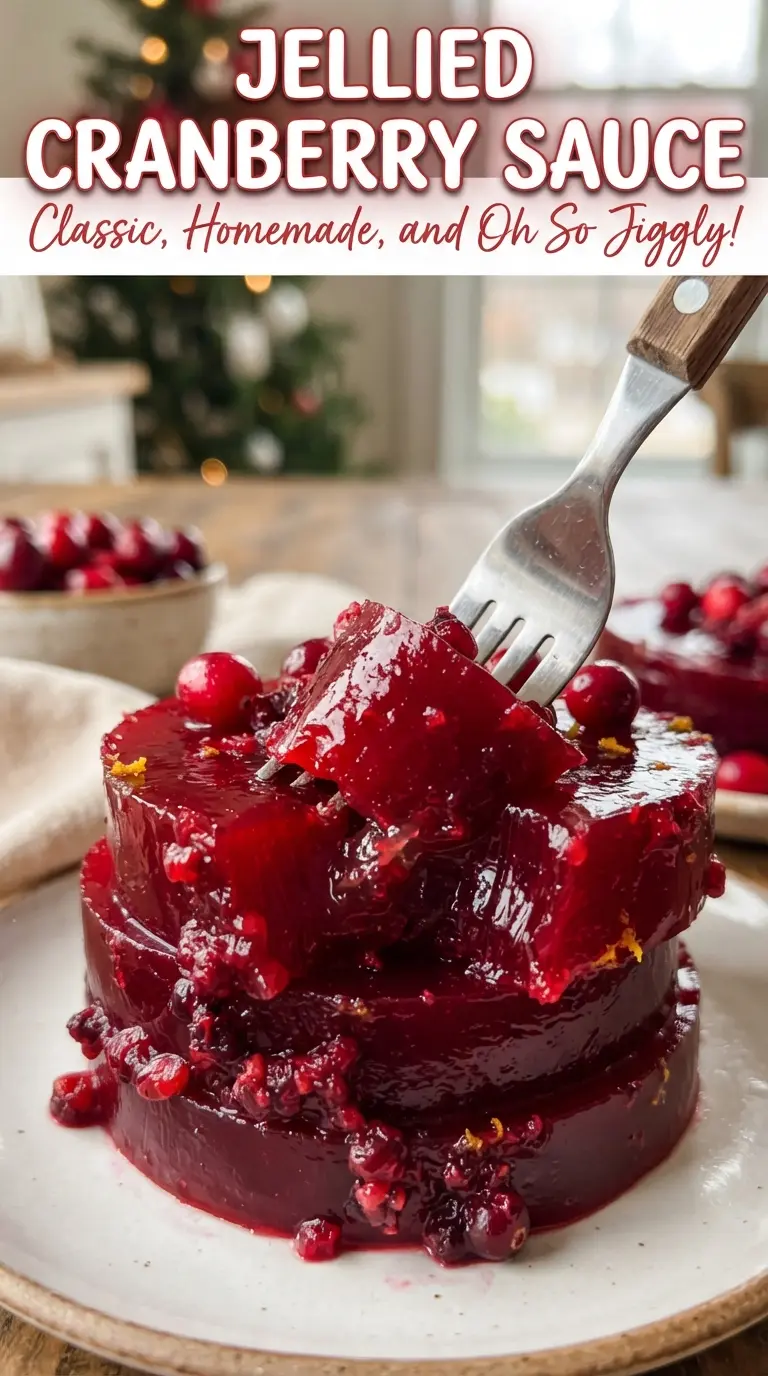
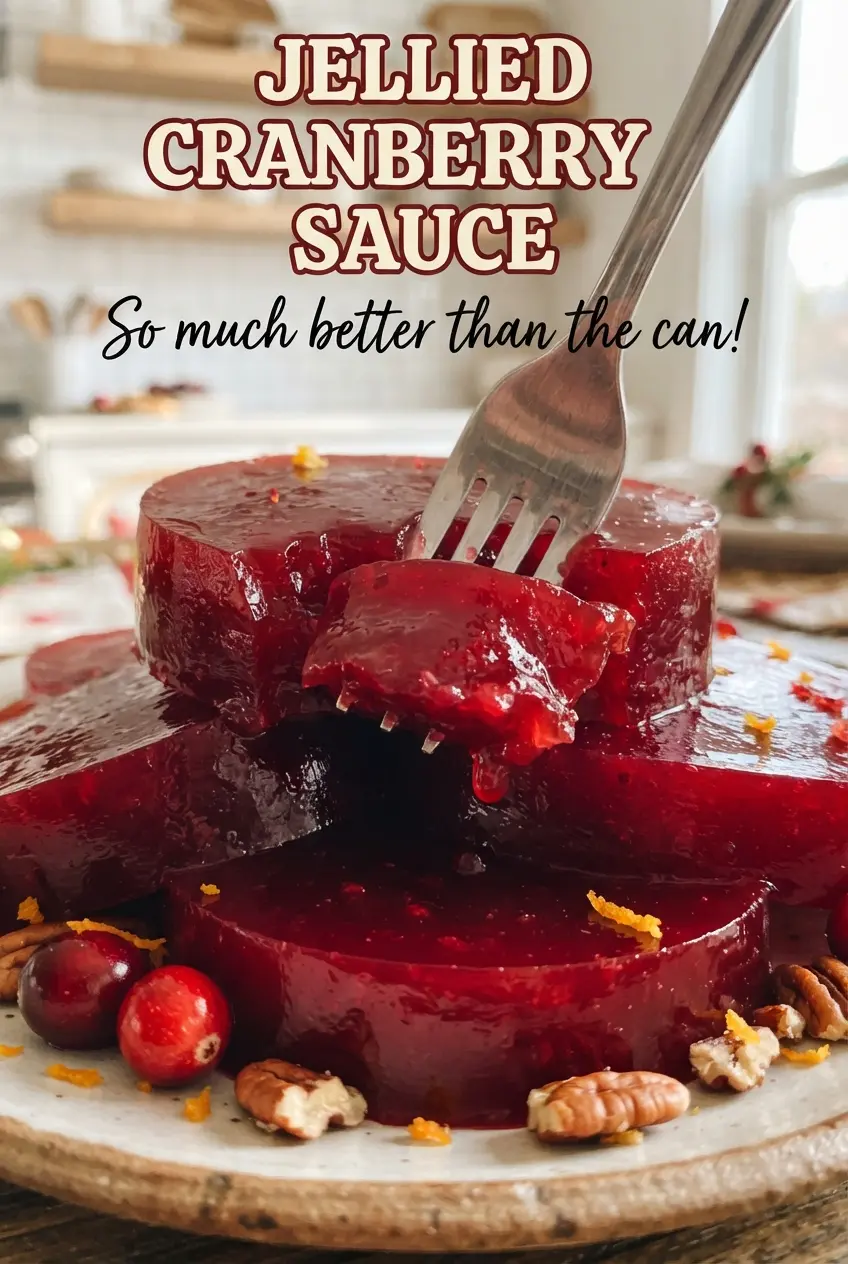
- Chill at least 6 hours or overnight until firm. Visual cue: the gel jiggles only slightly and holds its shape when unmolded.
- Run a knife around the edge, invert onto a plate, and slice. Visual cue: clean rounds reveal a tight, jellied texture with no syrup pooling.