Camping grilled nachos hit the table with the kind of fast, smoky comfort that disappears before anyone finishes their first drink. The chips stay sturdy under the beans and beef, the cheese melts into the gaps instead of sliding off in one greasy sheet, and the whole pan picks up that little edge of woodsmoke that makes outdoor food taste better than it has any right to. This is the kind of campsite meal people hover around until the pan is scraped clean.
The part that makes these work is the layering. Putting half the chips down first gives you a base that catches the melted cheese, while the second layer keeps the toppings from sinking straight to the bottom. A disposable aluminum pan is worth using here because it heats evenly and can sit right on the grate without any fuss. If your fire is too hot, the chips on the edges will burn before the center gets melty, so medium campfire heat matters more than speed.
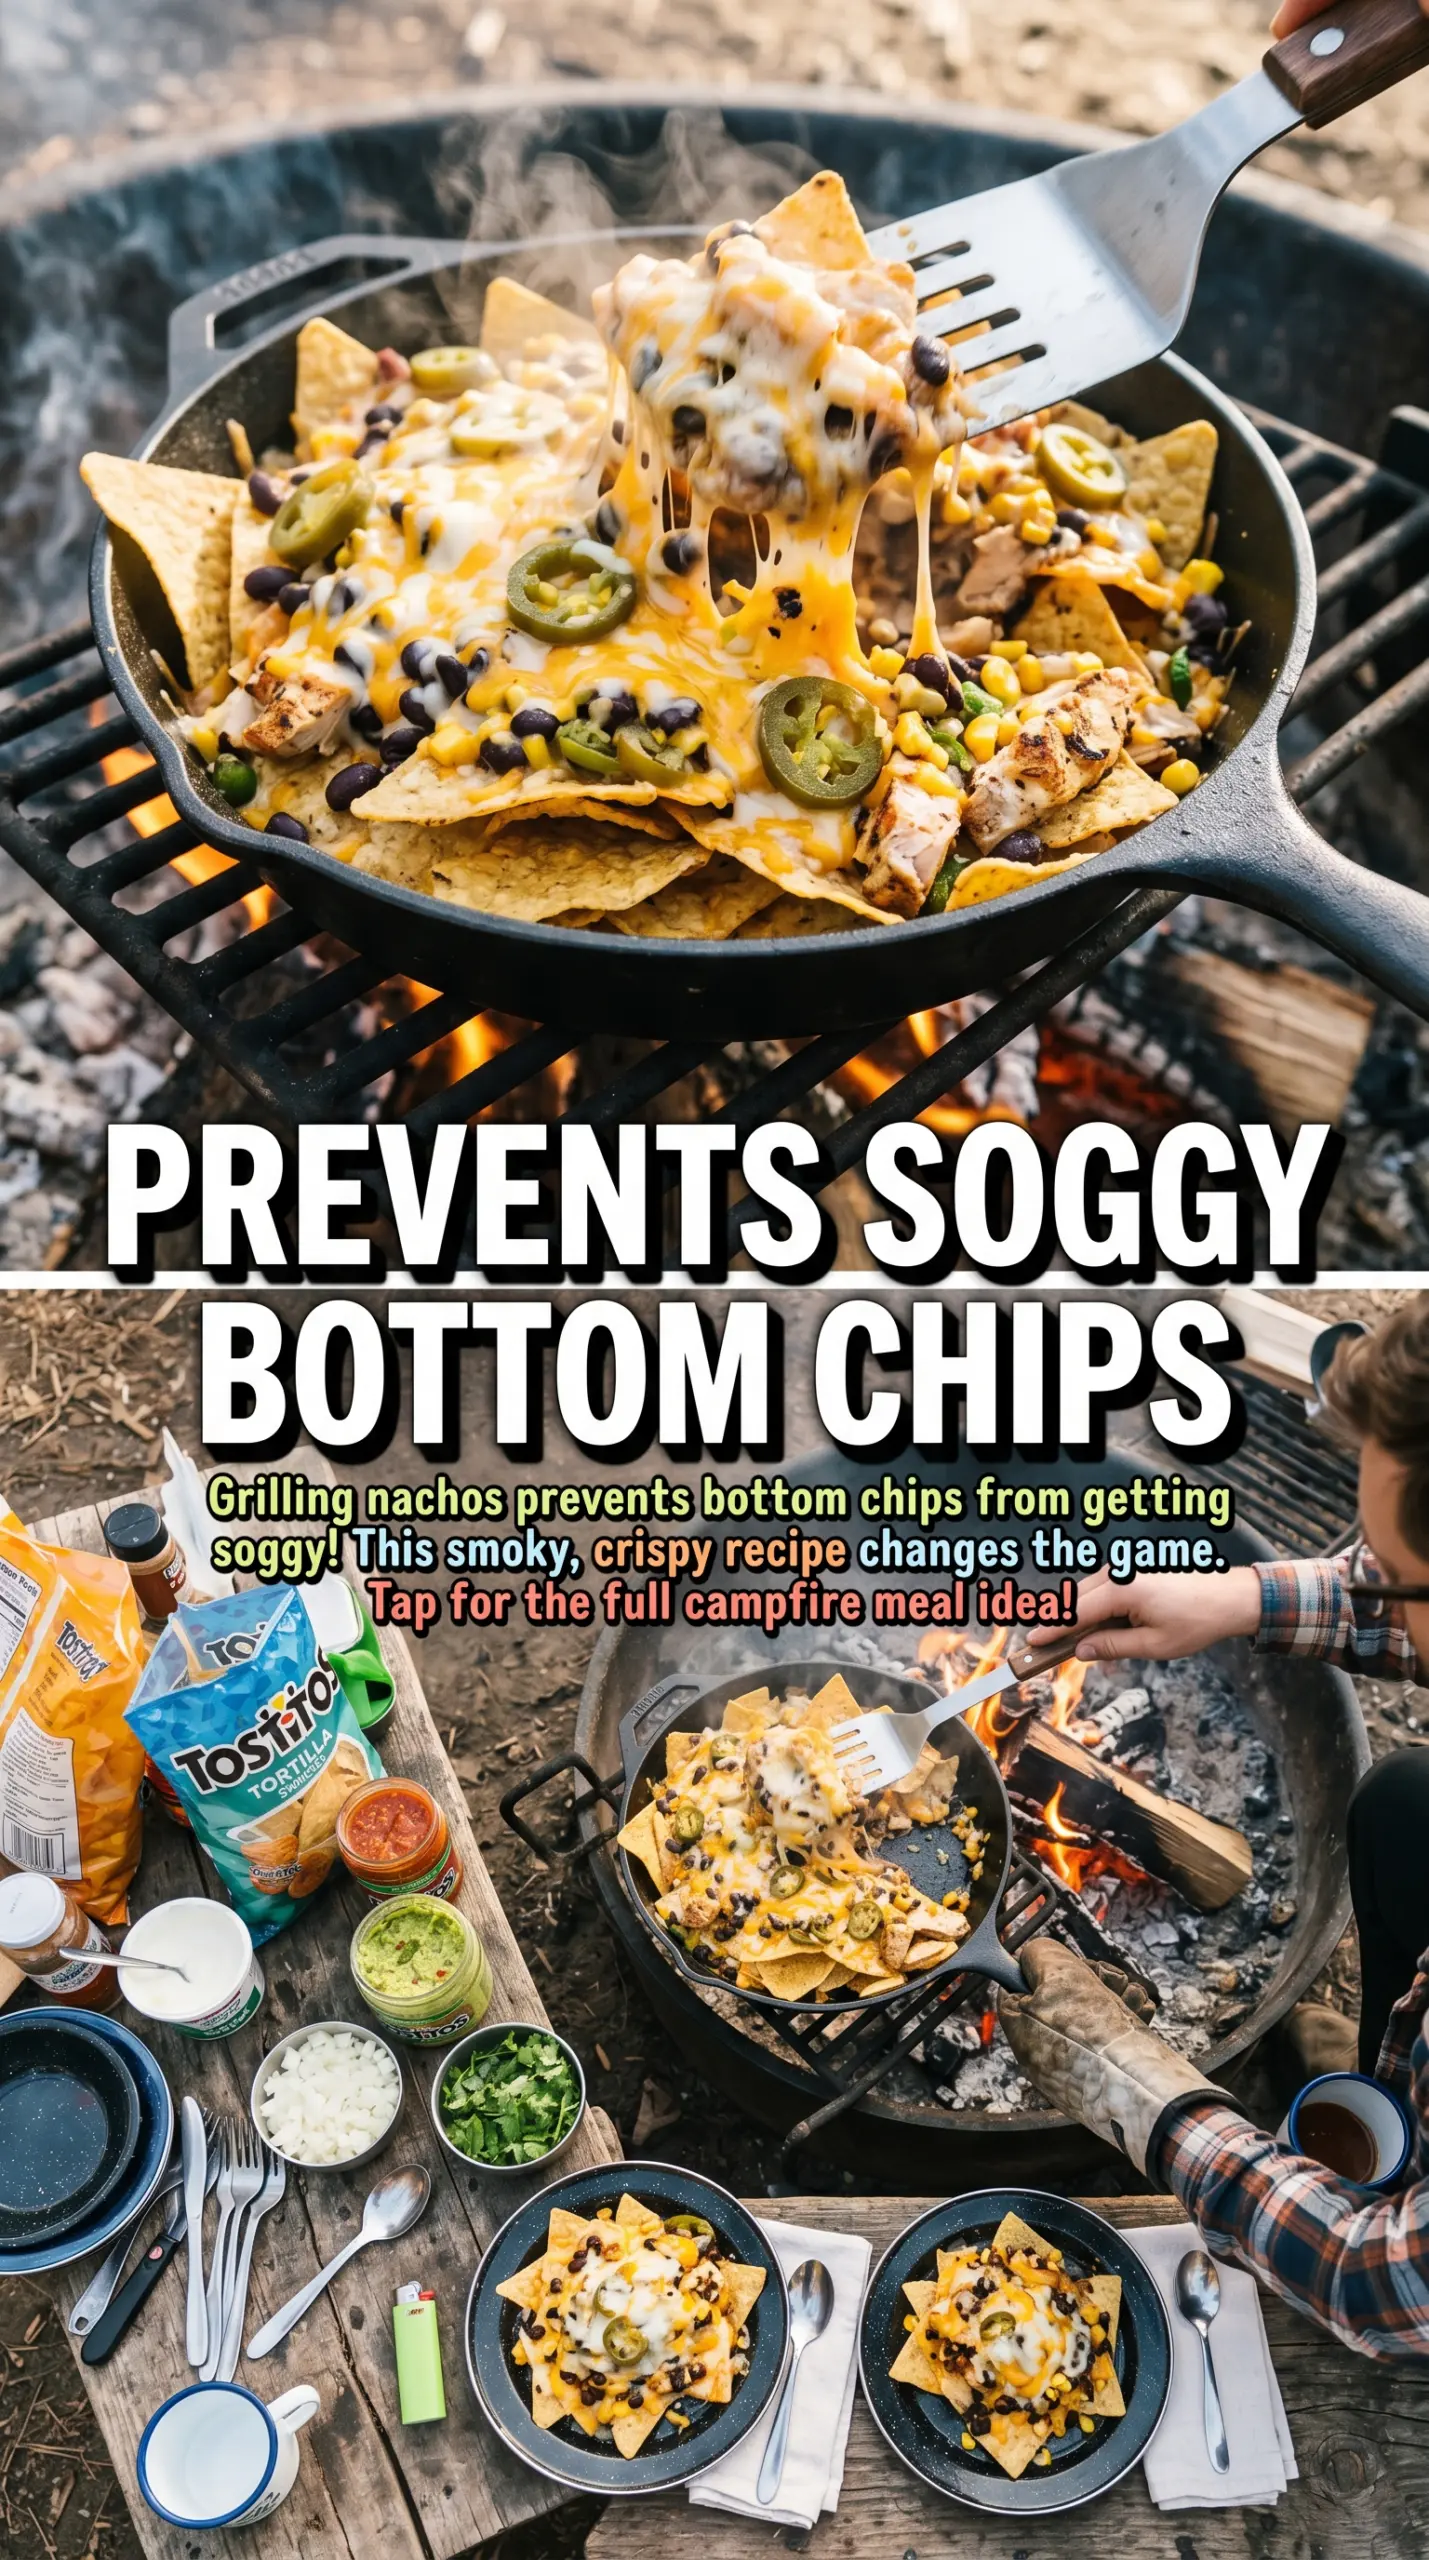
Below you’ll find the layering order that keeps the chips from turning soggy, plus a few swaps if you want to lighten them up or make them easier to pack for a camping weekend.
The cheese melted all the way through and the bottom chips stayed crisp enough to scoop. I used a cast iron grate over our fire and the pan was bubbly in about 9 minutes, then everybody added their own toppings.
Camping grilled nachos with melty layers and smoky campfire edges
The Layering Trick That Keeps Campfire Nachos Crisp
Most nachos go wrong outdoors because the bottom layer gets buried under wet toppings before the cheese has a chance to bind everything together. These work because the chips, cheese, beans, and beef are stacked in two thin layers instead of one heavy pile. That gives the heat room to move through the pan and melt the cheese before the chips collapse.
The other thing that matters is the pan itself. A shallow disposable aluminum pan lets the heat reach the center fast, which is what you want over a campfire. Deep pans trap steam, and steam turns chips limp. Keep the pan over medium heat, not right in the hottest part of the fire, or the edges will scorch while the middle is still stiff.
- Layering in two passes — This keeps the toppings distributed so every scoop gets some cheese, beans, and beef instead of a dry top and soggy bottom.
- Medium campfire heat — You want steady melting, not aggressive flame. If the fire is roaring, move the pan higher or to a cooler spot.
- Disposable aluminum pan — Thin metal reacts fast and makes cleanup easier. Heavy roasting pans take longer to heat and don’t suit campsite cooking as well.
What Each Ingredient Is Doing in These Nachos
The tortilla chips need to be sturdy enough to hold up under heat and toppings. Thin restaurant-style chips work best because they crisp back up at the edges while the center softens just enough to eat cleanly. Flavored chips can fight the rest of the filling, so plain salted chips are the safest bet.
The Mexican cheese blend matters more than people think. It usually includes cheeses that melt smoothly without turning oily, which is what gives you those stretchy pockets between the chips. If you want to use a single cheese, Monterey Jack is the closest substitute. The beef should already be cooked and seasoned before it goes into the pan, because the grill step is for melting, not for raw meat.
- Black beans — They add body and keep the nachos from feeling like melted cheese over chips. Drain them well or they’ll introduce too much moisture.
- Salsa — This belongs on top after cooking, not before. Putting it underneath would steam the chips and dilute the cheese layer.
- Sour cream — Add it at the end for cool contrast. Heating it in the pan can make it loosen and lose that clean finish.
- Jalapeño and cilantro — These are fresh finishing ingredients, so they should stay bright. They give the pan a fresh edge that balances the rich beef and cheese.
- Lime wedges — A squeeze right before eating wakes up the whole pan. The acid cuts through the fat and makes the toppings taste sharper.
Building the Pan So the Chips Don’t Turn to Mush
Start with a Thin Base
Scatter half the chips across the pan in an even layer, then stop. A thick mound looks generous, but it traps steam and makes it harder for the cheese to melt all the way through. The goal is to leave small gaps so heat can travel between the layers. If your chips are piled too high, the top gets greasy before the center is ready.
Stack the Filling in the Middle
Sprinkle on half the cheese, beans, and beef, then repeat with the remaining chips and toppings. Keep the layers loose enough that you can still see some chip edges peeking through. That visibility is useful — once the cheese starts bubbling around the sides and in the center, you know the pan is close. If you pack it down, the chips steam instead of crisping at the edges.
Watch for the Melt, Not the Clock
Eight to ten minutes is the window, but the real cue is bubbling cheese and softened chips around the edges. Lift the pan off the heat as soon as the cheese is melted through; if it stays on the fire too long, the bottom layer starts to darken and the chips lose their snap. Add the salsa, sour cream, jalapeños, and cilantro after the pan comes off the heat so the toppings stay fresh and the sour cream doesn’t split.
How to Adapt These for Different Campsites and Eaters
Vegetarian campfire nachos
Skip the beef and double the beans, or add canned corn and diced peppers for more bulk. The nachos stay hearty because the cheese and beans still give you plenty of body, and the pan cooks the same way. This version tastes a little lighter but still lands with that smoky campfire finish.
Dairy-free version
Use your favorite melting-style dairy-free shreds and add a little extra salsa after cooking for moisture. The texture won’t be quite as stretchy as the dairy version, but it still works if the substitute is built for melting. Avoid coconut-based products here, since the flavor can clash with the beef and beans.
Make them meatier
Use seasoned ground beef, chorizo, or a mix of both if you want a richer, spicier pan. Just keep the meat fully cooked before it goes into the nachos so the grill time stays short. Extra-fat sausage can make the pan greasy, so drain off anything obvious before layering.
Storage and Reheating
- Refrigerator: Store leftovers in an airtight container for up to 2 days. The chips will soften, but the flavor holds up.
- Freezer: These don’t freeze well once assembled. The chips turn soggy when thawed, so only freeze the cooked beef and beans if you want to prep ahead.
- Reheating: Reheat in a 350°F oven until the cheese loosens again, then add fresh salsa and sour cream after warming. The mistake people make is microwaving the whole pile, which turns the chips limp in minutes.
Answers to the Questions Worth Asking

Camping Grilled Nachos
Ingredients
Equipment
Method
- Line a large disposable aluminum pan with half the tortilla chips, spreading them into an even layer for consistent melting.
- Layer half the cheese, half the black beans, and half the cooked ground beef over the chips so every bite gets toppings.
- Repeat the layers with the remaining tortilla chips, cheese, black beans, and ground beef.
- Place the pan on the grill grate over medium campfire heat, keeping the pan stable over the hottest area.
- Cook for 8-10 minutes until the cheese is melted and actively bubbling, with the edges turning slightly golden.
- Remove from heat and top immediately with salsa, sour cream, sliced jalapeños, and chopped cilantro.
- Serve right away with lime wedges on the side for squeezing over the top.