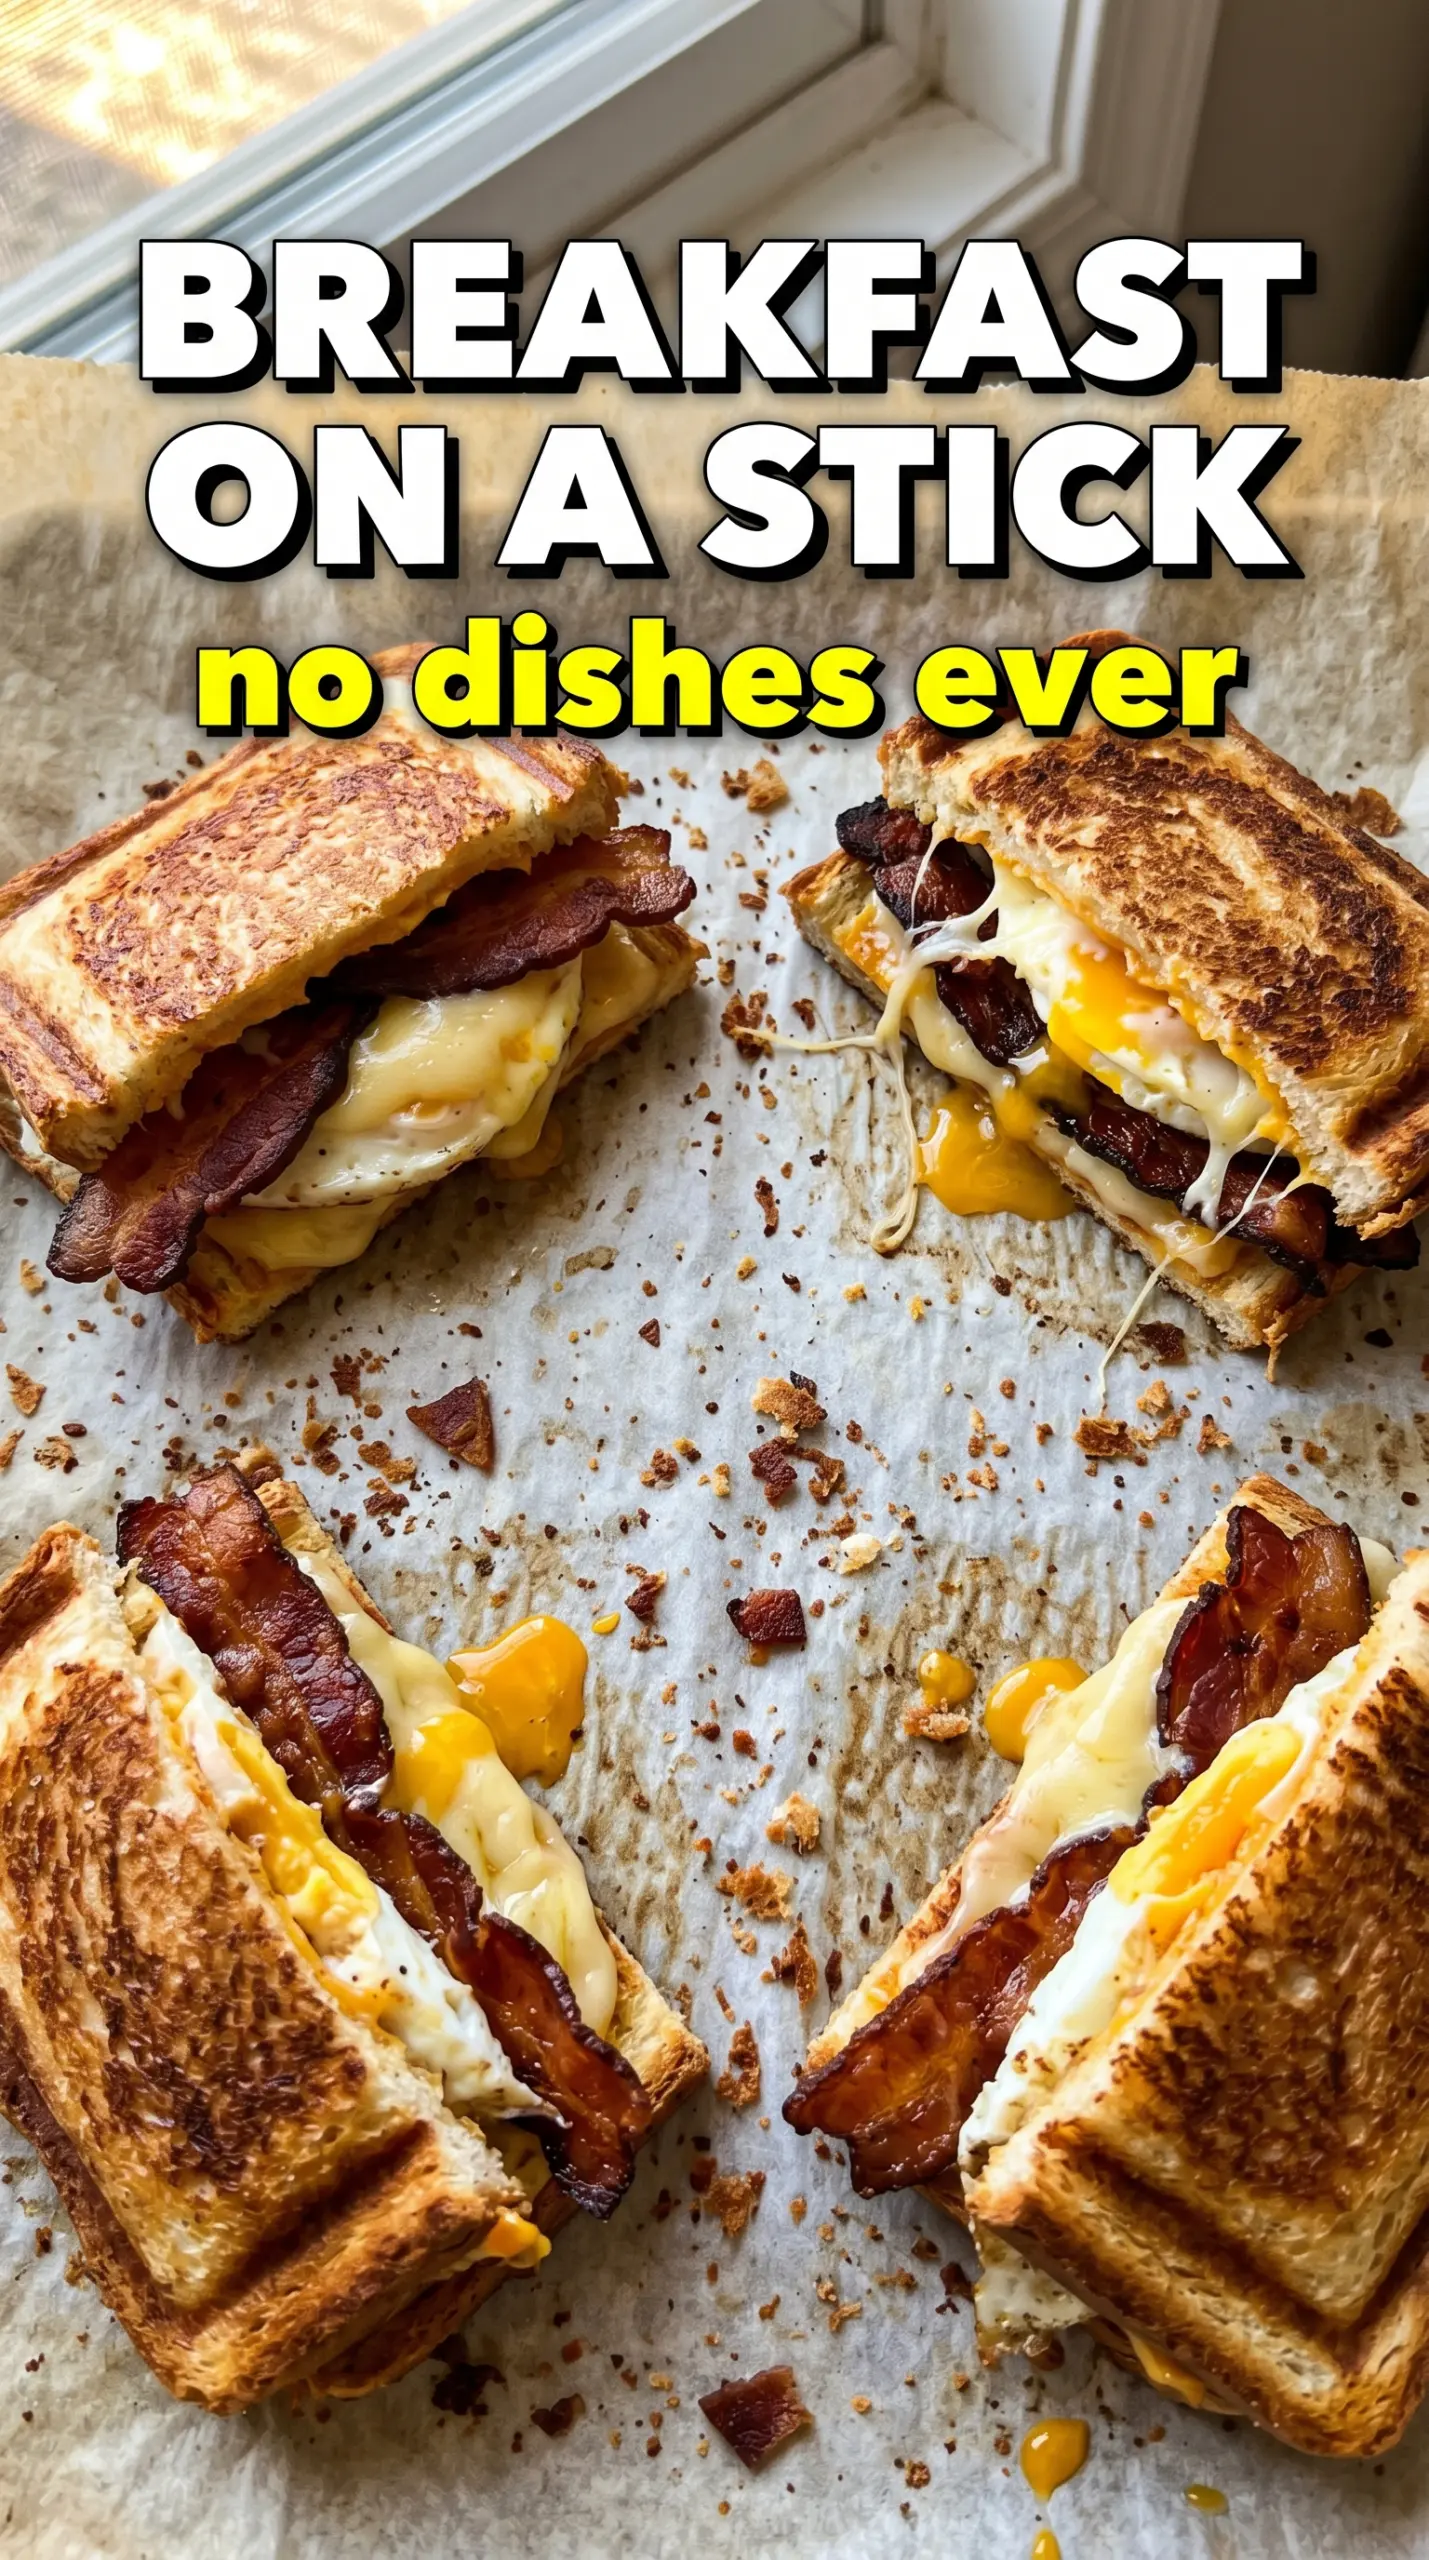
Bacon pie irons turn a few ordinary breakfast staples into a hot, crisp sandwich with the kind of melted center that makes people hover near the fire waiting for theirs. The bread gets deeply toasted and buttered, the cheese melts into the eggs, and the bacon stays shattery around the edges instead of going limp inside the bread. It’s the kind of campfire breakfast that tastes bigger than the effort it takes.
The trick is keeping the filling cooked before it goes into the pie iron. Eggs need to be scrambled first because they won’t set evenly in the sandwich before the bread is done, and cooked bacon keeps the timing simple. I also butter the outside of the bread well so the sandwich browns instead of drying out over the coals.
Below, I’ve included the small timing detail that keeps the bread from burning before the center is hot, plus a few easy ways to change the filling without losing that crisp, melty finish.
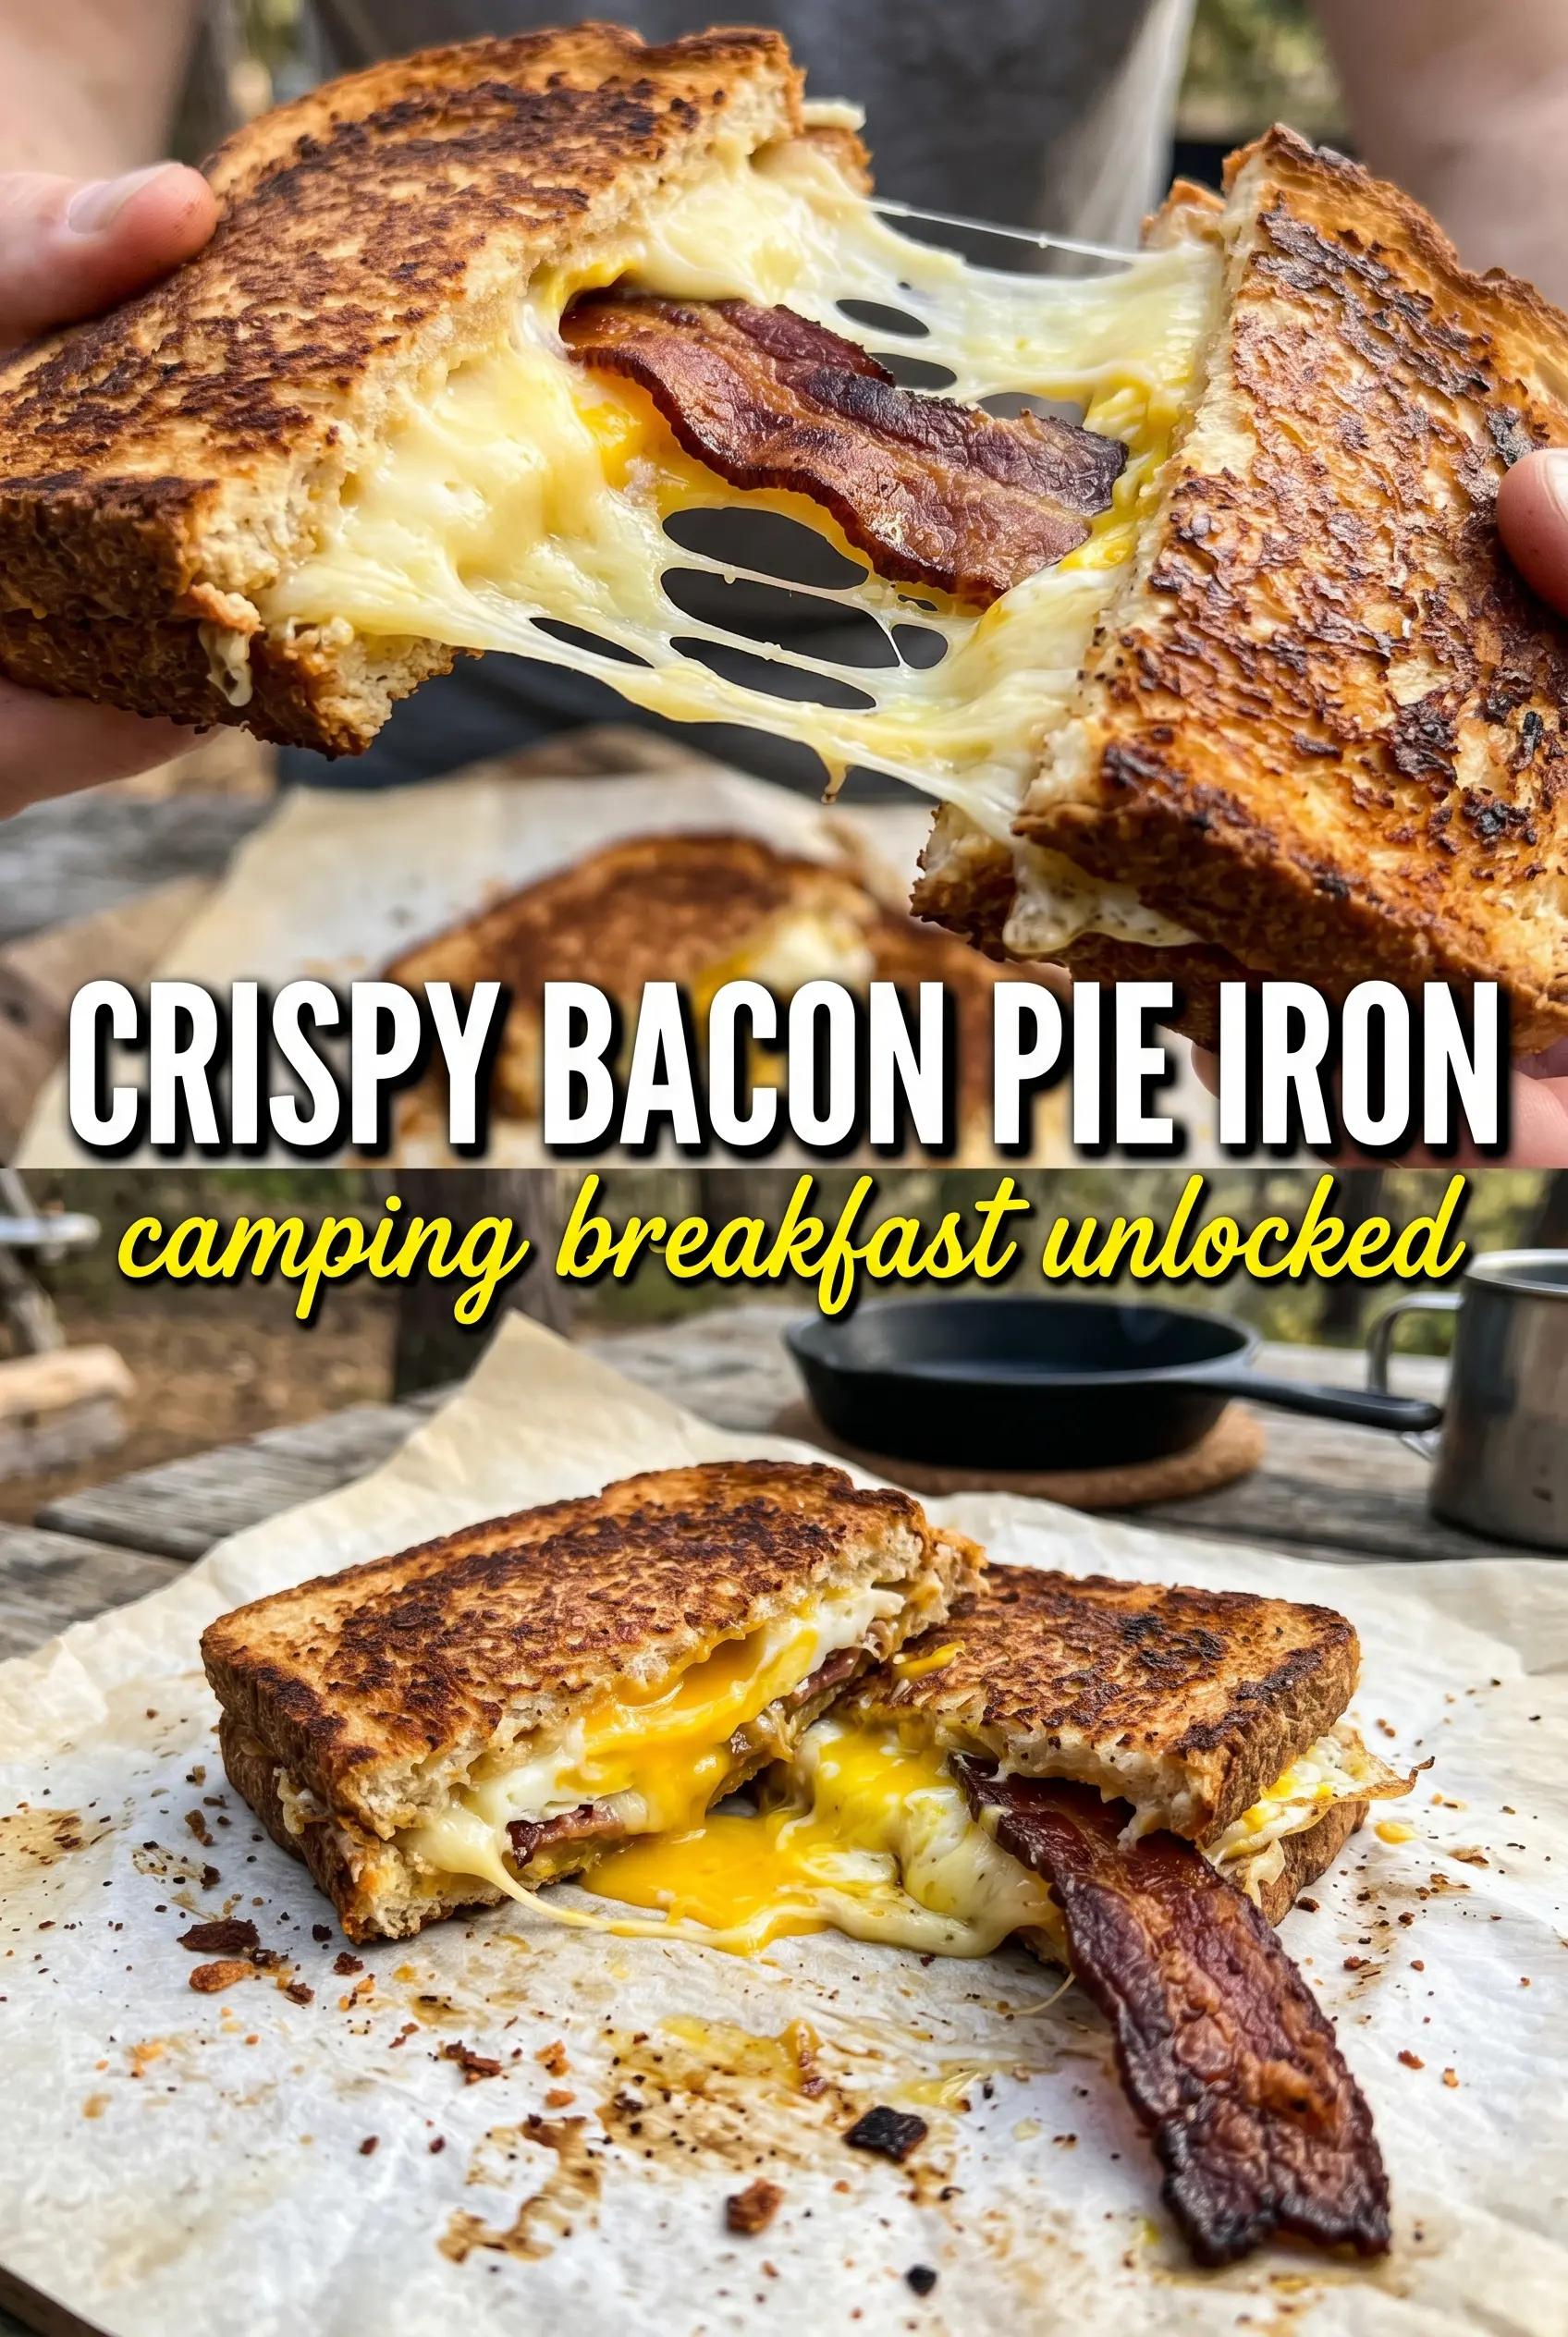
The bread toasted up evenly and the cheese melted right into the eggs without spilling out. I cooked each side about 3 minutes over the coals and it came out perfect.
Crispy bacon, melted cheddar, and eggs in a buttery pie iron sandwich are worth saving for your next campfire breakfast.
The Reason the Eggs Go In Already Scrambled
Pie irons cook from the outside in, which sounds simple until you try to set raw eggs inside a sandwich and end up with burnt bread and soft filling. Scrambling the eggs first gives you control over texture and keeps the center from turning watery. You’re aiming for a finished sandwich where the eggs are tender, not rubbery, and the bread is done at the same moment the cheese melts.
The other thing people miss is heat management. Campfire coals are better than big flames here because flames scorch the bread before the filling warms through. If your sandwich is browning too fast, move the pie iron farther from the hottest coals and give it a little more time. Slow heat is what gives you that even, golden crust.
What the Bread, Butter, and Cheese Are Doing Here
- Bread — Standard sandwich bread works well because it seals easily and toasts quickly. Thick bakery bread can work, but it needs a little more time over the coals. If the slices are too thin, they can split at the seams when you close the pie iron.
- Bacon — Cook it first so it stays crisp and salty instead of releasing grease into the sandwich and making the bread soggy. Thick-cut bacon is fine, but I like it chopped into smaller pieces if the strips are long, since that helps the filling stay inside the bread.
- Eggs — Scrambled eggs give the sandwich structure. If you use raw eggs, they can leak and overcook before the bread is ready. Cook them just until softly set, because they’ll warm a little more inside the pie iron.
- Cheddar — Cheddar brings the sharp, melty layer that holds the filling together. Pre-sliced cheese melts fine, but freshly grated cheddar gives a smoother melt if that’s what you have on hand.
- Butter — Butter on the outside is what gives you the browned, crisp crust. Skip it and the bread tends to dry out instead of toasting. Spread it evenly right to the edges so the corners don’t come out pale.
Building the Sandwich So It Browns Before It Burns
Butter the Bread First
Spread butter on one side of each slice of bread, all the way to the corners. That outside layer is what fries against the hot metal and keeps the bread from sticking. If the butter is too cold to spread cleanly, let it soften for a few minutes first; torn bread is harder to seal.
Layer the Filling in the Right Order
Set one slice butter-side down in the pie iron, then add the scrambled eggs, bacon, and cheese before closing with the second slice butter-side up. Keep the filling centered so it doesn’t ooze out the sides. A little overfilling is the fastest way to get a mess in the fire and a sandwich that cooks unevenly.
Cook Over Coals, Not Flames
Close the pie iron and cook for about 3 to 4 minutes per side, checking for a deep golden crust before you flip. If the fire is too hot, the outside will brown long before the cheese melts. Move it to a cooler spot if needed and cook a little longer rather than rushing it over high heat.
Open Carefully and Serve Hot
Let the pie iron sit for a few seconds before opening so the cheese settles instead of sliding out. The sandwich should release cleanly and smell buttery and toasty when it’s ready. Serve it right away while the bread is crisp and the center is still hot and melty.
How to Change the Filling Without Losing the Crunch
Make It Meat-Free
Skip the bacon and add sautéed mushrooms, peppers, or spinach that has been cooked until the moisture is gone. The key is drying the vegetables first, or the bread will steam instead of toast. You’ll lose the salty snap of bacon, but you’ll still get a rich, hearty sandwich.
Use Gluten-Free Bread
Gluten-free sandwich bread works, but it usually needs gentler handling because it can crack at the edges. Use slightly more butter and keep the filling centered so the slices don’t split when you close the iron. The texture will be a little more delicate, but the flavor still lands well.
Swap the Cheese
Cheddar melts cleanly, but Swiss, pepper jack, or American all work. A softer cheese gives you a looser melt, while a sharper cheese brings more bite. Avoid very dry, aged cheeses unless you pair them with something that melts well.
Make It Ahead for Camp Mornings
Cook the bacon and eggs at home, then chill them in separate containers until you head out. That cuts the fire-time down and makes breakfast faster without sacrificing texture. Assemble only what you plan to cook right away so the bread stays soft and doesn’t get soggy.
Storage and Reheating
- Refrigerator: Store leftovers wrapped well for up to 2 days. The bread softens as it sits, so the texture is best fresh.
- Freezer: I don’t recommend freezing the assembled sandwiches. The eggs and bread both suffer after thawing, and the texture turns soggy.
- Reheating: Reheat in a skillet over medium-low heat or in a toaster oven until the outside crisps back up. Microwaving warms the center fast, but it makes the bread rubbery and wipes out the best part of the sandwich.
Answers to the Questions Worth Asking
Bacon Pie Irons
Ingredients
Equipment
Method
- Butter one side of each bread slice so the bread toasts and seals in the fillings.
- Place one slice butter-side down in the pie iron to form the base layer.
- Layer scrambled eggs, cooked bacon, and cheddar cheese inside the pie iron over the bread.
- Season with salt and pepper to taste, then top with the second bread slice butter-side up.
- Close the pie iron and cook over campfire coals for 3-4 minutes per side until both sides turn golden and the cheese melts.
- Carefully open the pie iron, remove the sandwich, and serve hot.