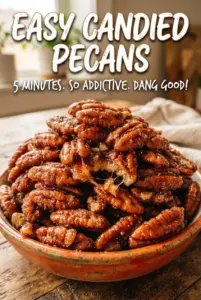
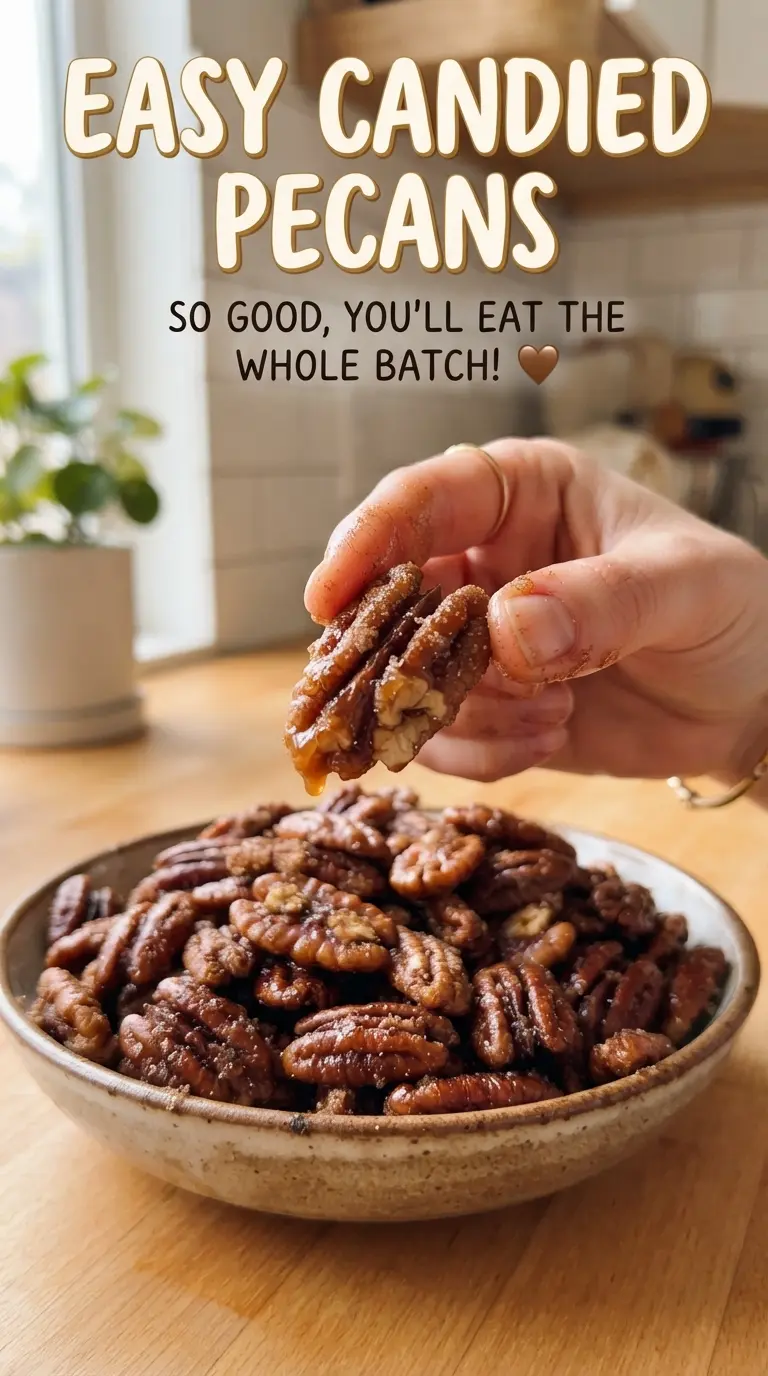
Candied pecans earn their place fast: crisp, glossy, sweetly spiced, and just sticky enough when they first come out of the oven that you have to leave them alone to set. Once they cool, that sheen turns into a crackly coating that shatters cleanly instead of going tacky, and that’s what separates a batch people snack on from a batch that sits in a jar untouched.
The trick is low heat and patience. A hot oven burns the sugar before the pecans dry out, but 250°F gives the coating time to caramelize gradually while the egg white turns into a thin, foamy binder. Stirring every 15 minutes keeps the nuts from clumping into one giant sheet, and cooling them all the way on the pan is what gives you that dry, crunchy finish instead of a soft, sticky mess.
Below, I’ll walk you through the one step people rush most often, the ingredient swap that matters if you’re out of pecan halves, and a few ways to use these for snacks, salads, and gifting without losing that crisp shell.
The coating turned out perfectly crackly, and stirring every 15 minutes kept the pecans from sticking together. I cooled them on the pan like you said, and by the time they were in the jar they were crunchy all the way through.
Save these crackly cinnamon candied pecans for snacking, gifting, or topping salads when you want something sweet, crunchy, and homemade.
The Part That Keeps Candied Pecans Crisp Instead of Sticky
The sugar coating on candied pecans doesn’t set because of high heat. It sets because the mixture dries slowly enough for the sugar to cling in a thin layer instead of melting into syrup. That’s why this recipe leans on a frothy egg white, not a wet batter. The egg white gives the sugar something to grab onto without leaving the nuts heavy or gummy.
The other detail that matters is the stirring. Pecans bake best when they’re turned often enough to expose new surfaces, but not so often that you knock the coating off before it has a chance to dry. If your nuts ever come out dull or soft, it’s usually because the oven ran too hot or the pan was crowded. One loose layer on parchment gives the moisture somewhere to escape.
- Pecan halves — Halves toast evenly and give you the best crunchy bite. Pieces work in a pinch, but they brown faster and can turn dusty. If your pecans are stale, this recipe won’t hide it.
- Egg white — This is the binder that makes the sugar stick without adding a meringue texture. Whisk it until frothy, not stiff. You want bubbles, not peaks.
- Ground cinnamon — Cinnamon does more than add warmth; it keeps the sugar from tasting flat. Fresh cinnamon makes a bigger difference here than most recipes, since the coating is simple and every note shows.
- Vanilla extract — Vanilla rounds out the sugar and cinnamon and keeps the coating from tasting sharp. Real extract is worth using here because there’s nowhere for a fake vanilla note to hide.
- Salt — The small amount of salt keeps the candy coating from reading one-note sweet. Don’t skip it. It’s part of what makes people reach for a second handful.
What Each Ingredient Is Actually Doing in This Recipe
- Primary ingredient (the star) — Quality matters most. Choose the best you can find.
- Cooking medium (oil, butter, or broth) — This carries flavors and prevents dryness.
- Seasonings (salt, pepper, spices, herbs) — Layer flavors so nothing overpowers. Build depth gradually.
- Aromatics (garlic, onion, herbs) — Cook with fat to bloom flavors. Become the foundation.
- Supporting ingredients — Complement the main ingredient without overpowering it.
- Sauce or liquid (if applicable) — Brings flavors together. Balance richness with acid.
- Acid (lemon, vinegar, wine, or other) — Brightens and prevents flat-tasting results.
- Final finish (garnish, glaze, or sauce) — Prevents one-dimensional taste and adds visual appeal.
How to Build the Coating So It Dries Crackly
Whisk the binder first
Start by whisking the egg white, water, and vanilla until the mixture turns frothy and slightly opaque. That foam is what helps the sugar cling in an even layer. If you under-whisk here, the coating slides off and pools in the pan instead of forming on the nuts.
Coat the pecans evenly
Toss the pecans in the frothy egg white until every piece looks lightly glazed. You’re not trying to drown them. A thin, even coat is enough. Too much liquid leaves you with clumps that bake up sticky in the center and overdone at the edges.
Add the sugar mixture and spread it out
Mix the sugar, cinnamon, and salt in a separate bowl before adding it to the nuts. That keeps the spice evenly distributed instead of patchy. Once the pecans are coated, spread them on parchment in a single layer. If they’re piled on top of each other, they steam and stay soft.
Bake low and stir on schedule
Bake the pecans at 250°F for about an hour, stirring every 15 minutes. They’ll look wet for the first half of the bake, then gradually turn drier and sandier as the sugar sets. If the edges are browning too quickly, your oven runs hot. Pull the pan out a few minutes early rather than letting the sugar scorch.
Let them cool completely on the pan
This is the step that turns coated nuts into candied pecans. Don’t move them while they’re warm. The sugar hardens as they cool, and that final dry time on the sheet pan is what gives you the crisp snap. Break them apart only after they’re fully cool to the touch.
Use walnuts instead of pecans
Walnuts work well here, but they taste a little more bitter and a little less buttery than pecans. Keep the same method and watch them closely in the last 15 minutes, since walnut pieces tend to toast faster at the edges.
Make them dairy-free and gluten-free without changing anything
This recipe is naturally dairy-free and gluten-free as written, which is part of why it’s such a useful one to keep around. Just check your vanilla and spices if you’re cooking for someone with a severe allergy, since cross-contamination can happen in packaged ingredients.
Swap in pumpkin pie spice for a warmer version
Replace the cinnamon with the same amount of pumpkin pie spice if you want a deeper, more rounded spice note. The pecans will taste a little less sharp and a little more bakery-style, which works well for gifting or topping desserts.
Cut the sugar slightly for a lighter coating
You can reduce the sugar a little, but don’t drop it too far or the coating turns thin and dusty instead of glossy and crisp. The tradeoff is less candy shell and a more toasted nut flavor, which some people prefer for salads or cheese boards.
Storage and Reheating
- Refrigerator: Store in an airtight container at room temperature for up to 2 weeks. The fridge isn’t necessary and can introduce moisture that softens the coating.
- Freezer: They freeze well for up to 2 months if sealed tightly. Thaw uncovered at room temperature so condensation doesn’t make the sugar sticky.
- Reheating: These don’t need reheating, but if they soften, spread them on a parchment-lined pan and warm at 250°F for 5 to 8 minutes. Cool completely again before storing. Most people skip the cooling step and wonder why the coating never crisps back up.
Answers to the Questions Worth Asking
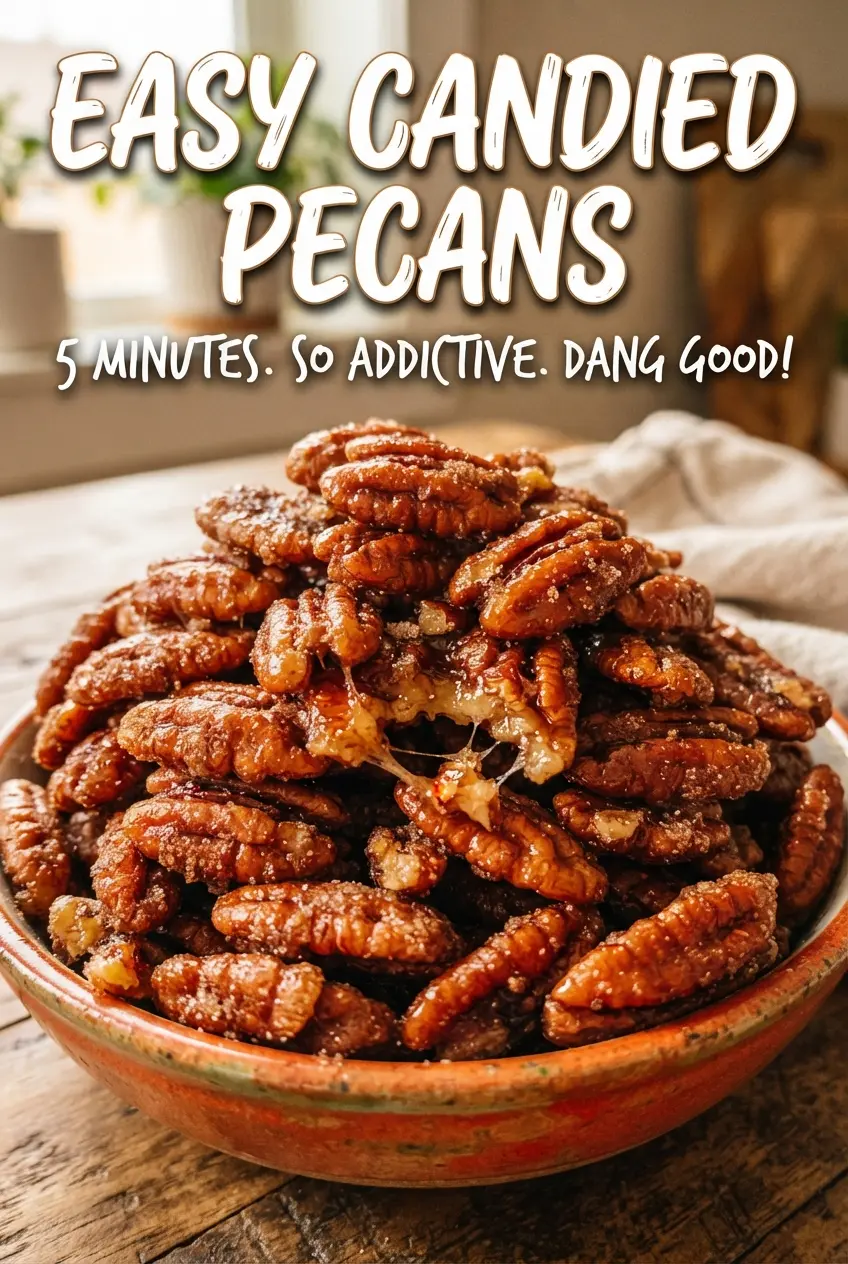
Easy Candied Pecans
Ingredients
Equipment
Method
- Preheat oven to 250F and line a sheet pan with parchment.
- Whisk egg white, water, and vanilla until frothy.
- Toss pecan halves in the egg white until evenly coated, so every nut looks lightly glazed.
- Mix sugar, ground cinnamon, and salt, then toss with the pecans until fully dusted and speckled.
- Spread the pecans in a single layer on the prepared sheet pan so they roast evenly.
- Bake for 1 hour, stirring every 15 minutes, until the coating looks glossy and then sets.
- Cool completely on the pan until crunchy, then break apart for storage.