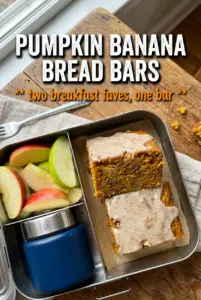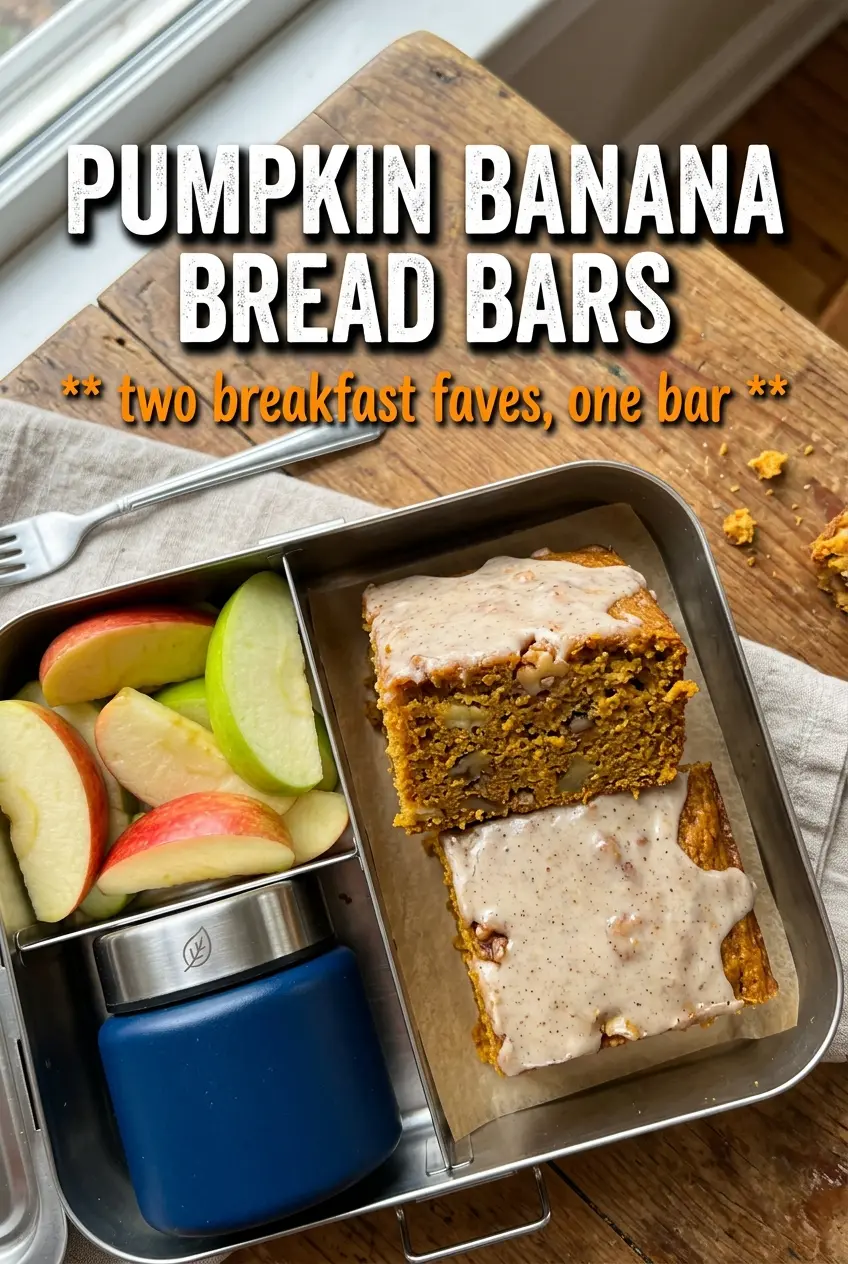
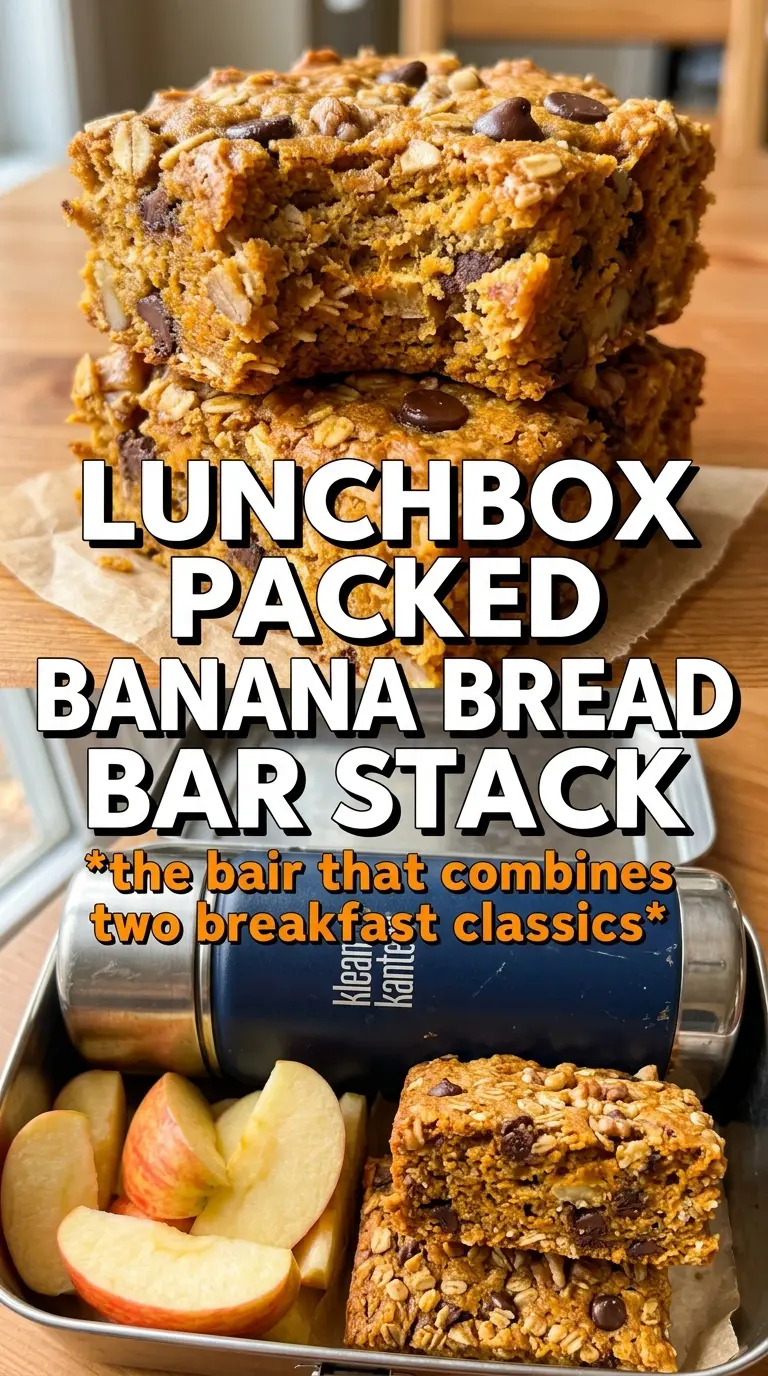
These pumpkin banana bread bars bake up soft, tender, and just a little cakey, with the kind of moist crumb that slices cleanly once cooled. The banana brings sweetness and body, the pumpkin keeps everything plush, and the warm spice gives each bite that familiar bakery-style comfort without making the bars heavy. The maple glaze on top finishes them with a glossy sweetness that fits the bars instead of burying them.
The trick here is balance. Two ripe bananas add enough flavor to read clearly, but the pumpkin keeps the texture from turning gummy the way some banana bars do. Oil helps the bars stay soft for days, and a 9×13 pan gives you thin, even bars that bake through before the edges dry out. If you’ve ever had quick bread bars collapse in the center, it usually means the batter was overmixed or the bars came out too early. A clean toothpick and a full cool-down matter here.
Below, I’ve included the one texture cue that matters most when you’re mashing the bananas, plus a few smart swaps and storage notes for making these bars ahead.
The bars came out super moist and the maple glaze set up just enough that they sliced cleanly after cooling. I made them for breakfast and they were gone by lunch.
Save these Pumpkin Banana Bread Bars for the days when you want a soft breakfast bar with a maple glaze and zero fuss.
The Reason These Bars Stay Soft Instead of Turning Dense
Quick bread bars can go wrong in two places: the batter gets overworked, or the fruit base is too wet for the pan size. This recipe avoids both by using a smooth banana mash, a measured amount of pumpkin puree, and a short mix once the dry ingredients go in. As soon as flour disappears, stop stirring. That keeps the crumb tender instead of tough and gummy.
The other thing that matters here is bake time. These bars should look set at the edges and just baked through in the center, not deeply browned on top. A toothpick should come out clean or with a few moist crumbs, but not wet batter. If you cut them warm, they’ll seem underdone and they’ll fall apart. Letting them cool completely gives the structure time to settle.
What Each Ingredient Is Actually Doing in These Pumpkin Banana Bread Bars
- Very ripe bananas — These bring the natural sweetness and the banana flavor that defines the bars. The riper they are, the smoother they mash and the less sugar you need to lean on for flavor.
- Pumpkin puree — Use plain pumpkin puree, not pumpkin pie filling. Pie filling is already sweetened and spiced, which throws off both the texture and the balance of the bars.
- Oil — Oil keeps the bars soft even after chilling, which is why this batter stays moist instead of turning dry the next day. Melted butter can work, but the bars will bake up a little firmer and less tender.
- Pumpkin pie spice and cinnamon — This blend gives the bars warmth without making them taste like a spice cake. If yours is older than a year, the flavor drops off fast, so fresh spice makes a noticeable difference.
- Maple glaze — The glaze is thin enough to drizzle but sweet enough to balance the earthy pumpkin. If you want it thicker, use a little less milk; if you want it to run in ribbons, add the milk drop by drop.
Building the Batter Without Beating the Air Out of It
Start with the wet ingredients
Mash the bananas until they’re very smooth, then whisk them with the pumpkin, sugars, oil, eggs, and vanilla until the mixture looks even and glossy. You don’t need to beat in a lot of air here. If you whisk until the batter turns fluffy, the bars can rise fast and sink as they cool.
Bring the dry ingredients in last
Stir the flour, baking soda, baking powder, spices, and salt together first, then fold them into the wet mixture just until the streaks disappear. The batter should look thick and spreadable, not whipped. A few tiny lumps are fine; dry pockets are not, so scrape the bottom of the bowl once or twice as you fold.
Bake until the center is set
Spread the batter evenly into a greased 9×13 pan and bake at 350°F for 25 to 30 minutes. The top should spring back lightly when touched, and a toothpick inserted in the center should come out clean. If the top browns before the middle is done, the pan is probably on a hot oven rack, so move it to the center for the remaining bake time.
Glaze only after cooling
Let the bars cool all the way before drizzling on the maple glaze. If the bars are warm, the glaze melts into the surface and disappears instead of sitting on top in neat ribbons. Once glazed, let them rest a few minutes so the top firms up before slicing.
Three Smart Ways to Adapt These Bars
Make Them Dairy-Free
The bars are already dairy-free as written if you use milk in the glaze and choose a non-dairy milk there. Almond milk or oat milk both work in the glaze; oat milk gives the cleanest finish, while almond milk keeps the glaze a little lighter.
Turn Them Into a Lower-Sugar Breakfast Bar
You can reduce the granulated sugar slightly and skip the glaze, but the bars will taste more like lightly sweet bread than dessert bars. The pumpkin and banana still carry plenty of moisture, so the texture holds up well even with less sweetness.
Add Nuts or Chocolate Chips
Fold in up to 3/4 cup chopped walnuts or chocolate chips at the very end. Walnuts add crunch and a toasty edge that works well with the pumpkin, while chocolate chips push the bars closer to dessert. Toss either one with a spoonful of flour first if you want them to stay suspended instead of sinking.
Storage and Reheating
- Refrigerator: Store covered for up to 5 days. The bars stay moist, though the glaze will soften a bit over time.
- Freezer: These freeze well. Wrap individual bars tightly and freeze for up to 2 months, then thaw at room temperature.
- Reheating: For the best texture, warm a bar for 10 to 15 seconds in the microwave. Longer heating makes the crumb dry at the edges and melts the glaze too much.