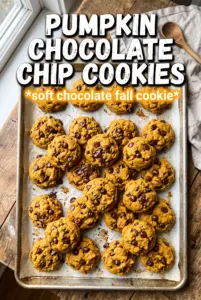
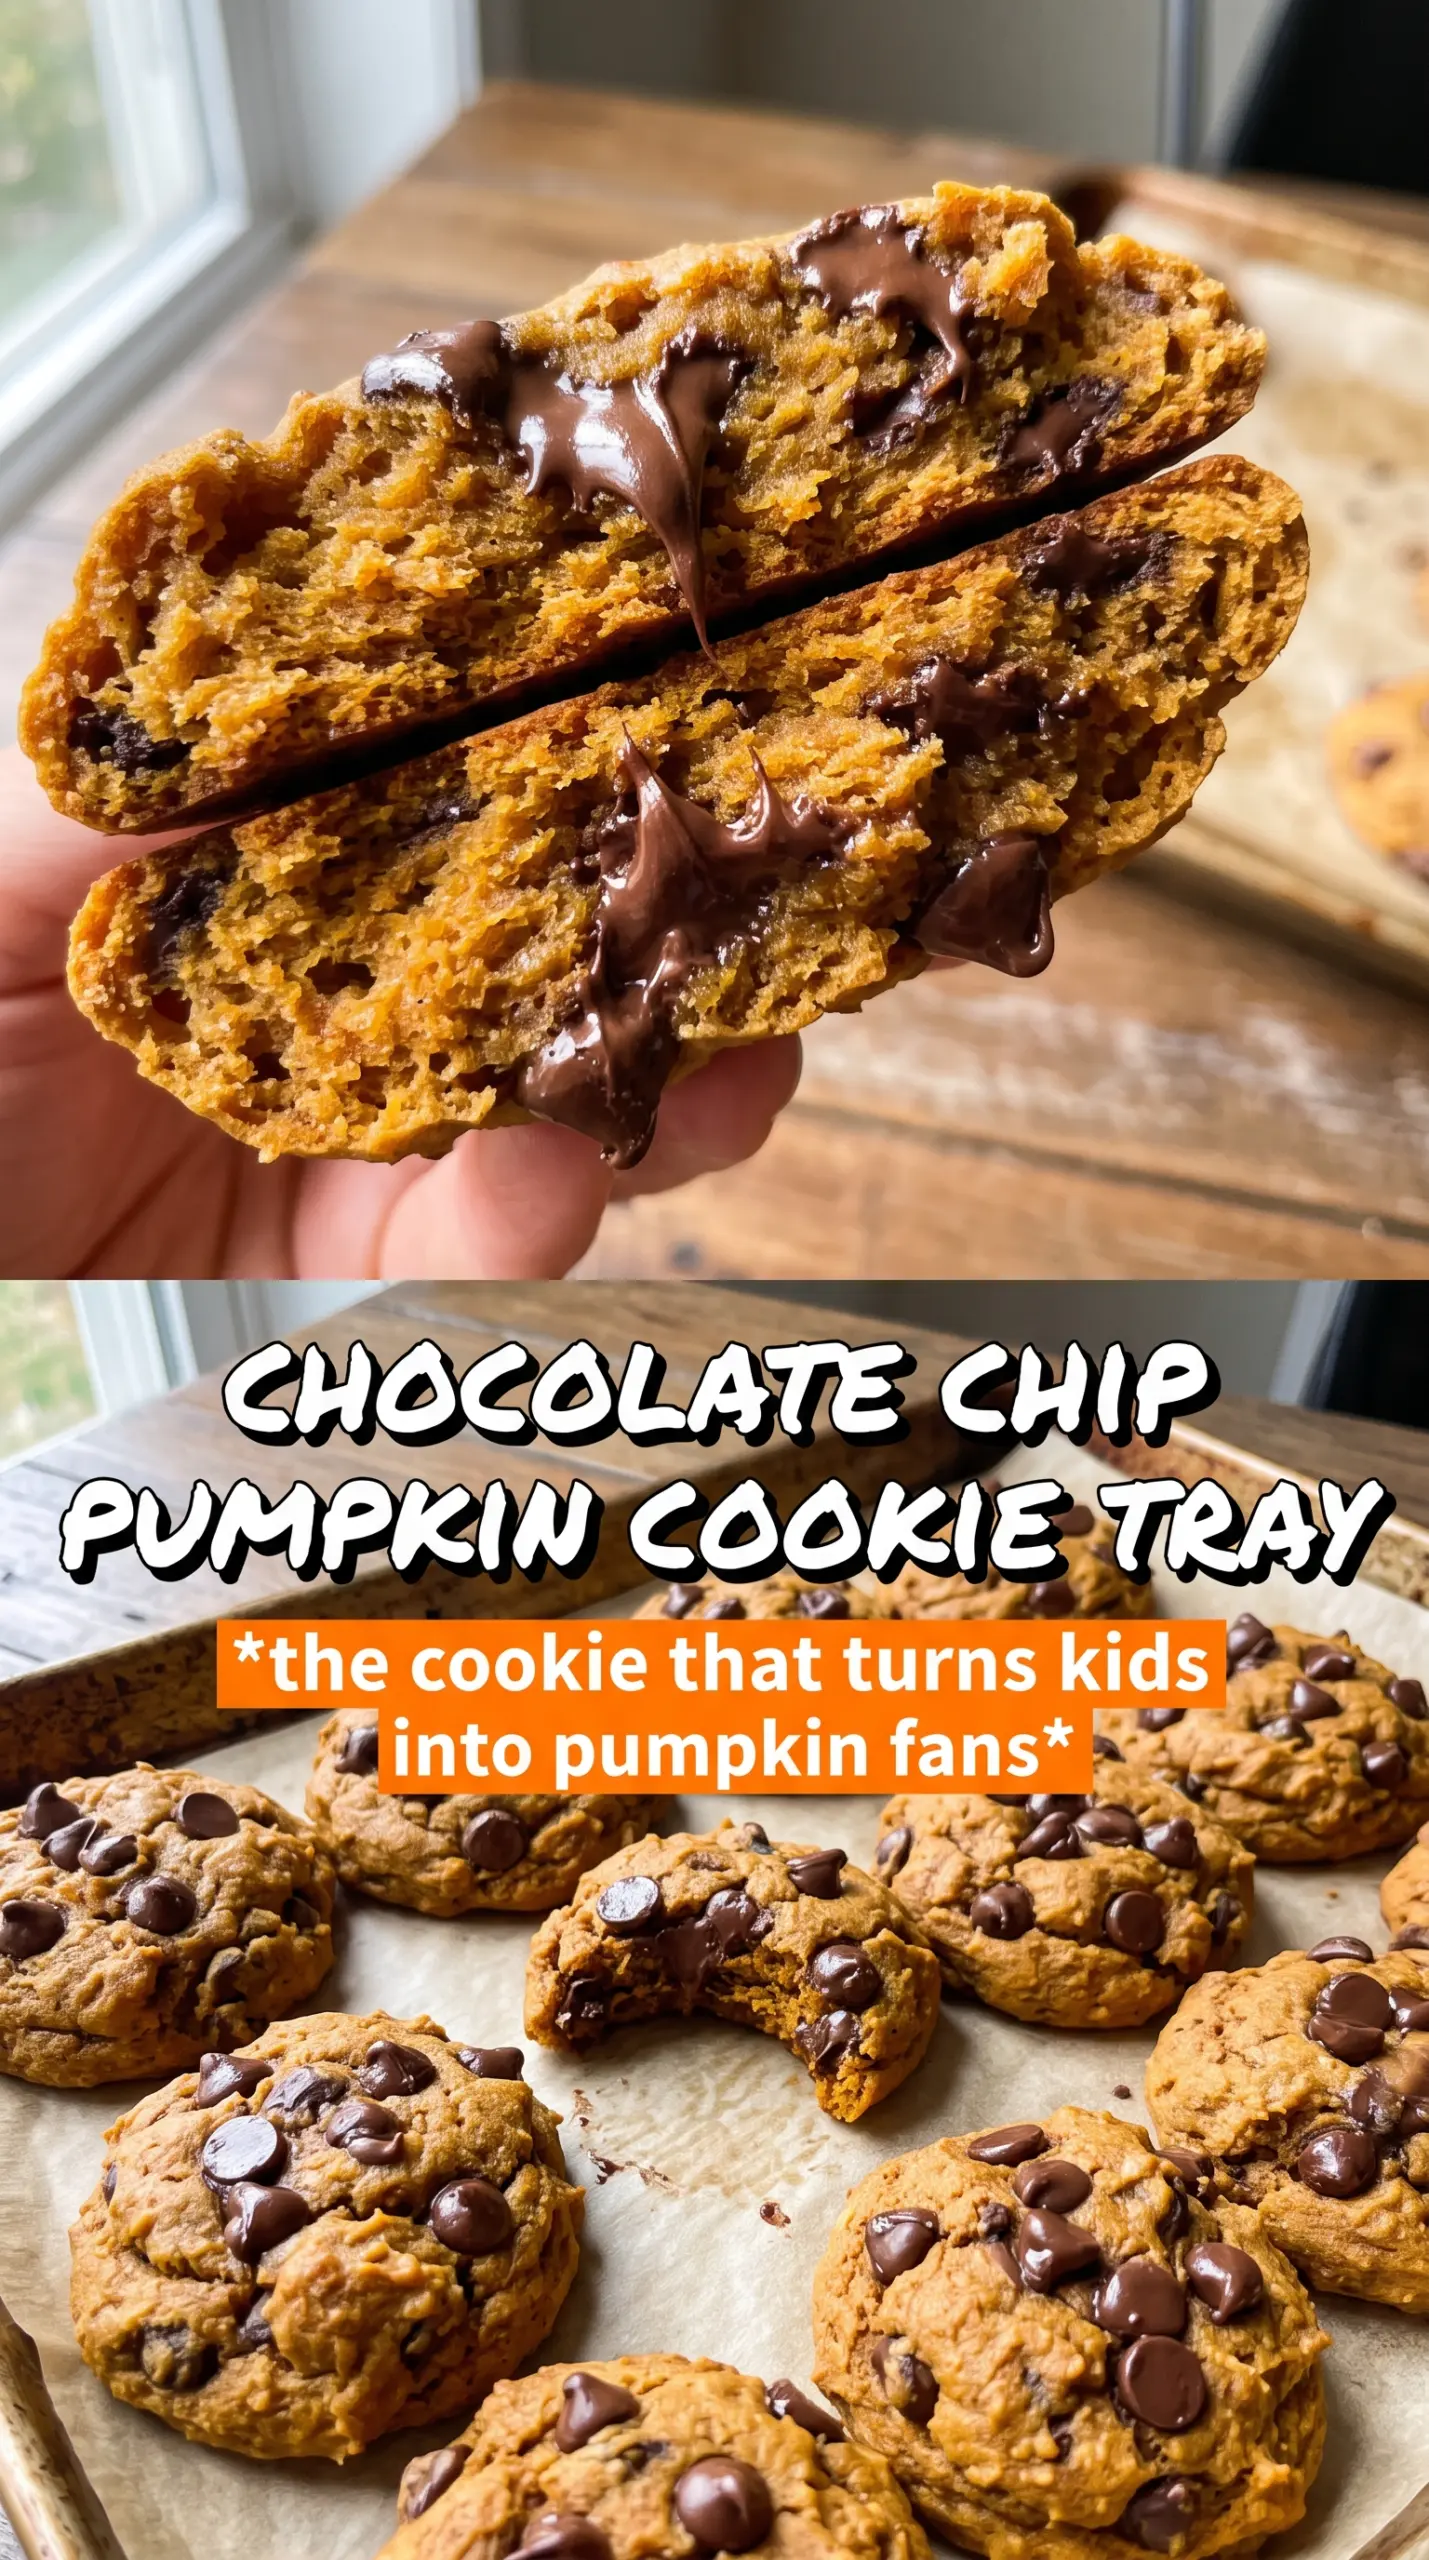
These pumpkin chocolate chip cookies bake up soft in the center with caramelized edges and little pockets of melted chocolate in every bite. They’re the kind of cookie that disappears off the cooling rack before you’ve even had a chance to stack them in a tin, because the pumpkin keeps them tender without turning them cakey when you handle the moisture the right way.
The difference here is the pumpkin prep. Blotting the puree until it’s as dry as possible keeps the dough from spreading into a puffy muffin-like cookie, and using just the egg yolk instead of a whole egg cuts down on extra water. The result is a cookie that still tastes warmly spiced and pumpkin-forward, but bakes with crisp edges and a dense, chewy middle.
Below, I’ve included the timing cues that matter, the ingredient swaps that actually work, and the storage notes that keep these cookies tasting fresh instead of soft and sticky the next day.
I was worried these would turn cakey, but blotting the pumpkin made a huge difference. The edges baked up crisp and the chocolate stayed in those melty pockets even the next day.
Pumpkin Chocolate Chip Cookies that stay chewy at the center and crisp at the edges are worth pinning for your next cookie craving.
The Reason These Cookies Stay Chewy Instead of Turning Cakey
Pumpkin cookie recipes usually fail in one of two ways: they spread into thin, greasy rounds or they puff up like little cakes. Both problems come from too much moisture. Pumpkin puree holds a lot of water, and when that water hits the oven, it steams the dough instead of letting the butter and sugar set into a proper cookie structure.
This version fixes that at the mixing stage. Blotting the pumpkin until it looks almost dry removes the extra moisture that causes cakiness, and the egg yolk adds richness without the extra liquid from a whole egg. The flour, baking soda, and baking powder work together here too: baking soda encourages browning, while the small amount of baking powder gives just enough lift to keep the centers soft without making them airy.
What Each Ingredient Is Actually Doing in This Batch
The pumpkin puree is the ingredient that needs the most respect. Use canned pumpkin puree, not pumpkin pie filling, and blot it hard between layers of paper towel until it feels thick and pasty. That step matters more than any spice blend in the bowl. If you skip it, the cookies will bake up soft but dull and bready instead of crisp at the edges.
- Unsalted butter — Softened butter creams with the sugars and traps air, which helps the cookies bake up tender. Salted butter works in a pinch, but keep the added salt in the dough on the lighter side.
- Brown sugar and granulated sugar — Brown sugar adds moisture and that deeper caramel note; granulated sugar encourages spread and a crisper edge. The mix of both gives you the best balance.
- Egg yolk — The yolk binds the dough without bringing in the extra water from the white. That’s one of the biggest reasons these cookies stay chewy instead of cakey.
- Dark or semi-sweet chocolate chips — Dark chocolate holds its own against the pumpkin spice and keeps the cookies from tasting too sweet. If you only have milk chocolate, the cookies will read sweeter and a little softer.
- Flaky sea salt — This goes on after baking, not before. A few crystals on top sharpen the chocolate and keep the spice from tasting flat.
The Mixing and Baking Moves That Matter Most
Blot the Pumpkin Until It Changes Texture
Lay the pumpkin puree between several layers of paper towel and press gently, then repeat with fresh towels until the puree looks thicker and noticeably less glossy. It should hold together instead of smearing like wet puree. If it still looks wet, it will loosen the dough and the cookies will spread too much in the oven.
Cream the Butter and Sugars Until the Mixture Lightens
Beat the butter with both sugars until the mixture turns fluffy and a little paler. This is where the cookie gets its structure, so don’t rush it. Once the pumpkin, yolk, and vanilla go in, the mixture may look slightly curdled; that’s normal and it smooths out when the flour goes in.
Stop Mixing as Soon as the Flour Disappears
Fold in the dry ingredients just until the last streaks of flour vanish, then add the chocolate chips. Overmixing tightens the dough and makes the cookies tougher. Scoop the dough into even 2-tablespoon rounds so they bake at the same rate, and leave space between them because these do spread a little once the butter melts.
Watch the Edges, Not the Clock
Bake until the edges look set and lightly golden while the centers still look soft and a touch underdone. That’s the sweet spot. If you wait until the tops look fully baked, the cookies will go dry by the time they cool. Sprinkle with flaky salt right after they come out, then let them sit on the pan for five minutes so they finish setting without breaking.
Three Ways to Make These Pumpkin Chocolate Chip Cookies Fit Your Kitchen
Dairy-Free Version
Use a good plant-based butter stick instead of regular butter. The dough will still cream nicely and the cookies will keep their crisp edges, but the flavor will be a little less rich. Choose a dairy-free chocolate chip that melts well so you still get those soft chocolate pockets.
Gluten-Free Swap
Use a 1:1 gluten-free baking flour blend that already includes xanthan gum. The cookies will stay tender, though they may spread a touch less and taste a little more delicate around the edges. Don’t use almond flour alone here; it won’t give the dough the same structure.
Extra-Spiced Batch
If you want the pumpkin spice to stand out more, add another 1/2 teaspoon cinnamon or a pinch of cloves. Keep it restrained. Too much spice can muddy the chocolate and make the cookies taste dusty instead of warm.
Storage and Reheating
- Refrigerator: Store in an airtight container for up to 4 days. They soften a little as they sit because of the pumpkin, but the flavor deepens.
- Freezer: These freeze well after baking. Wrap tightly and freeze for up to 2 months, or freeze dough scoops on a tray and bake from frozen with an extra minute or two.
- Reheating: Warm a cookie in a 300F oven for 3 to 5 minutes to bring back the chocolate melt and crisp the edges. The microwave makes them soft and a little sticky, which is the main mistake people run into with pumpkin cookies.
Answers to the Questions Worth Asking
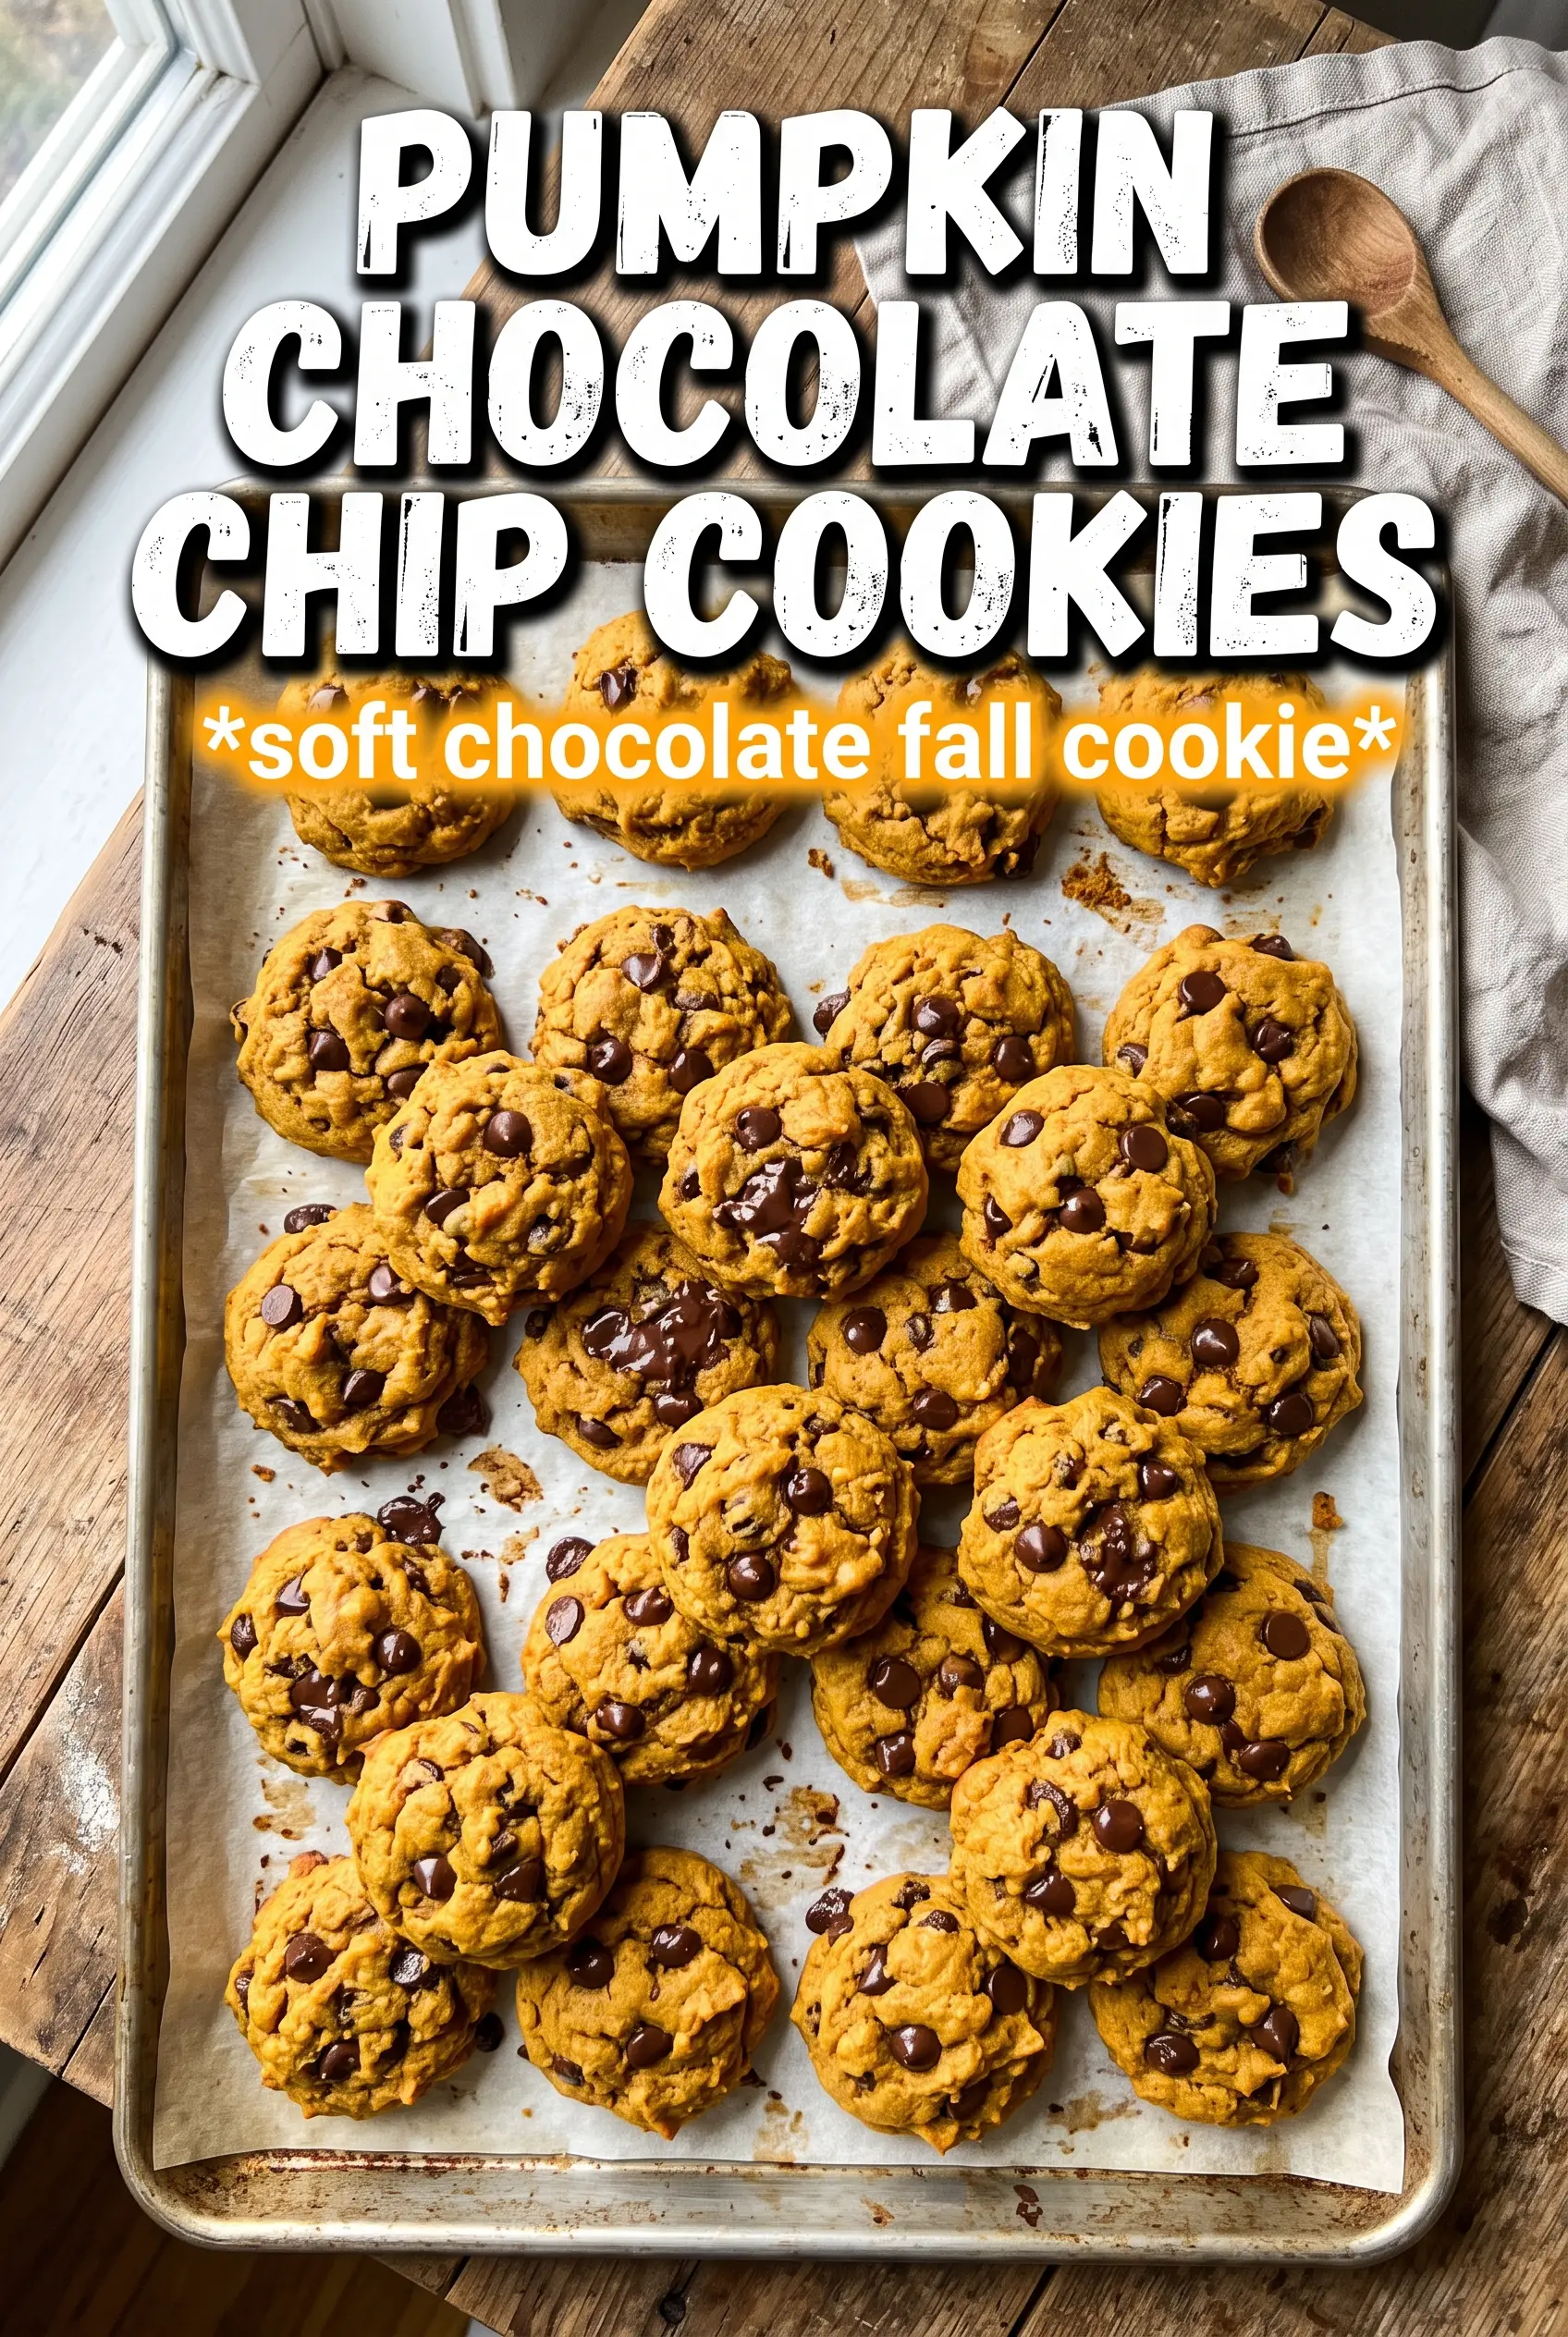
Pumpkin Chocolate Chip Cookies
Ingredients
Equipment
Method
- Preheat the oven to 375F and line baking sheets with parchment to prevent sticking and help even browning.
- Blot the pumpkin puree between many layers of paper towels until very dry, as this is the key step so the cookies spread and crisp instead of staying cakey.
- Whisk together the all-purpose flour, baking soda, baking powder, pumpkin pie spice, cinnamon, and salt until evenly combined and no pockets of spice remain.
- Beat the softened butter, granulated sugar, and brown sugar until fluffy, then add the blotted pumpkin puree, egg yolk, and vanilla extract and mix until smooth.
- Fold the flour mixture into the wet ingredients until just combined, then fold in the chocolate chips so they’re evenly distributed without overmixing.
- Scoop dough into 2-tablespoon rounds and place on the lined baking sheets, spacing them for spreading.
- Bake at 375F for 11-13 minutes until the edges turn golden while the centers still look slightly soft.
- Sprinkle the tops with flaky sea salt right after baking, then cool on the pan for 5 minutes so the cookies set before moving.