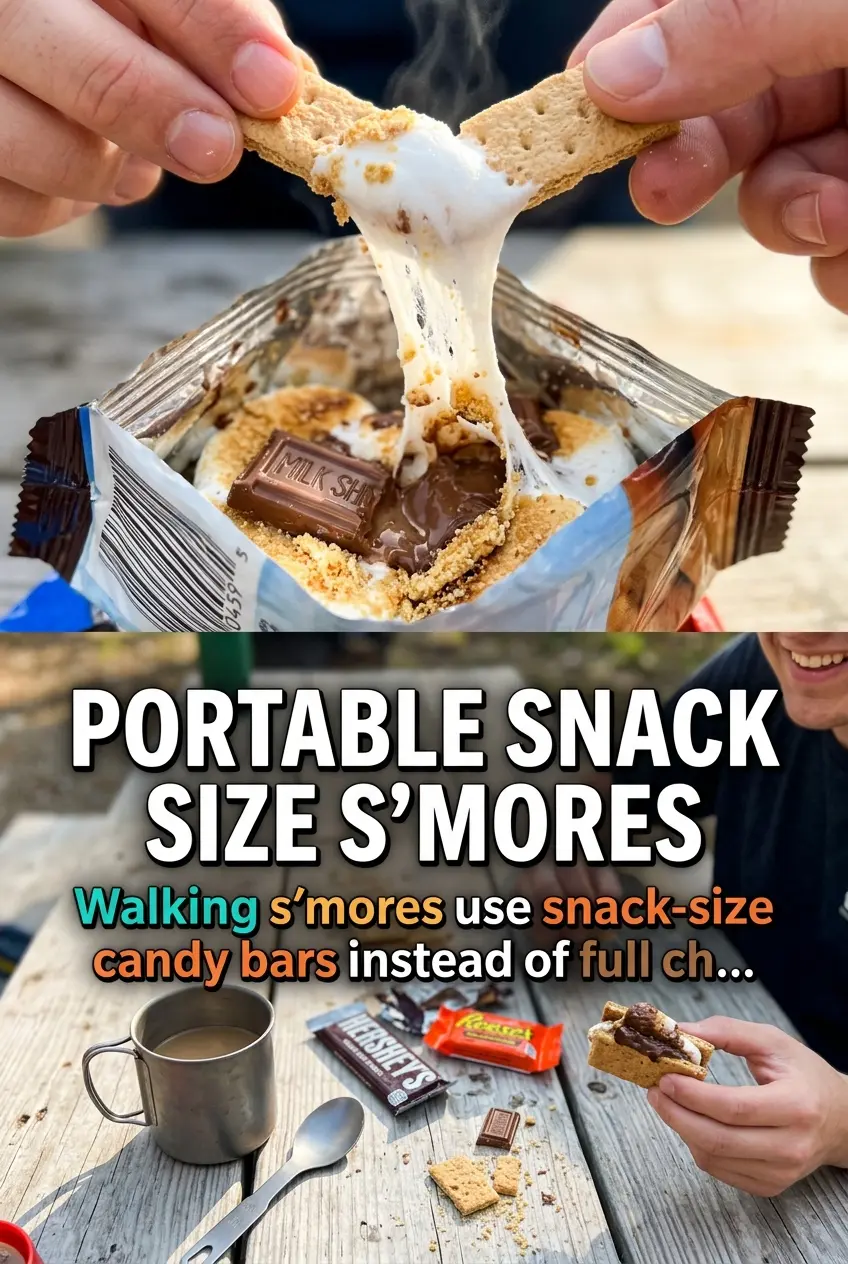
Walking s’mores turn the campfire classic into a handheld dessert you can eat right out of the bag, and that little change fixes a lot of the usual mess. You still get the toasted graham crunch, melted chocolate, and gooey marshmallow pull, but without balancing skewers, sticky fingers, or a collapsing stack of crackers. It’s the kind of snack that disappears fast because it tastes like the campfire version everyone actually wants: warm, sweet, and just a little chaotic in the best way.
The trick is using the cereal bag as both the container and the serving vessel. Golden Grahams hold up better than regular graham crackers once the chocolate and marshmallows start softening, and the cereal’s cinnamon-honey flavor works nicely with the melted filling. The real key is gentle heat. If the bag sits too close to the fire, the chocolate can scorch before the marshmallows melt, and nobody wants a burnt edge with a cold center.
Below you’ll find the simple timing that keeps the texture right, plus a few smart swaps if you don’t have Golden Grahams on hand. There’s also a storage note for prepping these ahead so you can hand them out when the fire’s ready.
I was skeptical about warming them in the bag, but the chocolate melted evenly and the marshmallows got soft without turning into a sticky mess. My kids loved shaking the bag to mix everything, and it took less than 10 minutes from start to finish.
Walking s’mores made with Golden Grahams stay crunchy under the melted chocolate and marshmallows, so you get that classic campfire texture without the mess.
The Reason the Cereal Bag Matters More Than the Campfire
Walking s’mores only work when the cereal bag does some of the heavy lifting. The bag keeps everything contained while the chocolate softens and the marshmallows melt, which means you don’t need a plate, a skewer, or even a lot of coordination around the fire. The biggest mistake is treating this like a roasting project and putting it directly over flame. That gives you hot spots, scorched chocolate, and a bag that turns from handy to useless in a hurry.
What you want is gentle radiant heat near the coals or fire edge. That warms the filling evenly so the marshmallows puff a little and the chocolate turns glossy without separating or burning. If the bag feels only warm to the touch, keep it going. If it starts getting too hot to hold comfortably, it’s already too close.
What Each Ingredient Is Actually Doing in This Snack
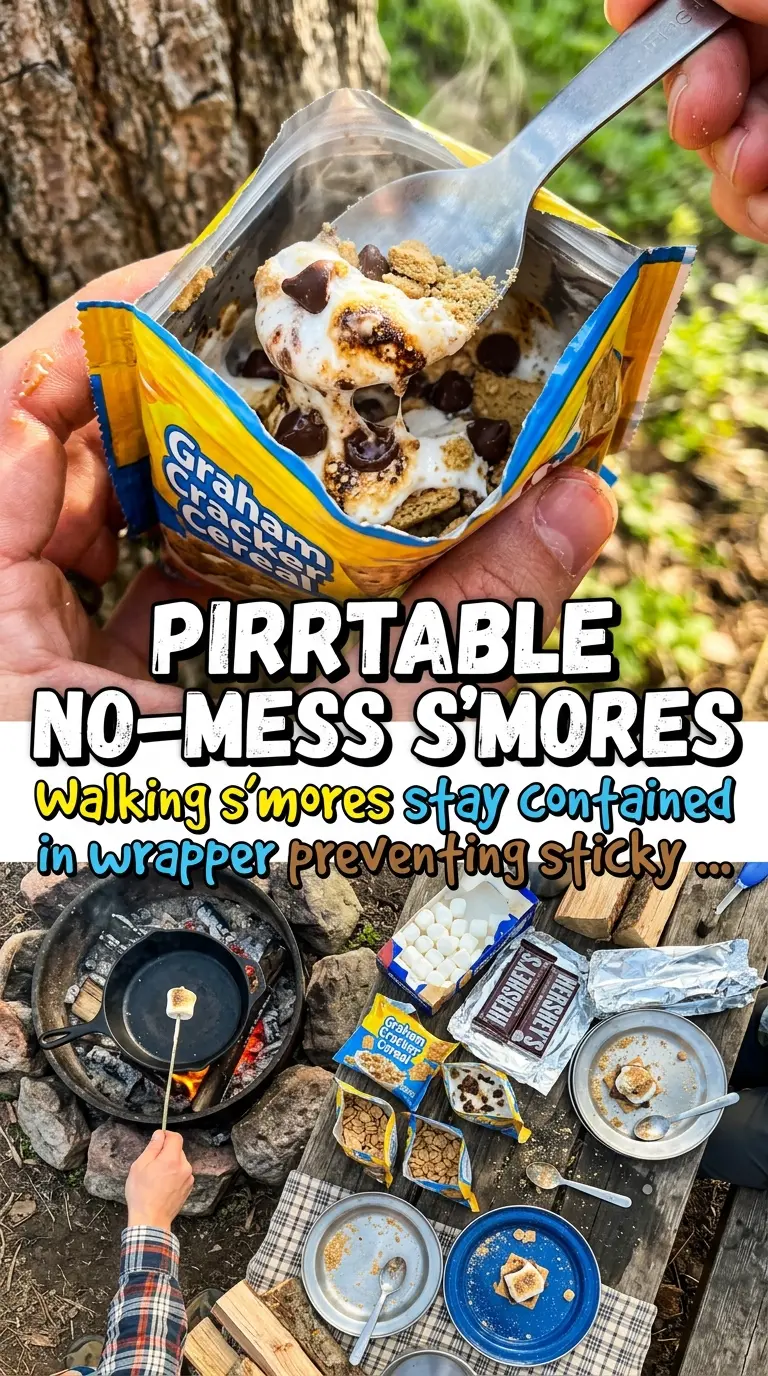
- Golden Grahams cereal — These bring the graham flavor and enough structure to stay crunchy after warming. Any similar cinnamon-honey cereal can work, but regular graham crackers go soft and messy much faster inside a warm bag.
- Mini marshmallows — Minis melt faster and more evenly than full-size marshmallows, which matters when your heat source is indirect and limited. Large marshmallows can leave you with a stretched, rubbery center before the rest of the bag is ready.
- Chocolate chips — Chips hold their shape during the first few minutes, then soften into pockets of melted chocolate instead of disappearing completely. Semi-sweet is the best middle ground here, but milk chocolate works if you want a sweeter result. If you only have chopped chocolate, use small pieces so it melts at the same pace as the marshmallows.
The 5 Minutes That Turn Crunchy Cereal Into a Melted Campfire Treat
Filling the Bag Without Crushing the Cereal
Open each snack-size bag carefully and leave the cereal inside. Add the marshmallows and chocolate chips on top, then seal the bag loosely or roll the top down so heat can build without the contents spilling out. If you dump the cereal into a bowl first, you lose the whole point of the recipe: the bag should stay the serving dish from start to finish.
Warming Near the Fire, Not in It
Place the bags near the edge of the campfire heat or beside warm coals for 3 to 5 minutes, turning them occasionally. The bag should feel warm and the chocolate should look soft at the edges before you stop. If the bag starts to darken or smell toasted in a bad way, move it farther away immediately. Direct flame is too aggressive for the thin bag and will burn the chocolate before the marshmallows have time to melt.
Mixing at the End
Once the filling is soft, gently shake the bag to coat the cereal with melted chocolate and marshmallow. You want a thick, gooey mix, not a fully blended paste. Spoon it out if you want, but eating it straight from the bag is what makes walking s’mores fun and keeps cleanup almost nonexistent.
How to Change Walking S’mores When You Don’t Have the Exact Ingredients
Use a Different Cereal Base
If you don’t have Golden Grahams, use another honey-graham cereal or a sturdy cinnamon cereal with similar texture. Avoid anything too delicate, because soft cereal turns soggy before the chocolate finishes melting. The closer the swap is to graham flavor and crunch, the more this still tastes like s’mores.
Make It Dairy-Free
Use dairy-free chocolate chips and check that your marshmallows fit your dietary needs, since brands vary. The texture stays the same, and the campfire warmth still gives you that soft, melty center. This is one of the easiest swaps because the recipe doesn’t depend on butter or milk.
Make It Sweeter or More Chocolate-Heavy
Use milk chocolate chips for a sweeter version or add an extra tablespoon of chips to each bag for a richer melt. Just don’t overfill the bag, or the ingredients won’t warm evenly and the cereal gets buried before it can pick up the chocolate. A little restraint keeps the texture balanced.
Storage and Make-Ahead
- Refrigerator: Best assembled just before heating. Once the chocolate and marshmallows have been added, the cereal starts losing crunch if it sits too long.
- Freezer: Not a good freezer recipe. The cereal texture suffers and the marshmallows get odd after thawing.
- Reheating: If a bag cools before you eat it, warm it again near the fire for a minute or two. Don’t put it directly into the flame; the bag can scorch fast while the center stays stiff.
Questions I Get Asked About This Recipe
Walking S'mores
Ingredients
Method
- Carefully open each snack bag of cereal (don't remove cereal). Keep the bag over a table so the contents stay inside.
- Add mini marshmallows and chocolate chips to each bag. Distribute evenly so each bag gets a similar mix.
- Seal bags loosely or roll down the top. Leave a small gap to prevent scorching while the chocolate melts.
- Place bags near (not directly on) campfire heat for 3-5 minutes, rotating occasionally. Watch for softened marshmallows and a glossy shine on the chocolate.
- Mix contents by gently shaking bag, then eat with a spoon or directly from the bag. Stop once the mixture is melted and warm, not burnt.