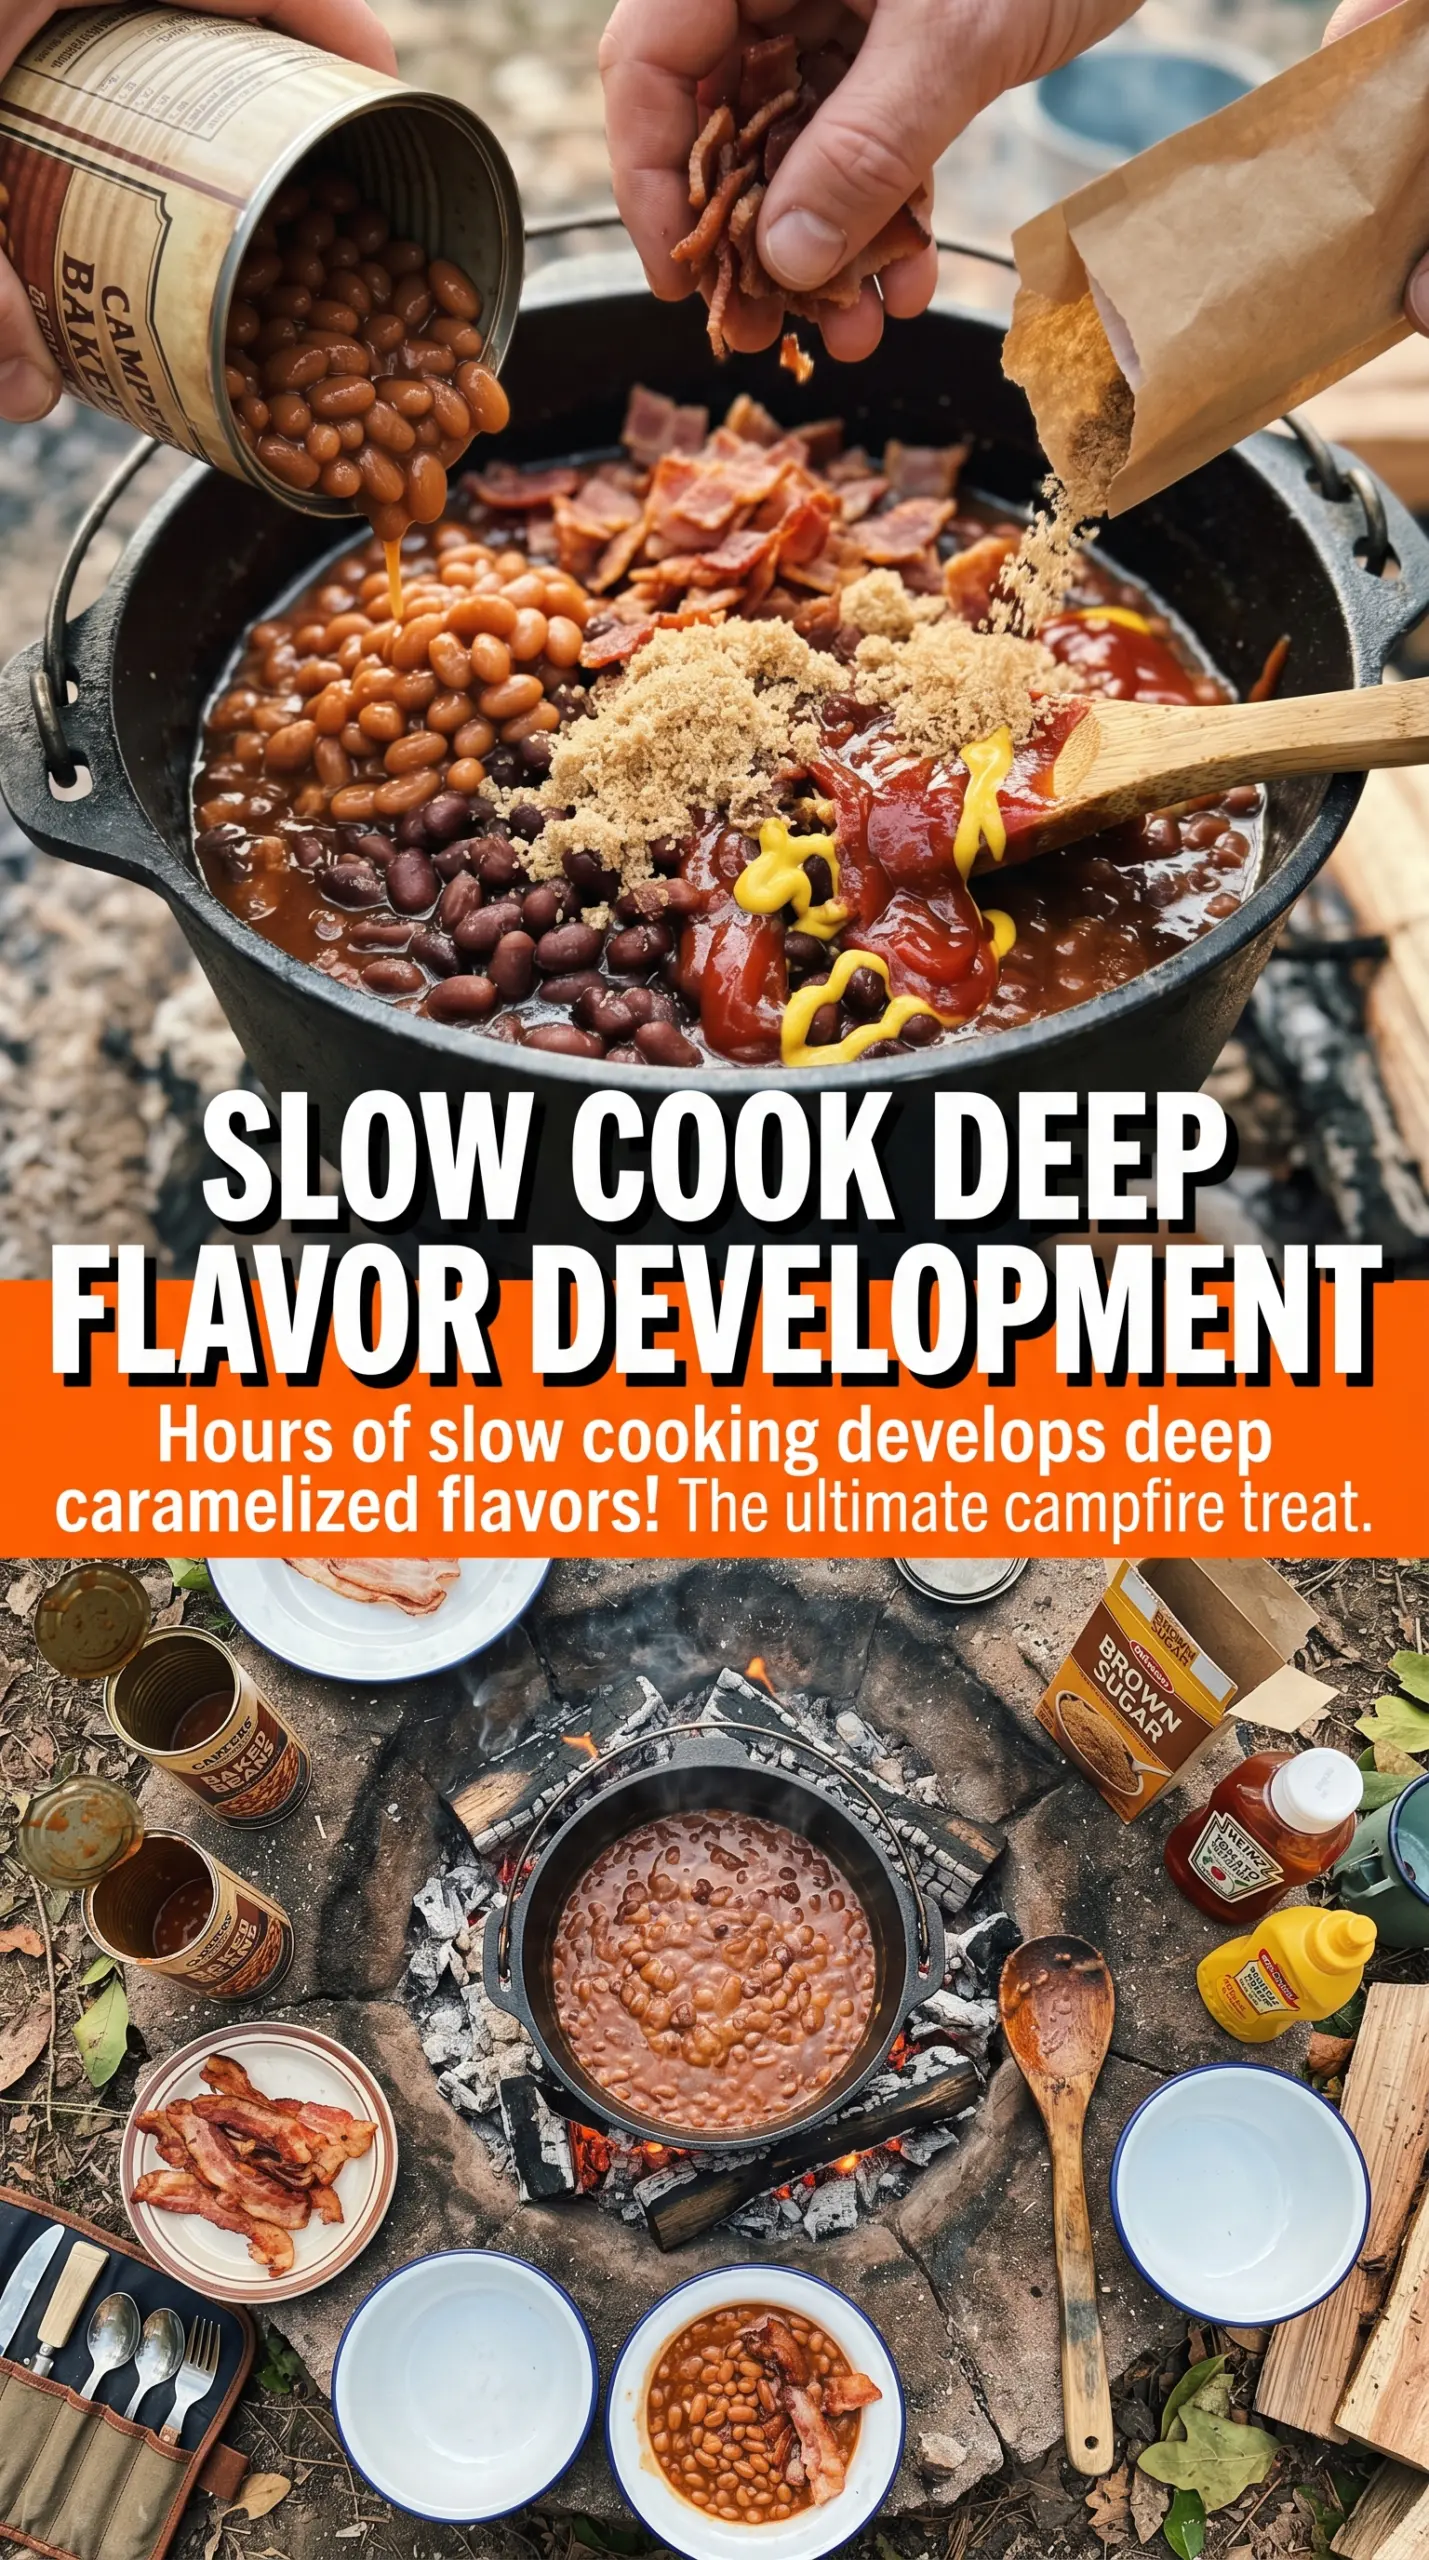
Campfire baked beans turn into something deeper and smokier than the stovetop version the second they start bubbling over an open flame. The beans soften into the sauce, the bacon carries just enough salt and smoke, and the edges thicken into that sticky, spoon-coating finish that disappears fast at a cookout. It’s the kind of side dish that quietly becomes the thing people remember from the meal.
What makes this version work is balance. The BBQ sauce brings smoke and body, the brown sugar rounds out the acidity from the ketchup and mustard, and the Worcestershire adds a little backbone so the beans taste layered instead of one-note sweet. Cooking them uncovered matters here because the liquid needs time to reduce; if you cover the pot, you trap steam and end up with soup instead of glossy beans.
Below, I’ve included the small details that matter most when you’re cooking over fire, plus a few easy ways to adapt these beans for the oven, the slow cooker, or a bigger crowd.
The sauce thickened up beautifully over the fire and the bacon stayed crisp enough to give every bite a little texture. I kept stirring like you said, and they came out smoky, glossy, and not at all watery.
These campfire baked beans get that sticky, smoky finish that holds up next to ribs, burgers, or a pile of grilled corn.
The Secret to Beans That Thicken Instead of Staying Soupy
The biggest mistake with campfire beans is rushing the simmer or covering the pot because it seems easier. Open heat works differently than a kitchen stove. It’s less controlled, so the beans need time to reduce and enough stirring to keep the sugars from scorching on the bottom. If the flame is too aggressive, the outside of the pot can turn sticky before the center has had a chance to thicken.
The other thing people miss is that baked beans already contain a lot of liquid. Once you add BBQ sauce, ketchup, and the bacon drippings, you’ve got a mixture that needs to cook down until it clings to a spoon. The beans are done when the sauce looks glossy and thick, and when you drag a spoon through the pot, it leaves a trail for a second before closing back in.
- Uncovered cooking — This is what lets excess moisture evaporate. Covered beans steam, and steaming keeps the sauce thin.
- Occasional stirring — You’re not just moving beans around. You’re lifting the thicker sauce from the bottom so it doesn’t catch and burn.
- Gentle simmer — Small, steady bubbles are what you want. A hard boil can break the beans down too much and make the texture muddy.
What Each Ingredient Is Actually Doing in This Pot
- Baked beans — Canned baked beans already bring a soft texture and some built-in sweetness, which saves time and gives the dish body. Pinto or navy-based baked beans both work well.
- Bacon — Cook it first so it stays crisp enough to hold its texture in the final dish. The rendered fat adds smoky depth, but drained bacon grease from the pan can be stirred in if you want a stronger campfire flavor.
- BBQ sauce — This is the main flavor base. Use one you’d actually eat on its own, because the sauce carries most of the smoky, tangy note in the finished beans.
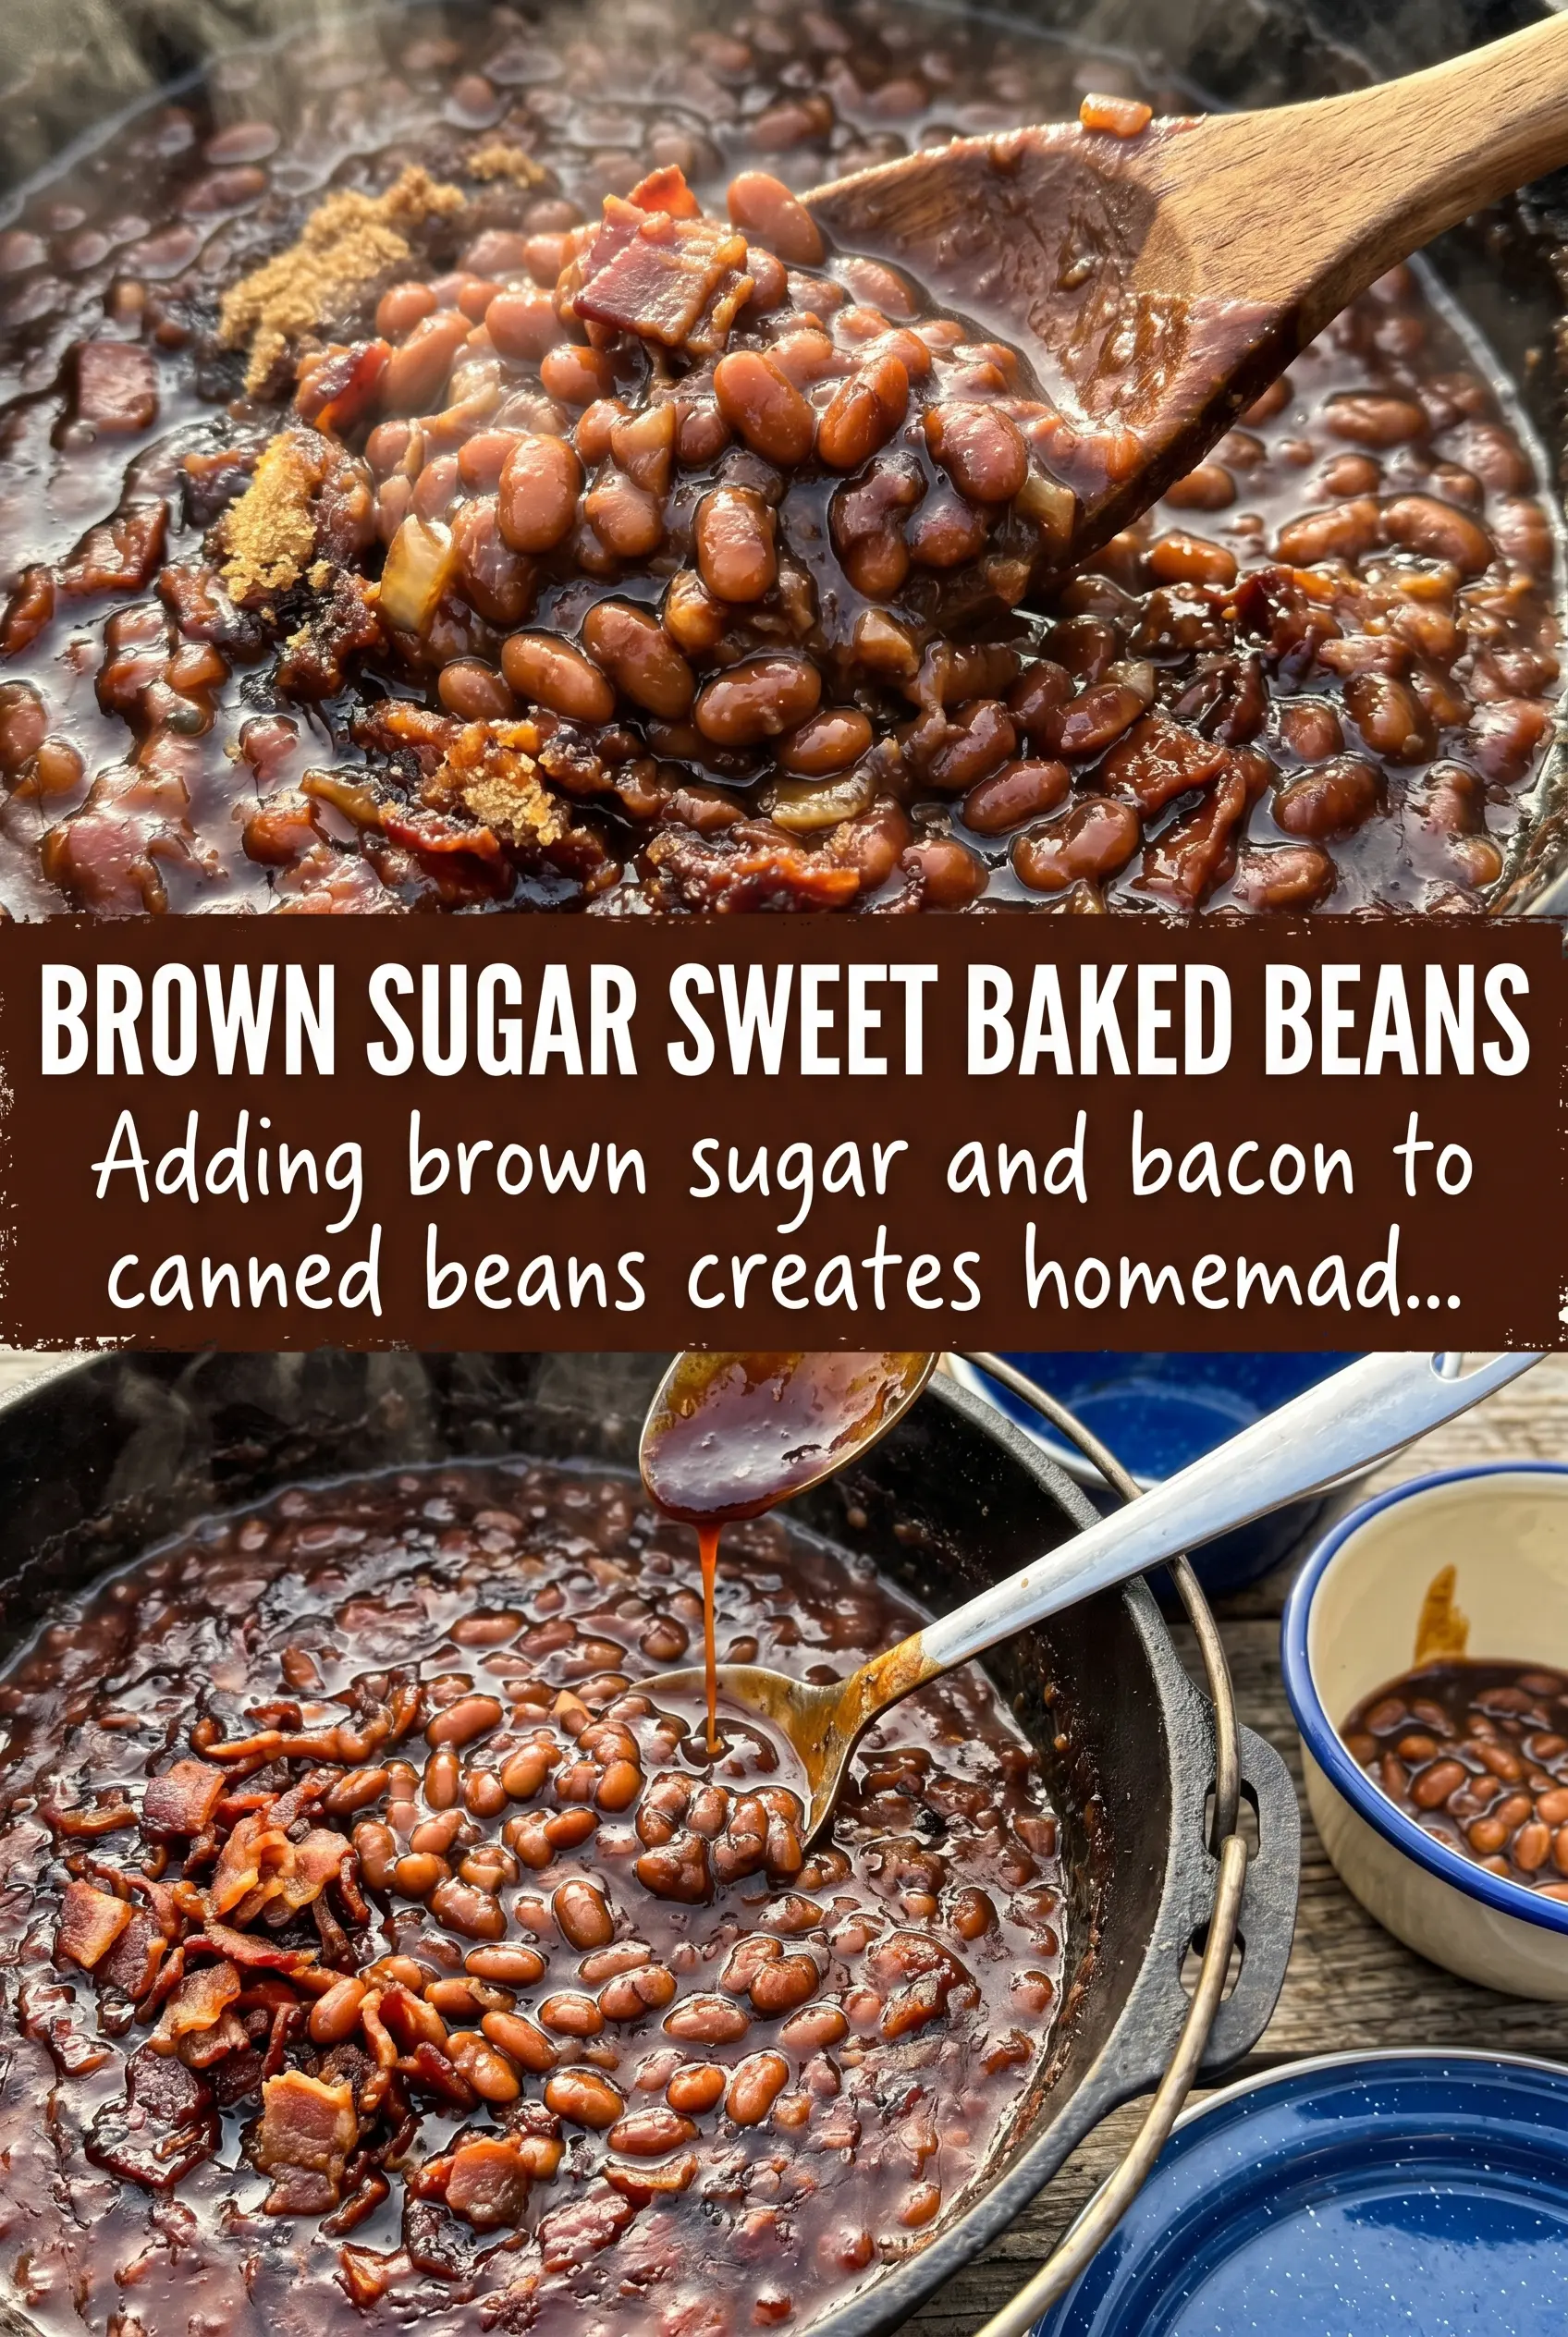
- Brown sugar — It smooths out the sharper edges from the ketchup and mustard and helps the sauce caramelize as it reduces. Dark brown sugar gives a deeper molasses note if that’s what you have.
- Mustard and Worcestershire — These two keep the beans from tasting flat. They don’t make the dish taste mustardy or savory in an obvious way; they just sharpen everything underneath.
- Onion — Diced onion softens as it cooks and gives the beans a little bite and sweetness. If you want it milder, mince it finer so it melts into the sauce.
Building the Beans Over the Fire Without Burning the Bottom
Combine Everything in the Dutch Oven
Start by mixing the beans, bacon, BBQ sauce, brown sugar, ketchup, onion, mustard, and Worcestershire in the pot before it goes over the fire. That way the sugar starts dissolving right away and the onion gets coated instead of sitting raw on top. A Dutch oven works best because it distributes heat more evenly than a thin pot. If you’re using a campfire grate, keep the pot over steady coals rather than direct flames so the sugars don’t scorch before the sauce thickens.
Bring It Up to a Gentle Simmer
Once the beans hit the heat, watch for a soft bubble around the edges and a little steam rising from the center. That’s your cue to lower the fire or move the pot if needed. A rolling boil is too hot for this recipe and can make the sauce grab on the bottom before the beans finish warming through. Stir every few minutes, scraping the bottom well, because the thickening sauce likes to settle there first.
Cook Until the Sauce Clings
After 25 to 30 minutes, the beans should look glossy and thicker than they did at the start. The sauce should mound slightly on a spoon instead of sliding right off. If it still looks loose, give it another 5 to 10 minutes uncovered. If it gets too thick, a splash of water or more BBQ sauce will loosen it back up without flattening the flavor.
How to Adapt These Beans for a Bigger Crowd or a Different Fire Setup
Oven-Baked Version
If the weather turns or you just want more control, bake the beans in a covered Dutch oven at 350°F for about 30 minutes, then uncover for the last 10 to 15 minutes. You’ll get the same thick, sticky finish without needing to manage the fire, and the flavor stays close to the campfire version.
Vegetarian Campfire Beans
Leave out the bacon and add a teaspoon of smoked paprika plus a little olive oil or butter for richness. You lose some of the meaty depth, but the beans still pick up plenty of smoke from the fire and stay hearty enough to serve with a grill spread.
Spicier Beans
A spoonful of hot sauce, a pinch of cayenne, or diced jalapeño gives the beans a sharper finish that cuts through the sweetness. Add heat slowly because the sauce concentrates as it cooks, and a small amount goes a long way once the beans thicken.
Storage and Reheating
- Refrigerator: Store leftovers in an airtight container for up to 4 days. The beans will thicken as they sit, which is normal.
- Freezer: They freeze well for up to 2 months. Cool completely first, then pack into freezer-safe containers and leave a little room at the top for expansion.
- Reheating: Warm gently on the stove over low heat or in a covered dish in the oven. Add a splash of water or BBQ sauce if they’ve tightened up too much; high heat can make the sugars stick before the center is hot.
Answers to the Questions Worth Asking
Campfire Baked Beans
Ingredients
Equipment
Method
- Add baked beans, bacon, BBQ sauce, brown sugar, ketchup, onion, mustard, and Worcestershire sauce to a Dutch oven and stir to combine. The mixture should look evenly tinted and well distributed with onion bits.
- Place the Dutch oven over a campfire and bring the beans to a simmer. You should see gentle bubbles around the edges as the surface starts to move.
- Cook uncovered for 25-30 minutes, stirring occasionally, until thickened and bubbly. Look for a glossy, spoon-coating texture with active bubbling throughout.
- Serve hot as a side dish right from the Dutch oven. The beans should hold together on a spoon instead of looking watery.